
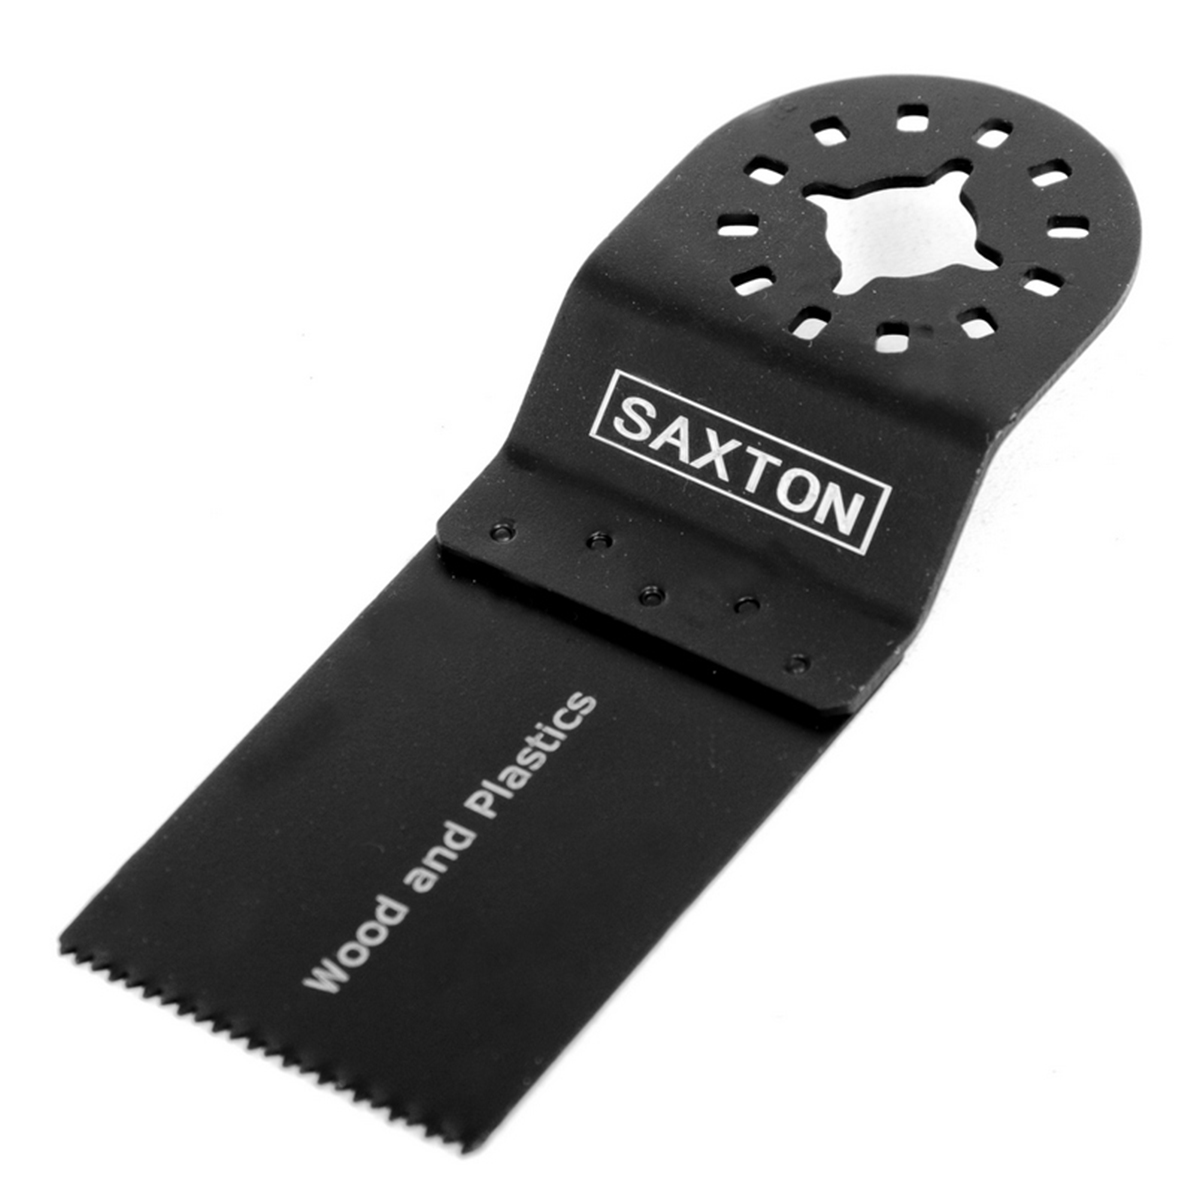
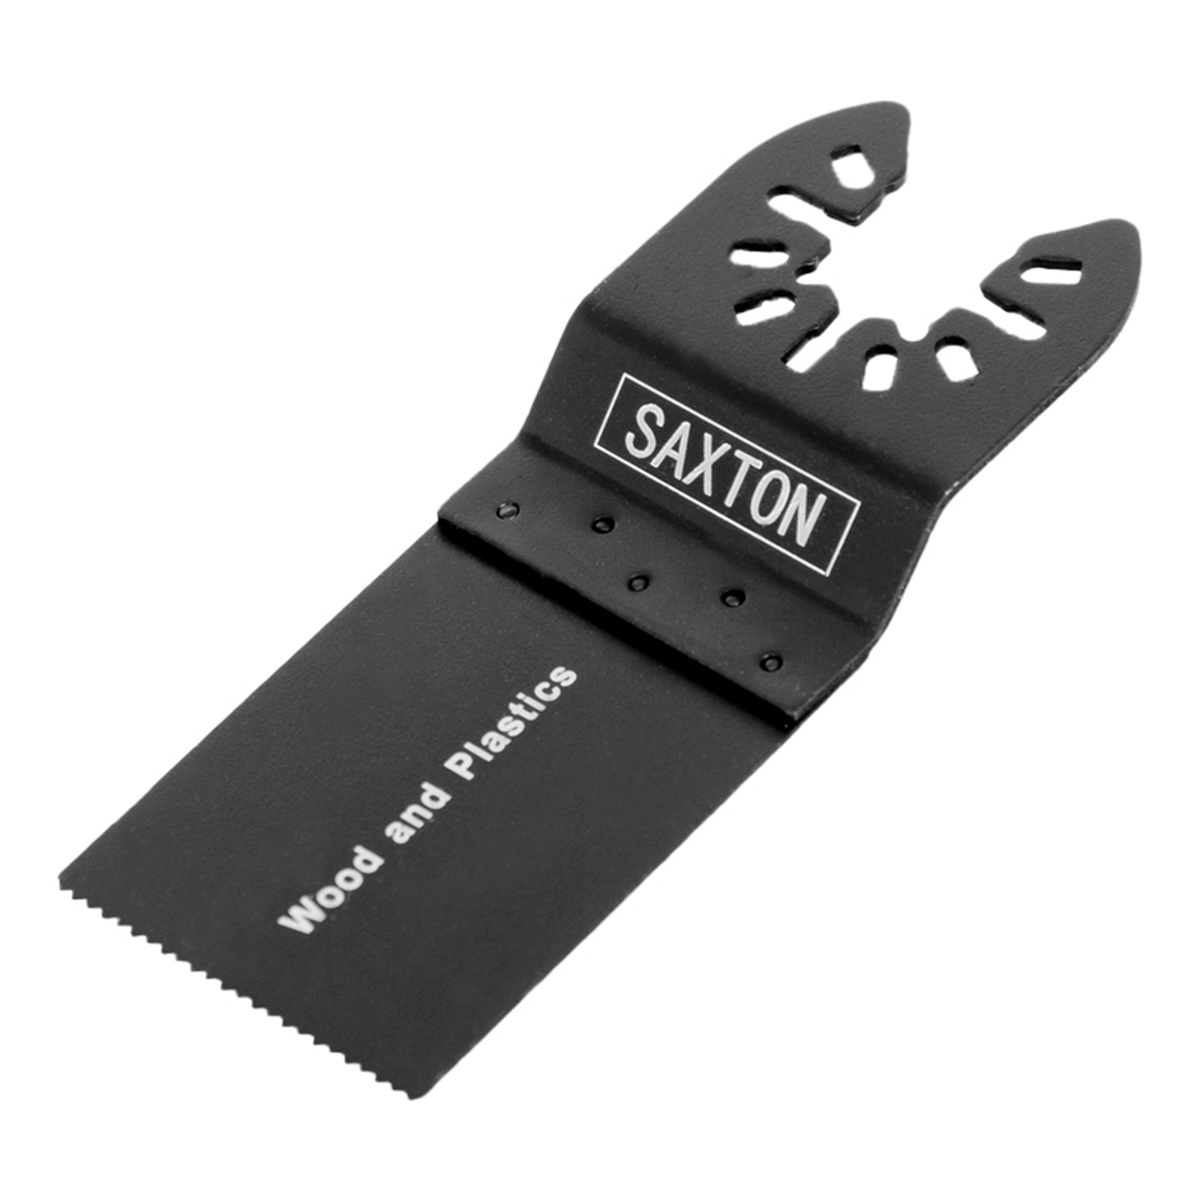
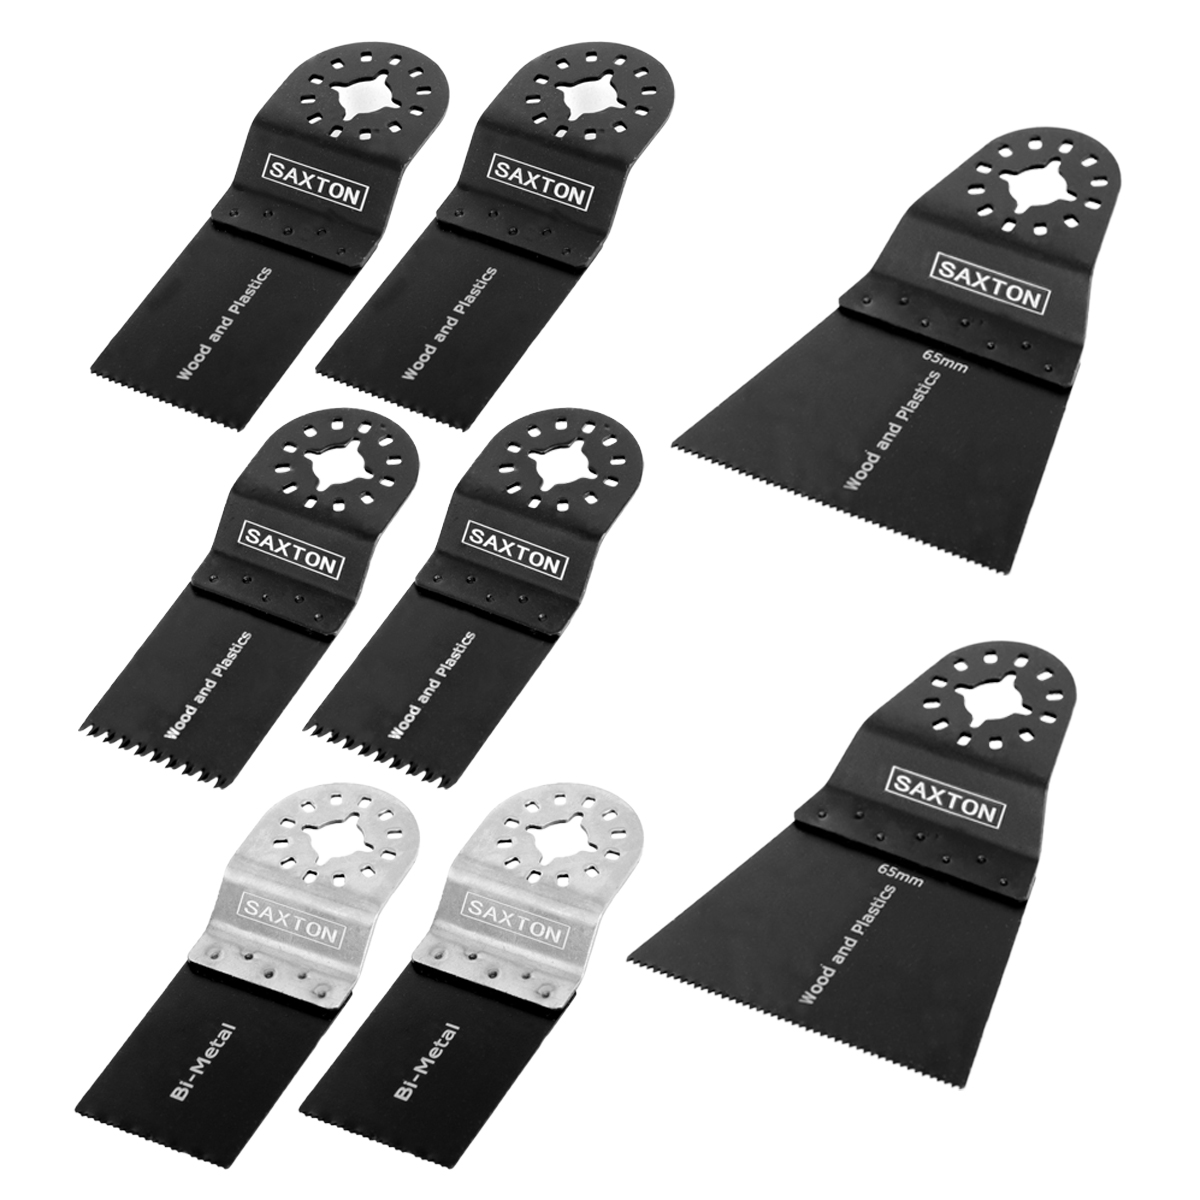
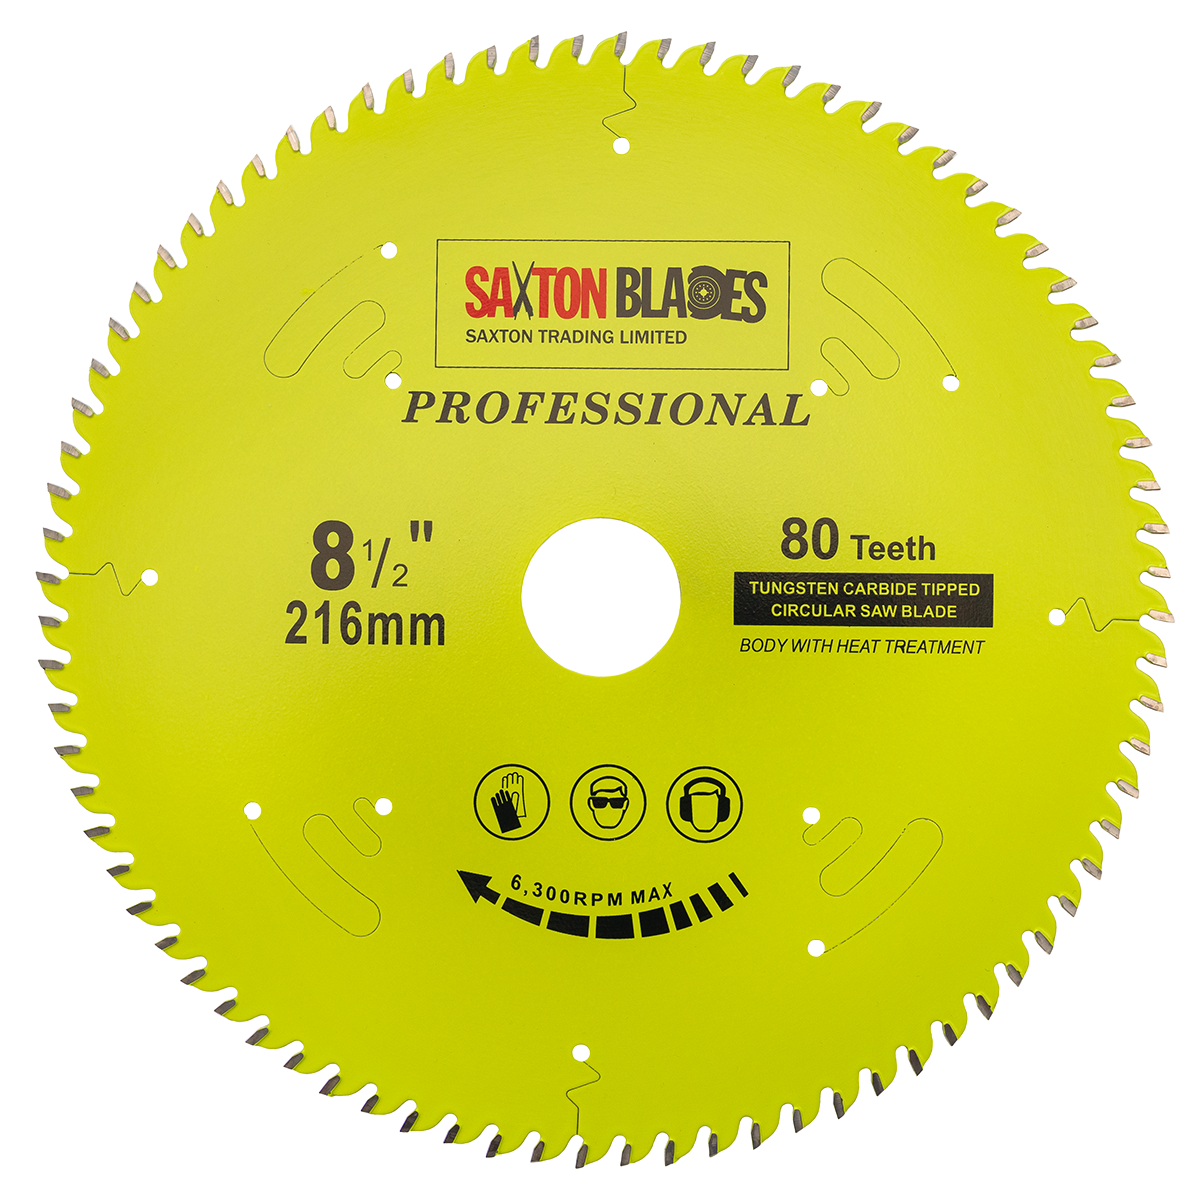
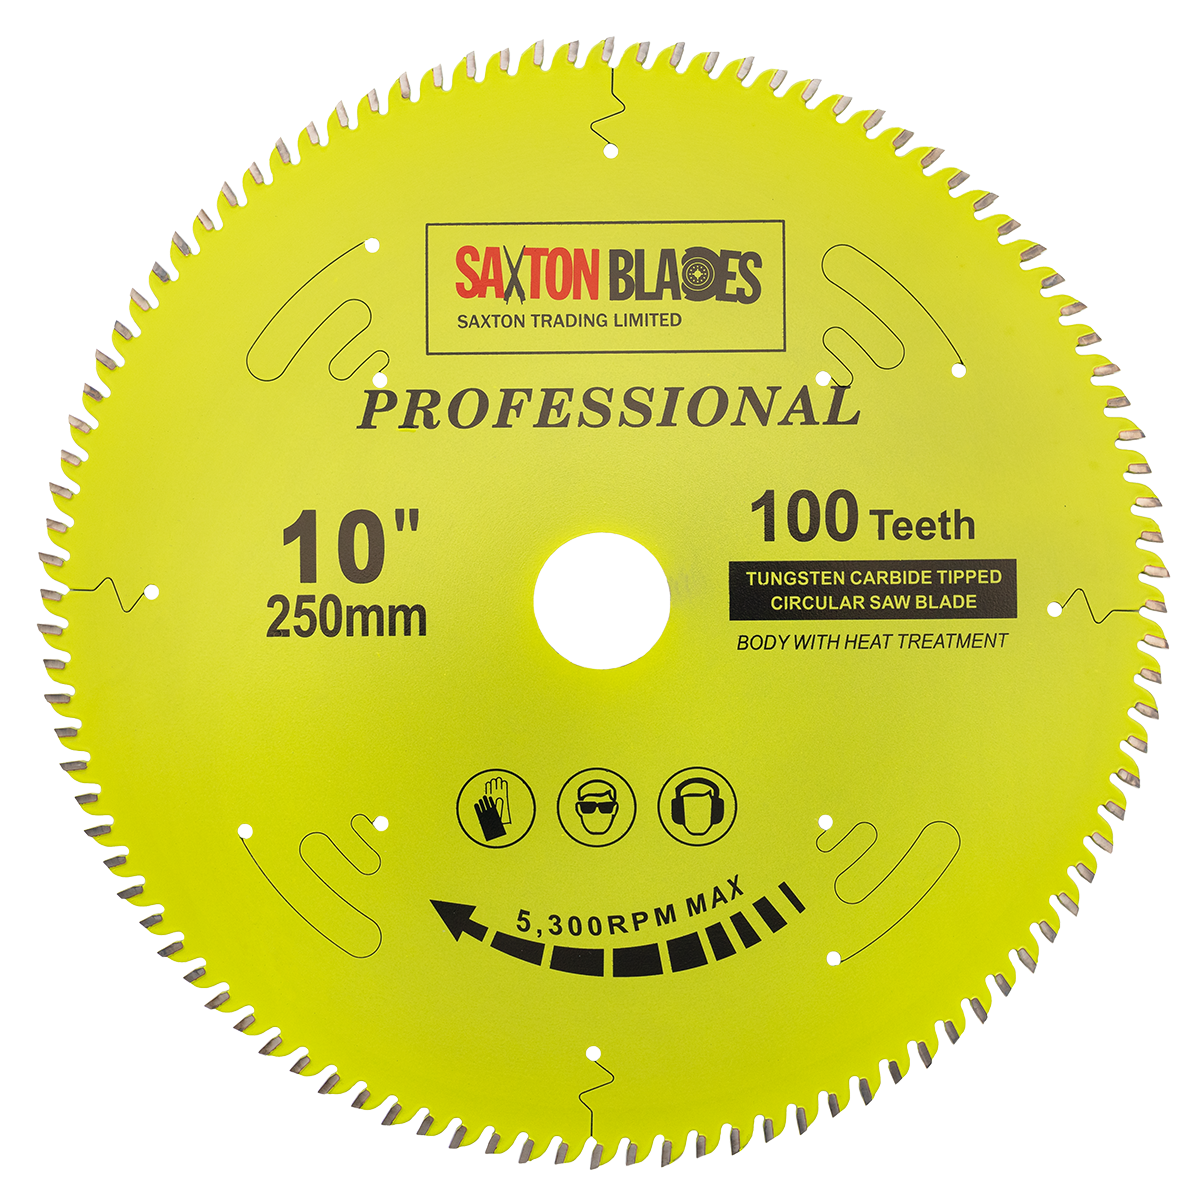
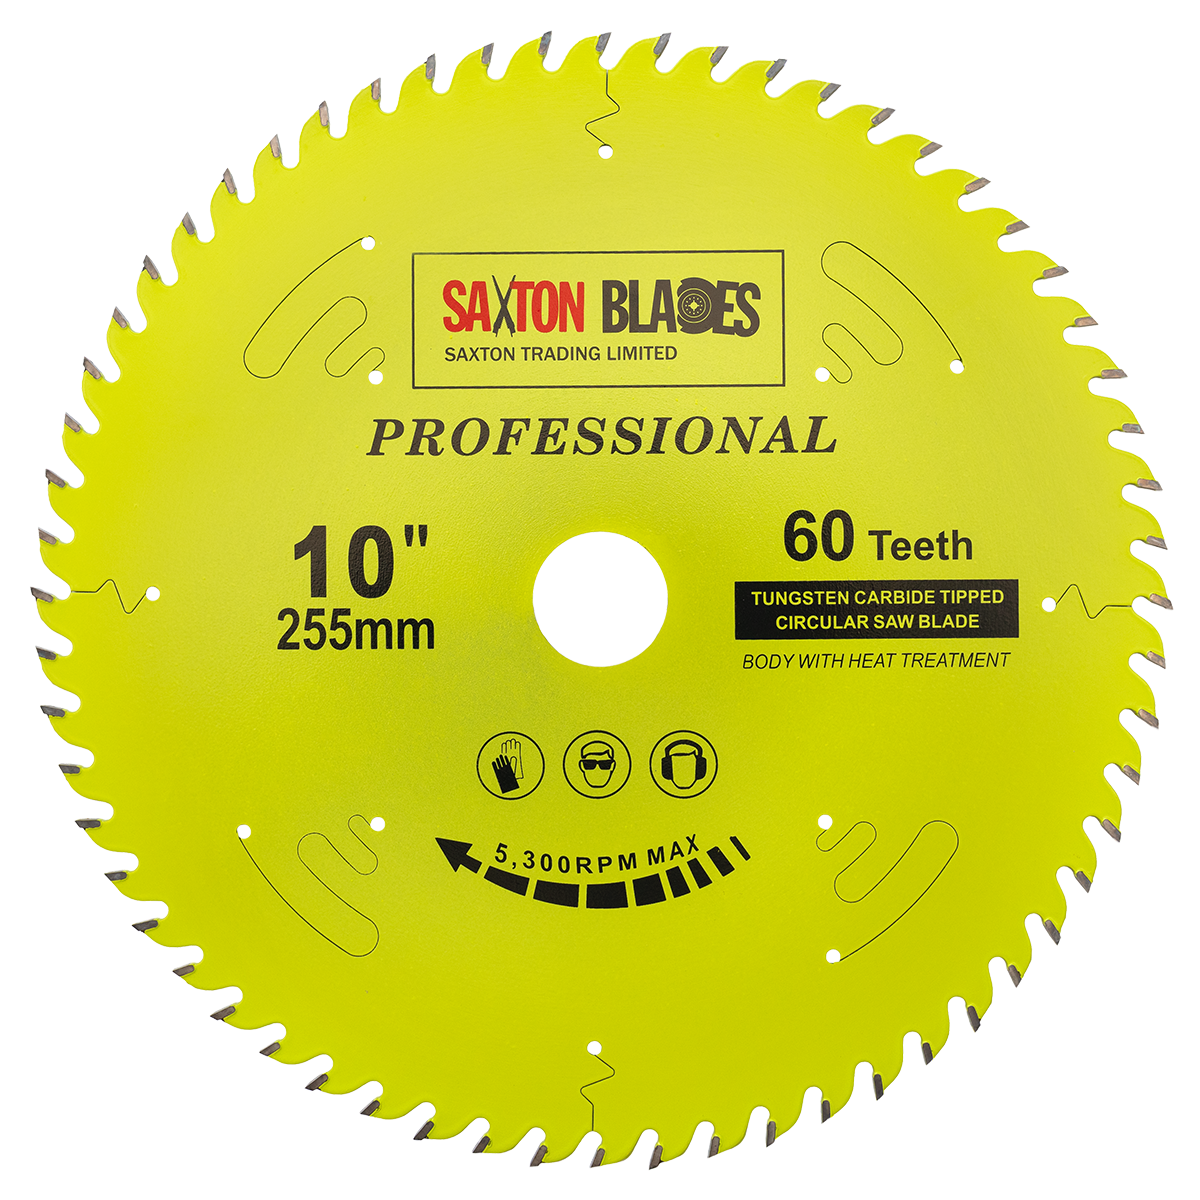
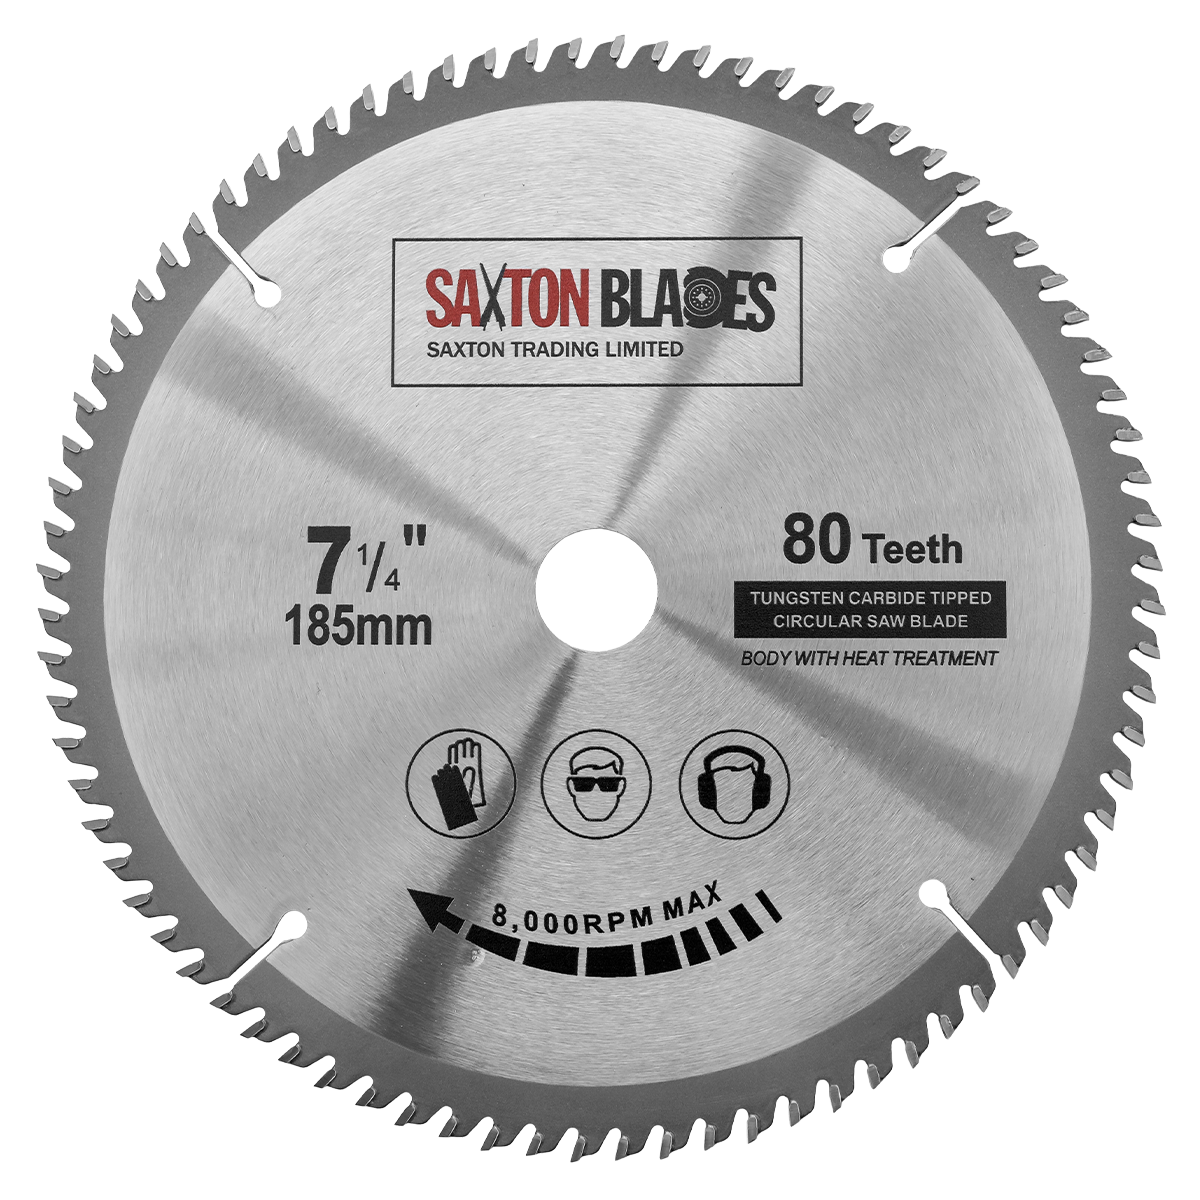

You finish the cut, lift the saw, and there it is. A dark scorch line running along the edge of your timber, followed by that unmistakable burnt wood smell. The cut is technically done, but now you are reaching for sandpaper and wondering what went wrong.
If this sounds familiar, you’re not alone. Burn marks are one of the most common issues DIY woodworkers run into. They waste time, ruin visible edges and can make you doubt your setup even when your measurements were spot on. The good news is that saw burn is rarely a mystery. In most cases, it comes down to blade choice, tool settings or cutting technique, all of which are easy to fix once you know what to look for.
What Does It Mean When a Saw Burns Wood?
Wood burns when heat builds up faster than the blade can remove material. Instead of cutting cleanly, the blade rubs against the wood. Friction rises, temperature spikes and the fibres scorch.
A sharp blade cuts.
A dull or unsuitable blade rubs.
Hardwoods like oak and maple show burn marks quickly, but softwoods can scorch too if conditions are right. These marks are not just cosmetic. Excess heat dulls blades faster, increases resistance and can cause minor warping on thinner stock. Left unchecked, it turns a simple cut into extra work.
The Most Common Cause: A Dull or Worn Blade
A dull blade is the number one reason saws burn wood. Even slight wear makes a difference. When teeth lose their edge, they scrape instead of slice, generating heat instead of progress.
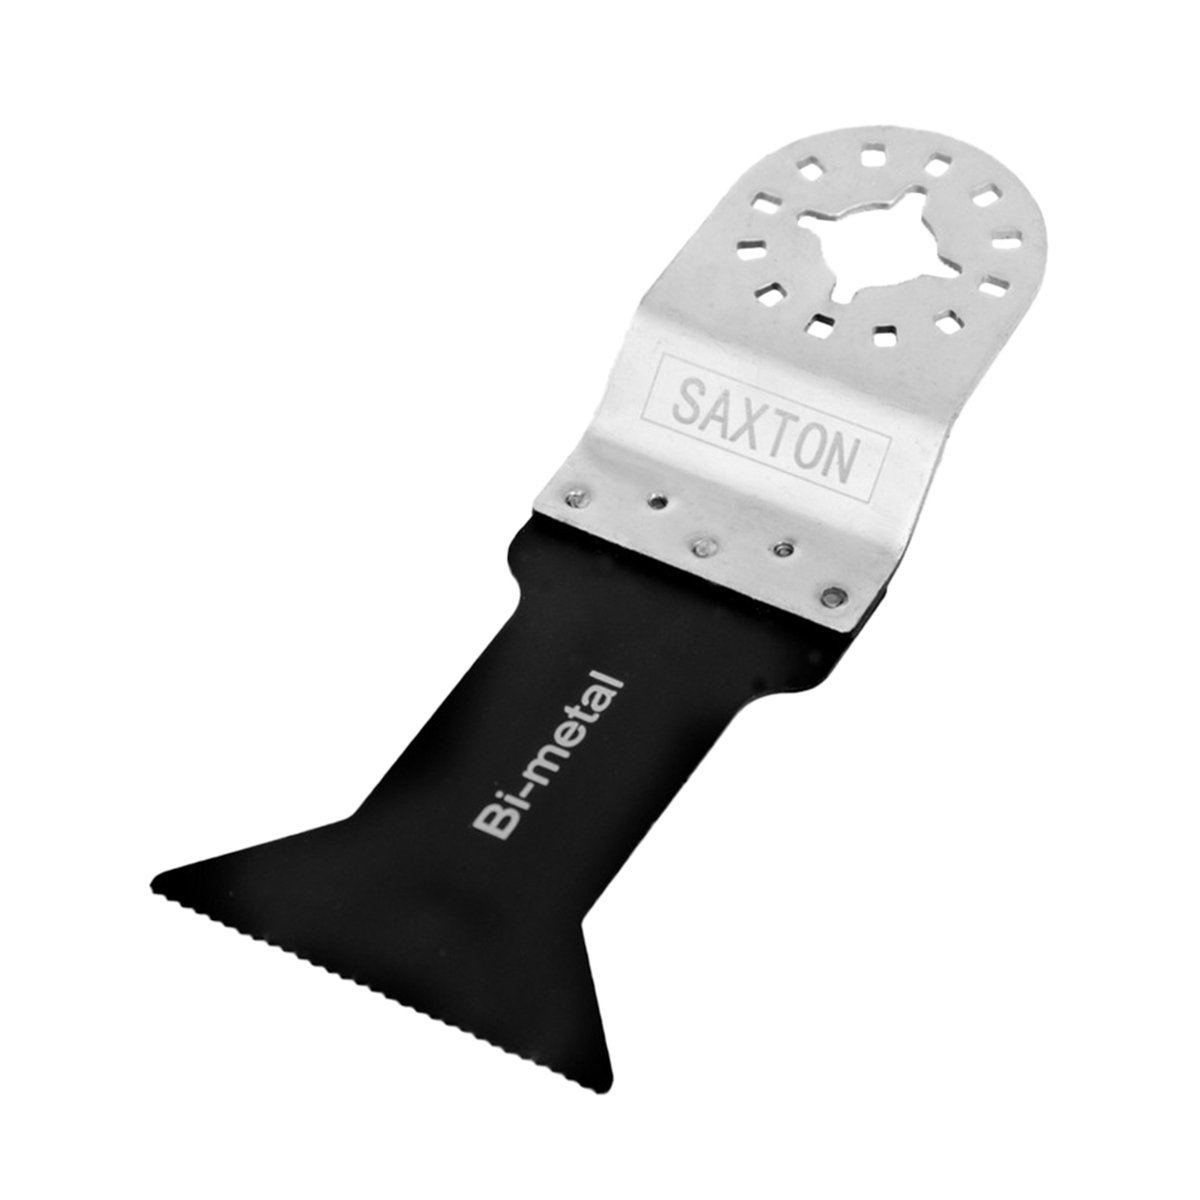
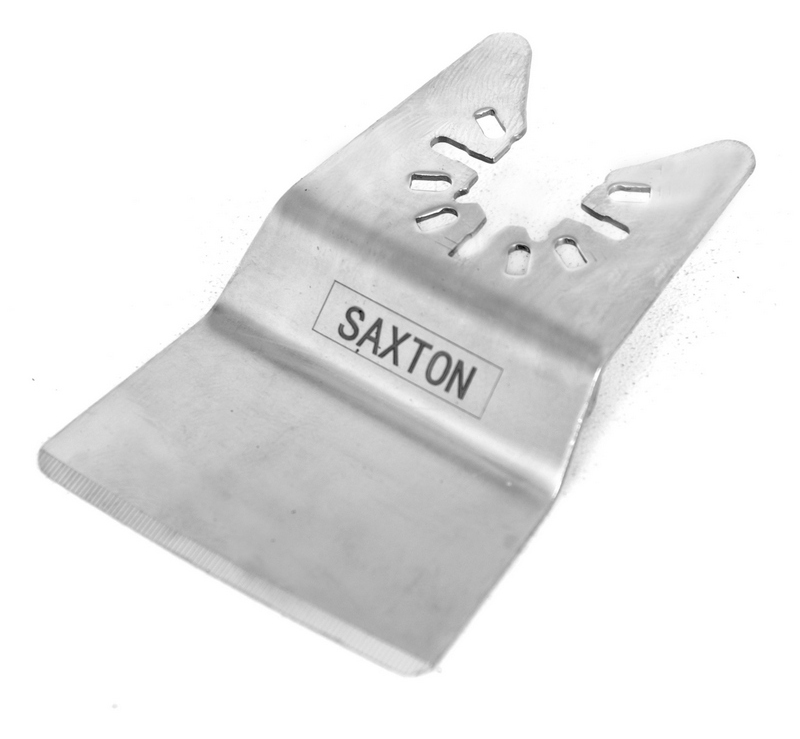
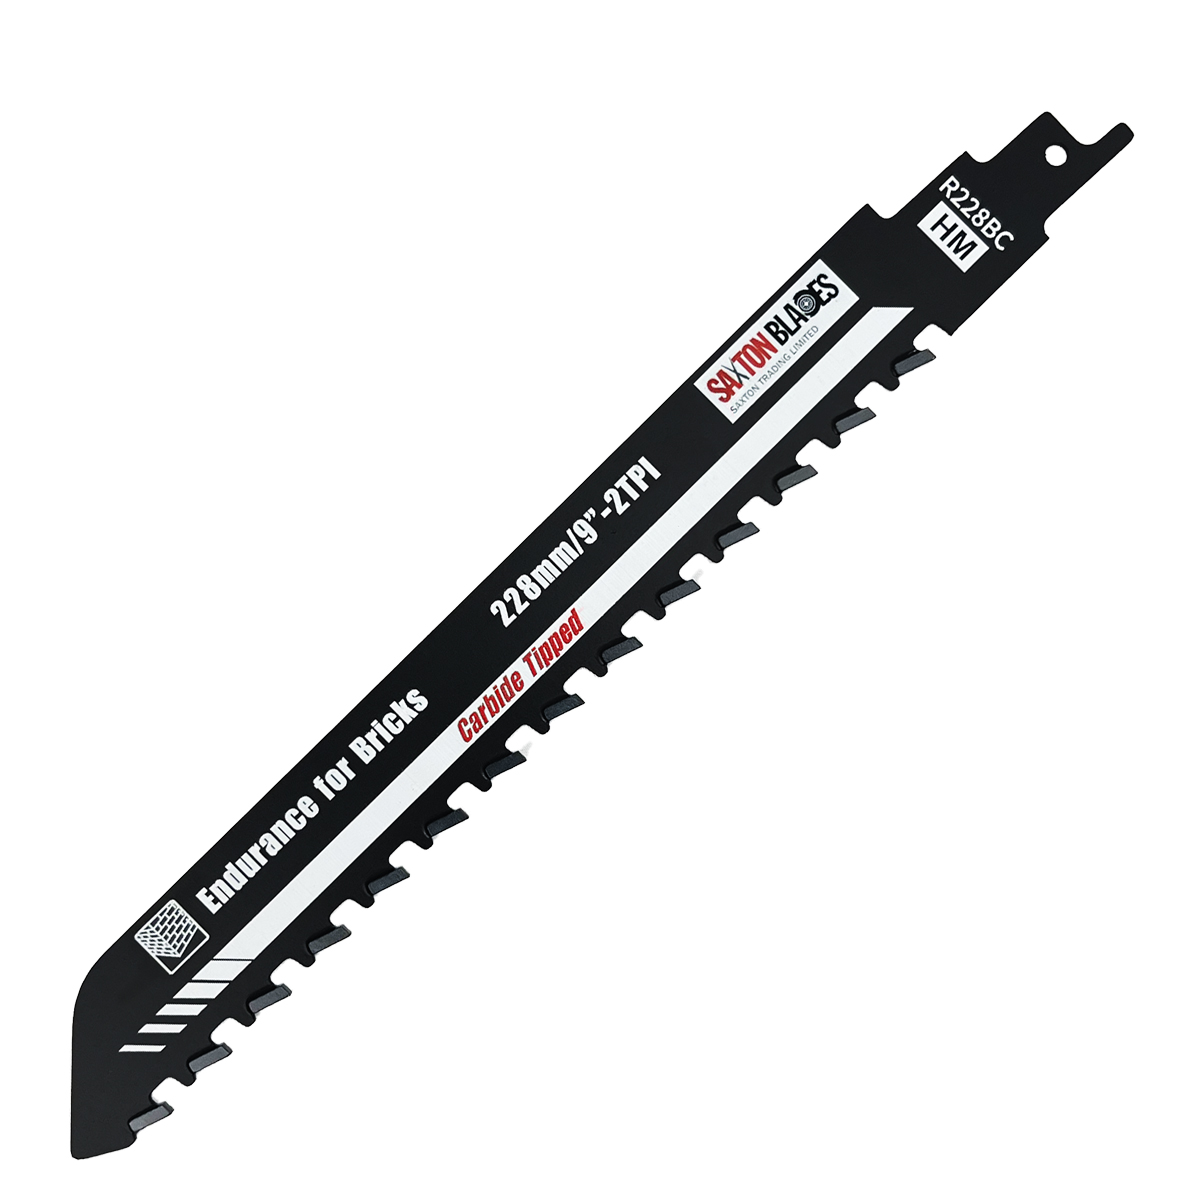
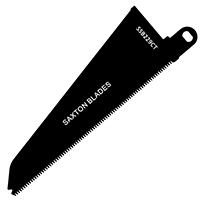
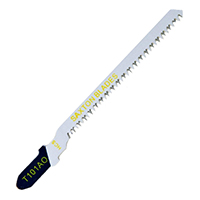
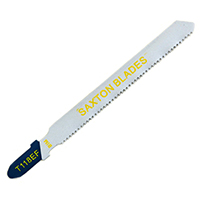
This applies across tools. A tired jigsaw blade struggles through sheet material. A worn reciprocating saw blade drags and vibrates. A blunt multi-tool blade scorches its way through instead of cutting cleanly.
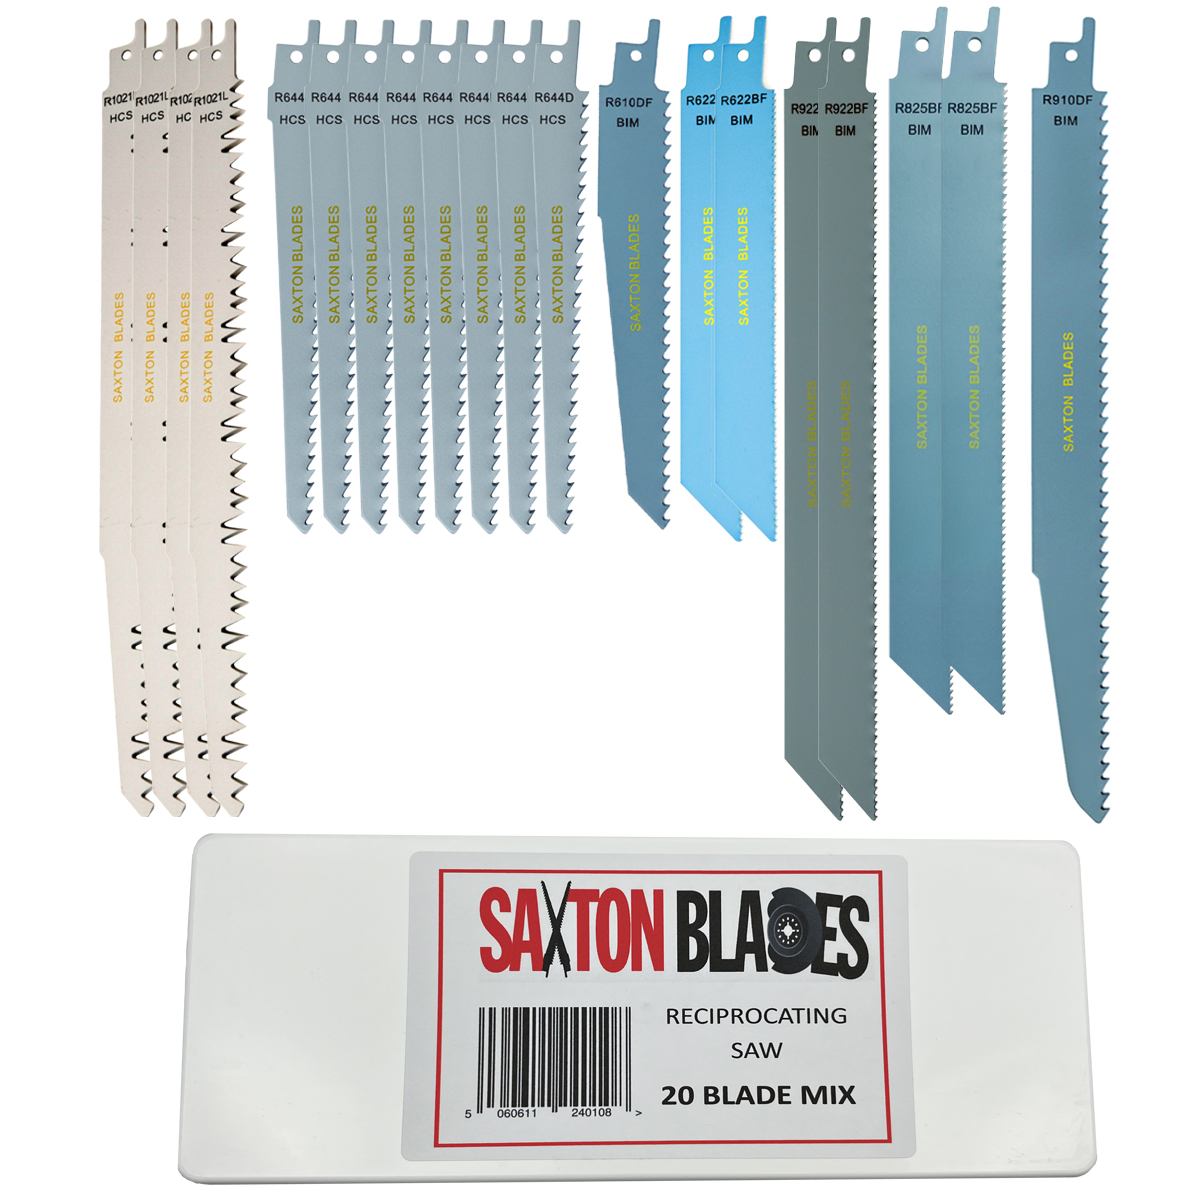
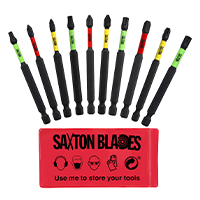
Most experienced woodworkers replace blades long before they look damaged. The cut quality changes first. If you notice increased resistance, slower cutting or a burning smell, stop and change the blade. Keeping sharp jigsaw blades, reciprocating saw blades and multi tool blades on hand lets you swap immediately instead of pushing through and ruining the cut.
Using the Wrong Blade for the Job
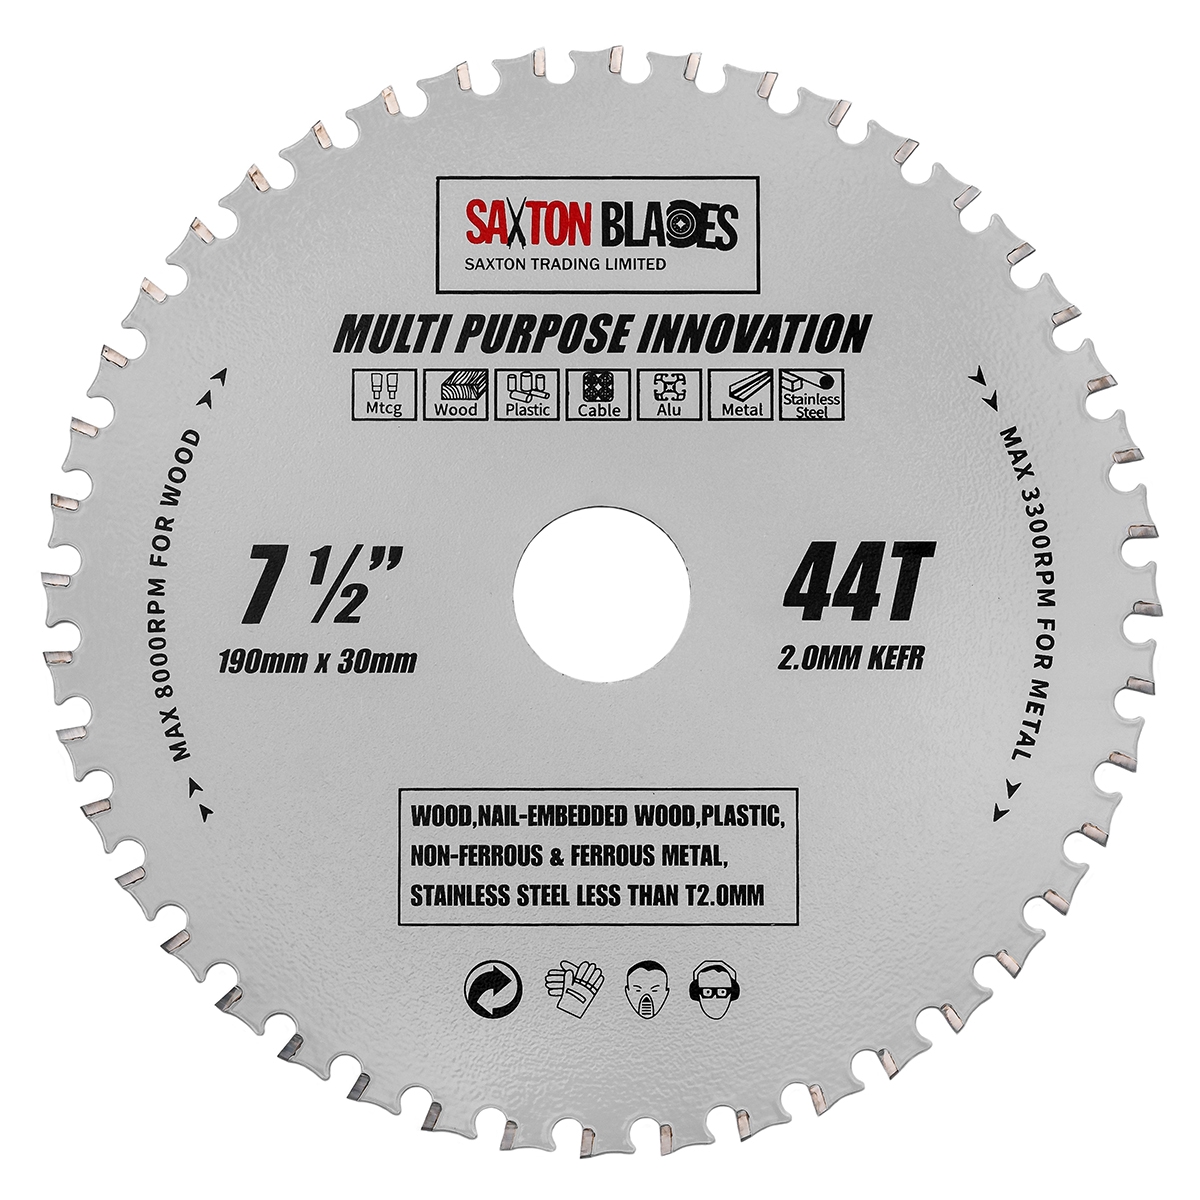
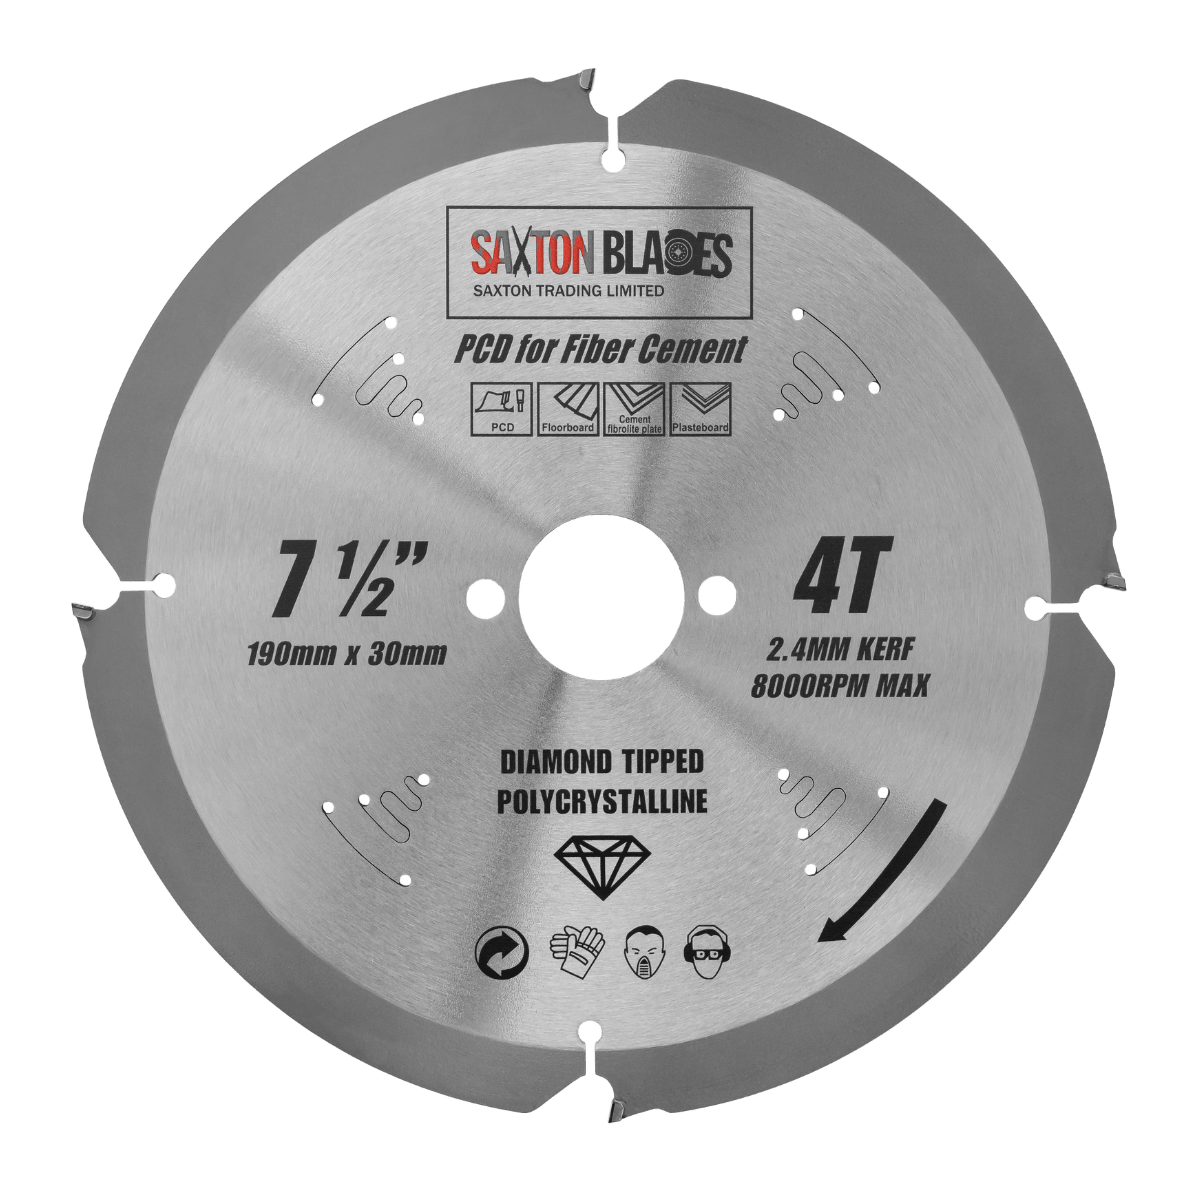
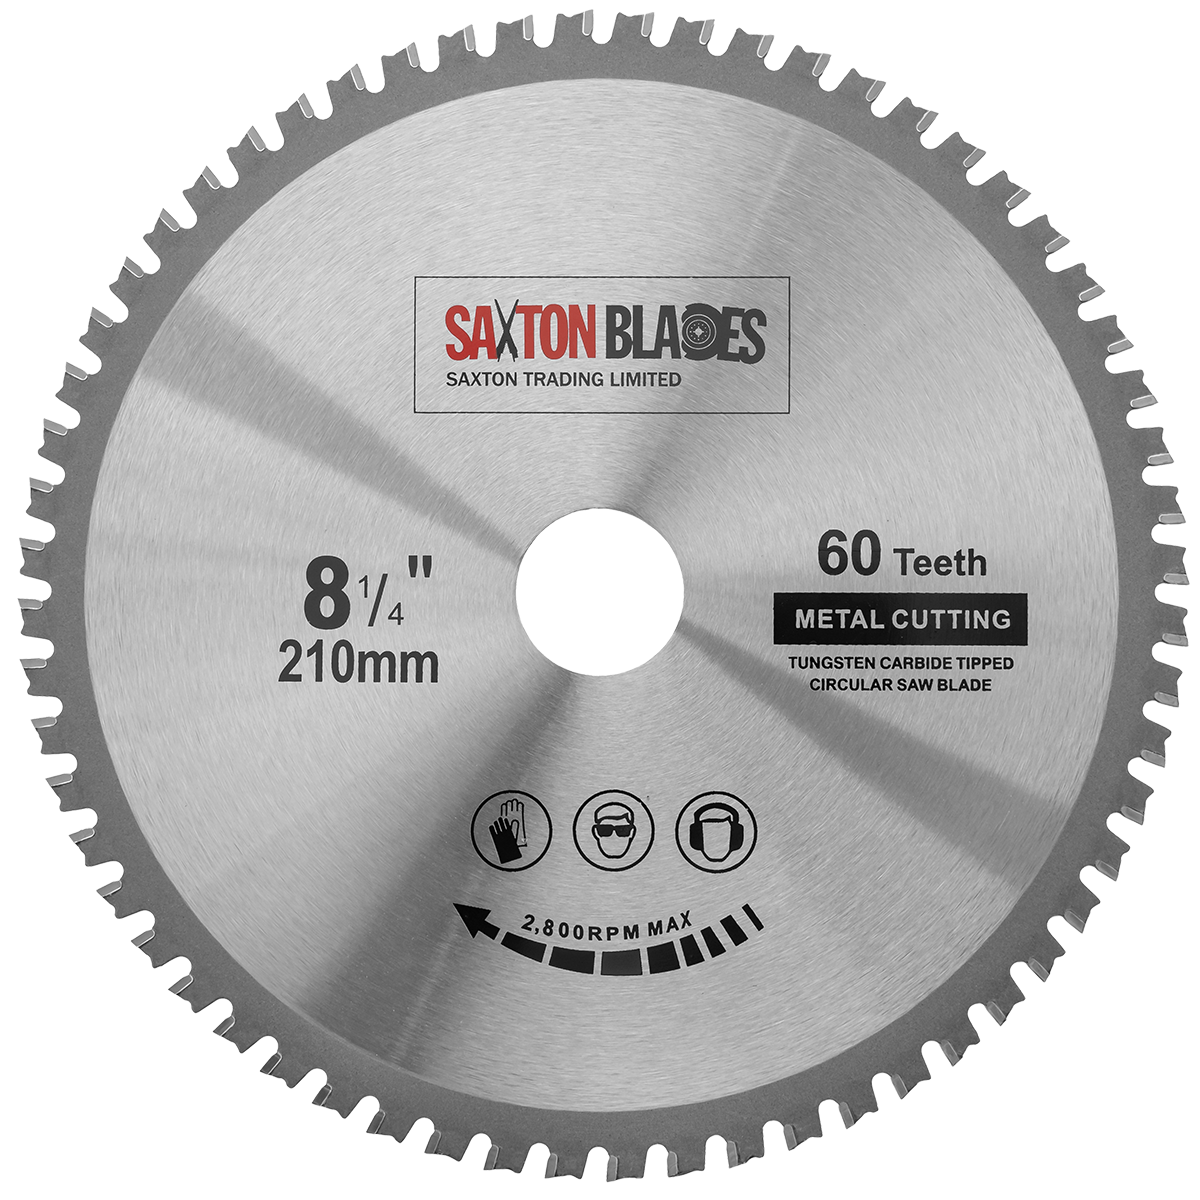
A brand new blade can still burn wood if it is the wrong type. Tooth design matters.
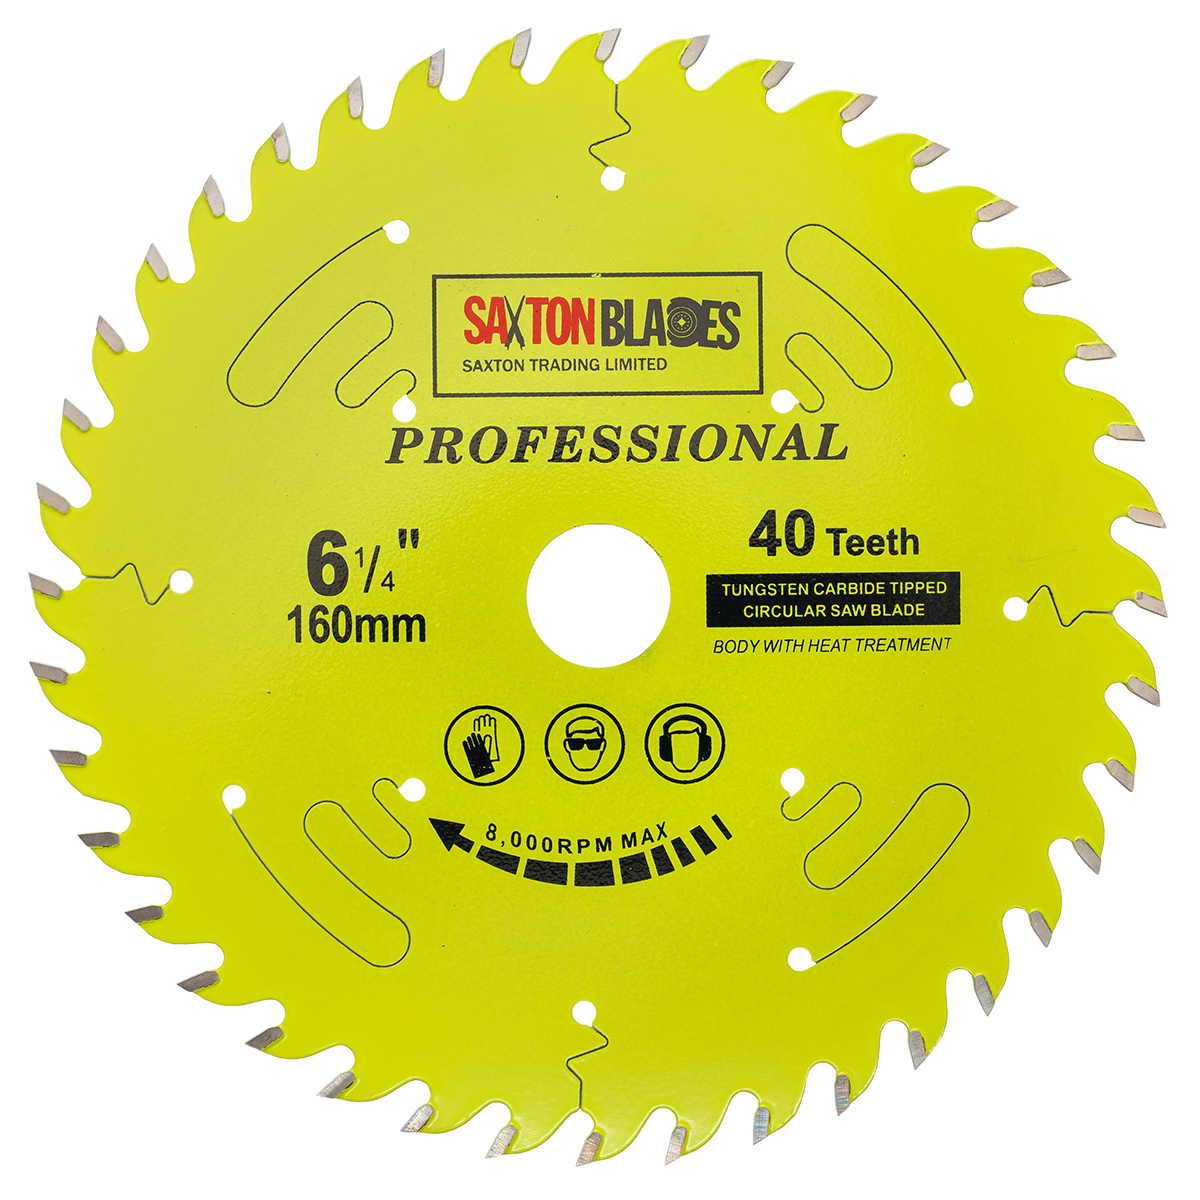
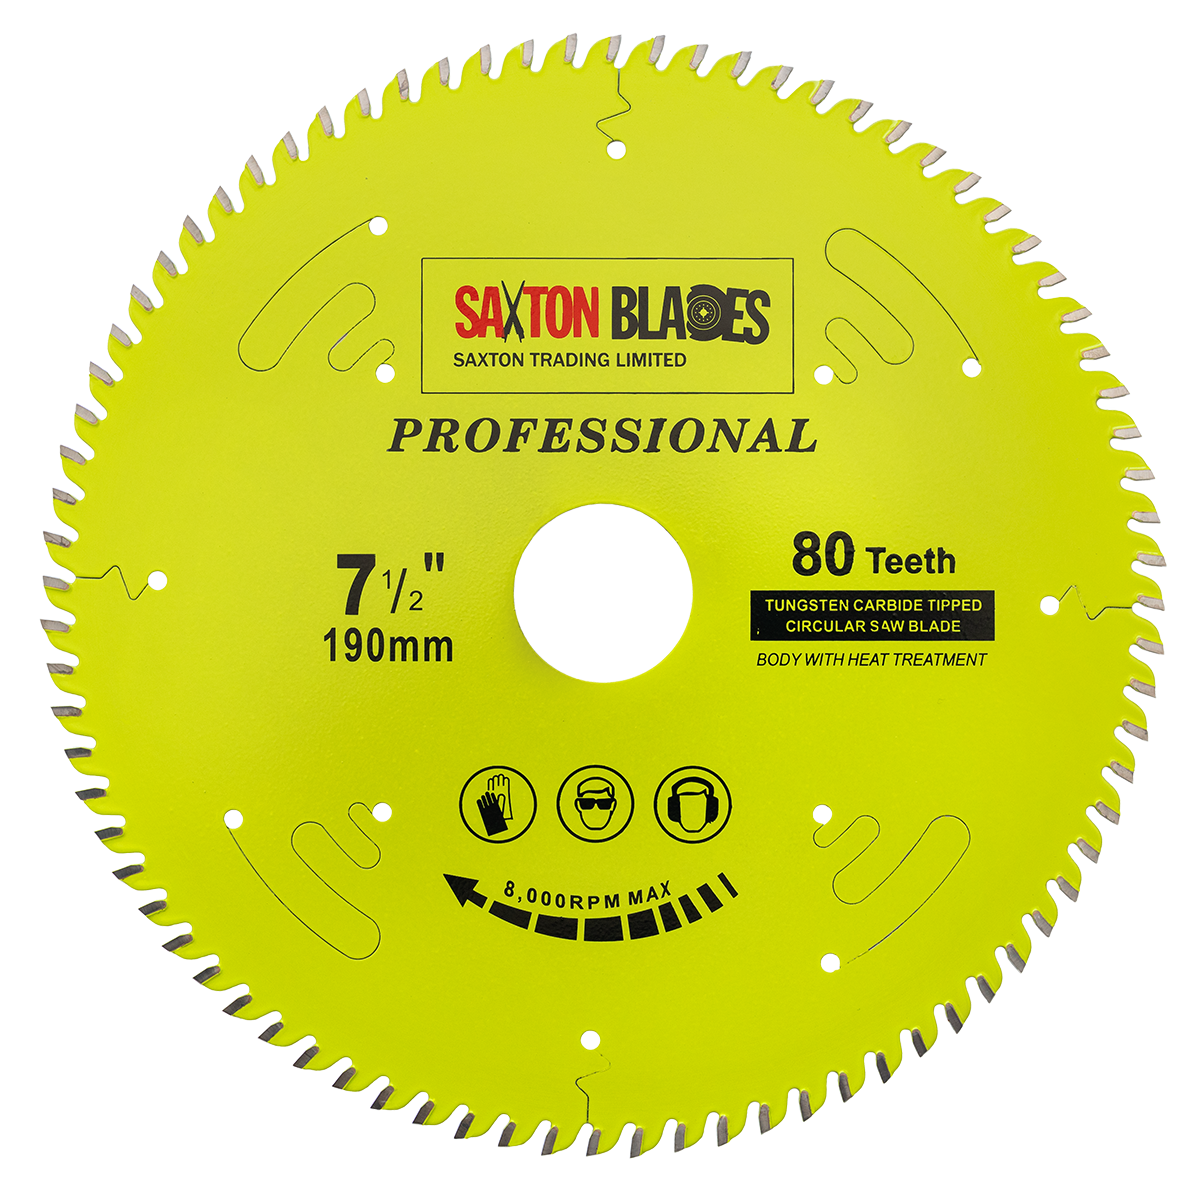
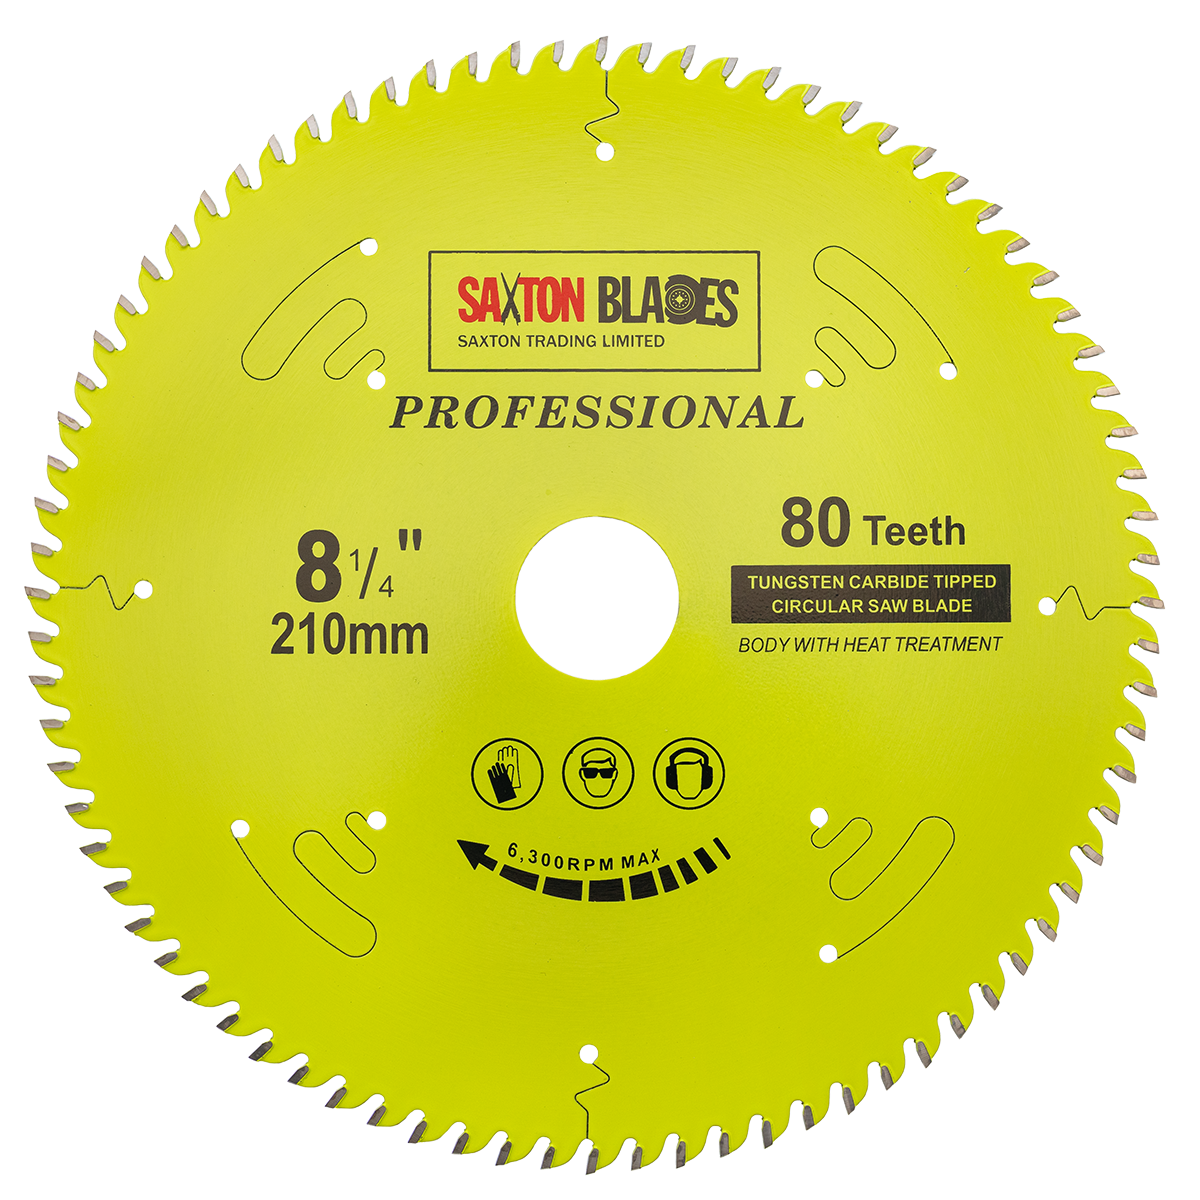
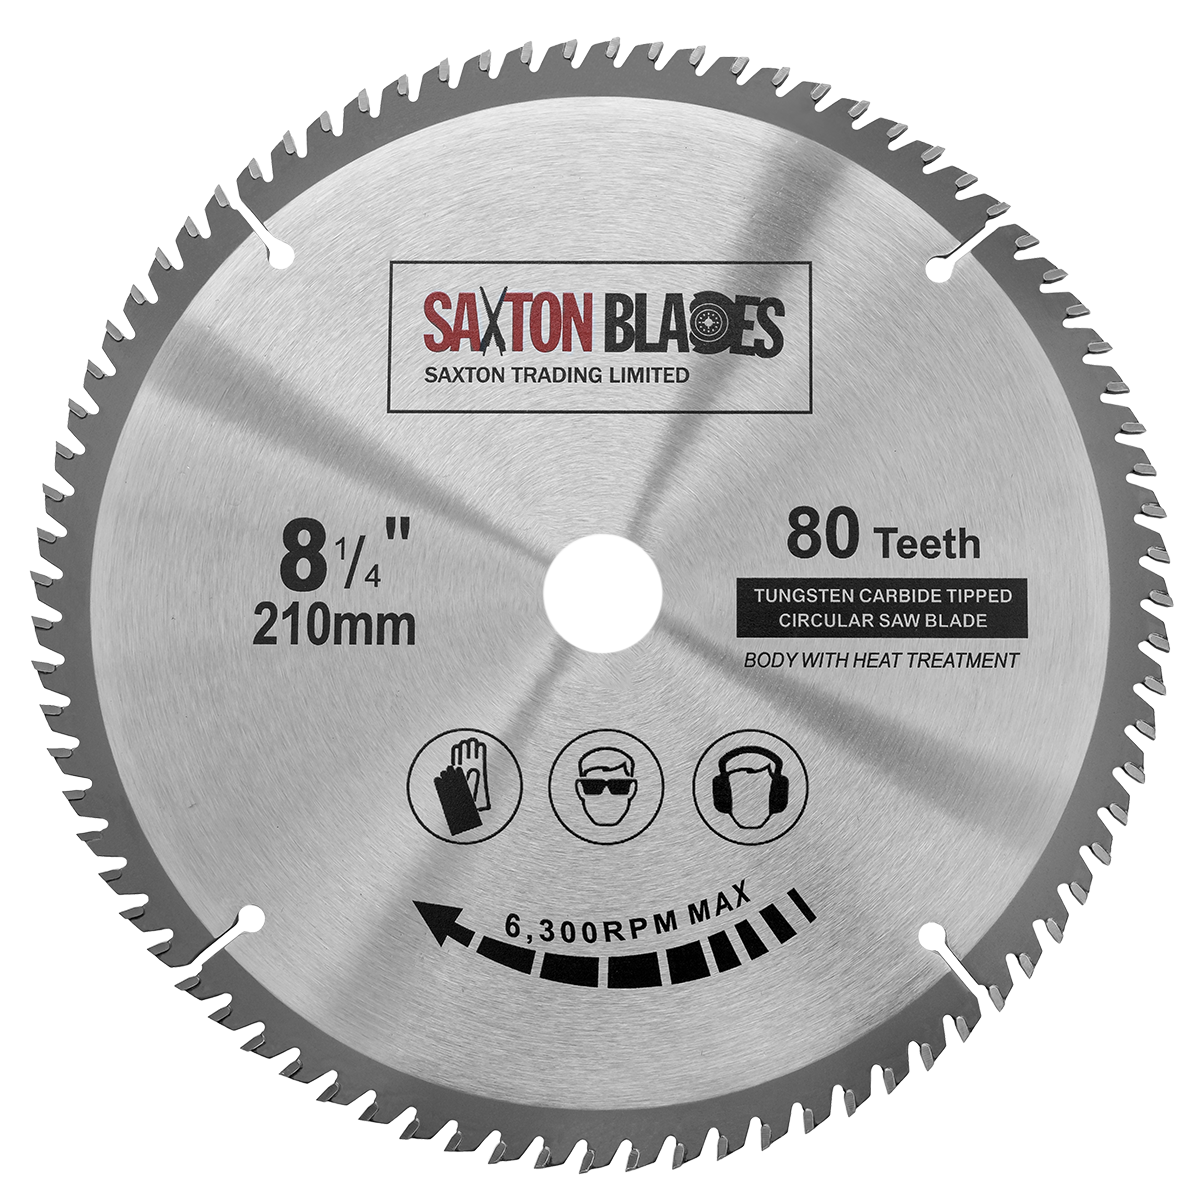
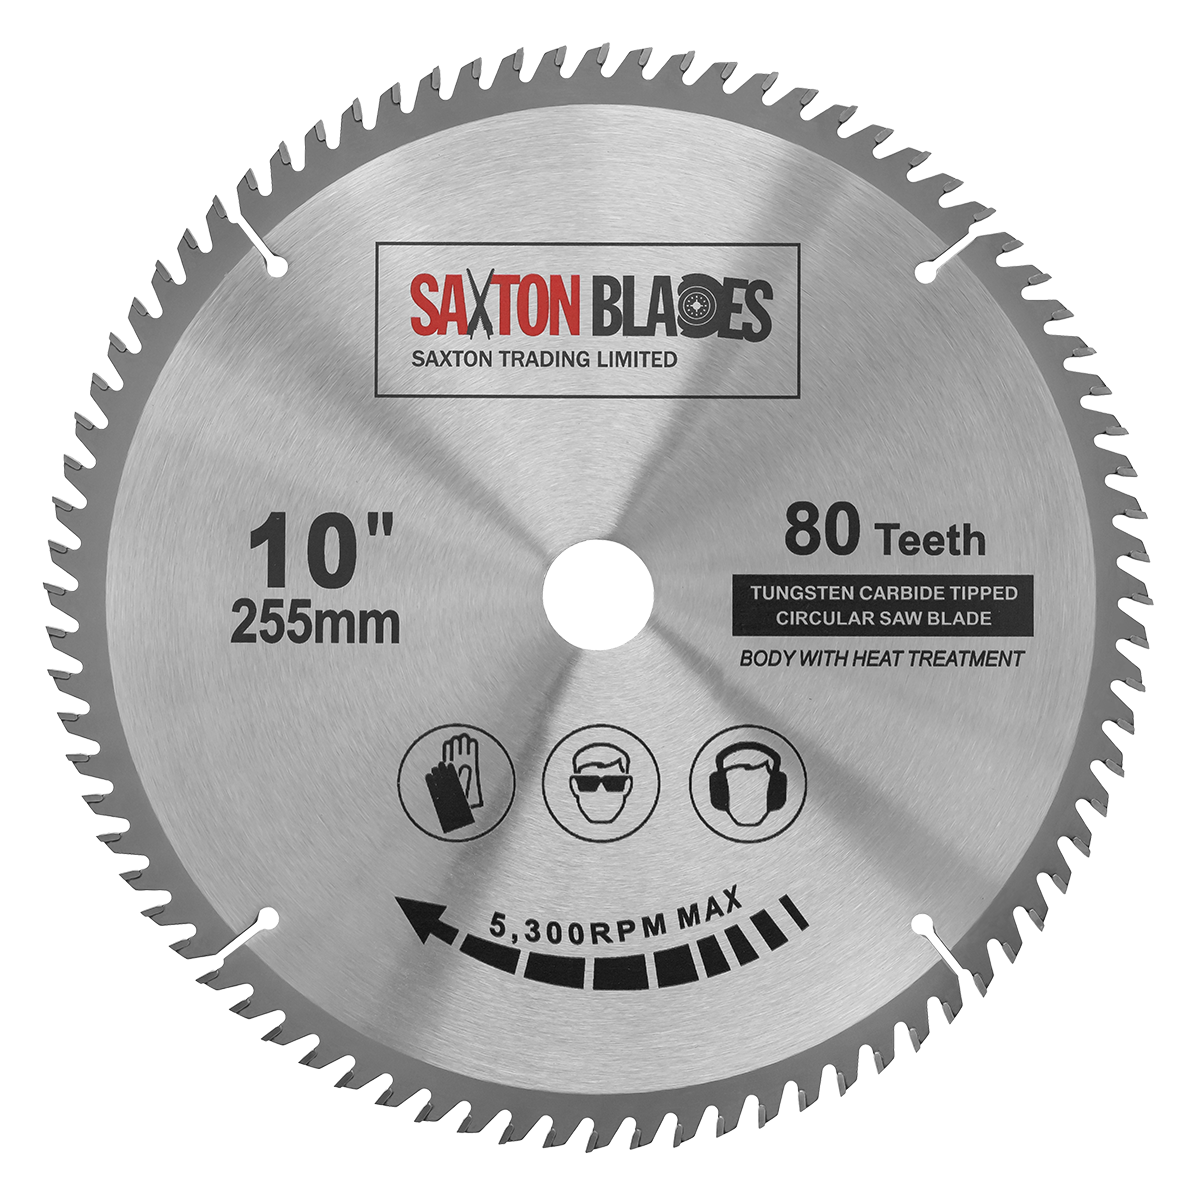
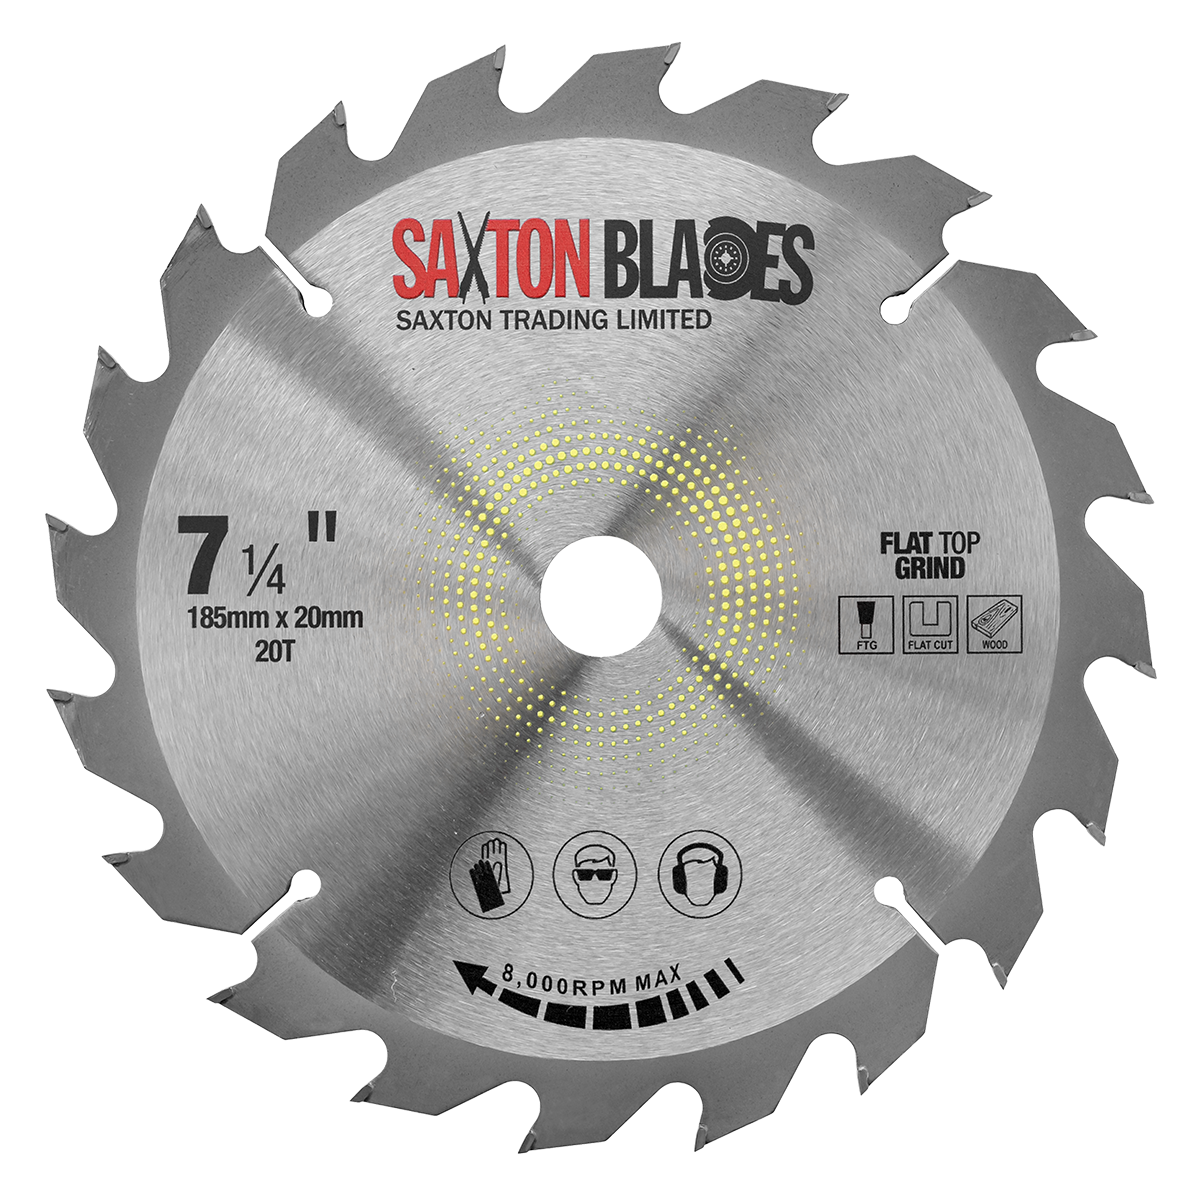
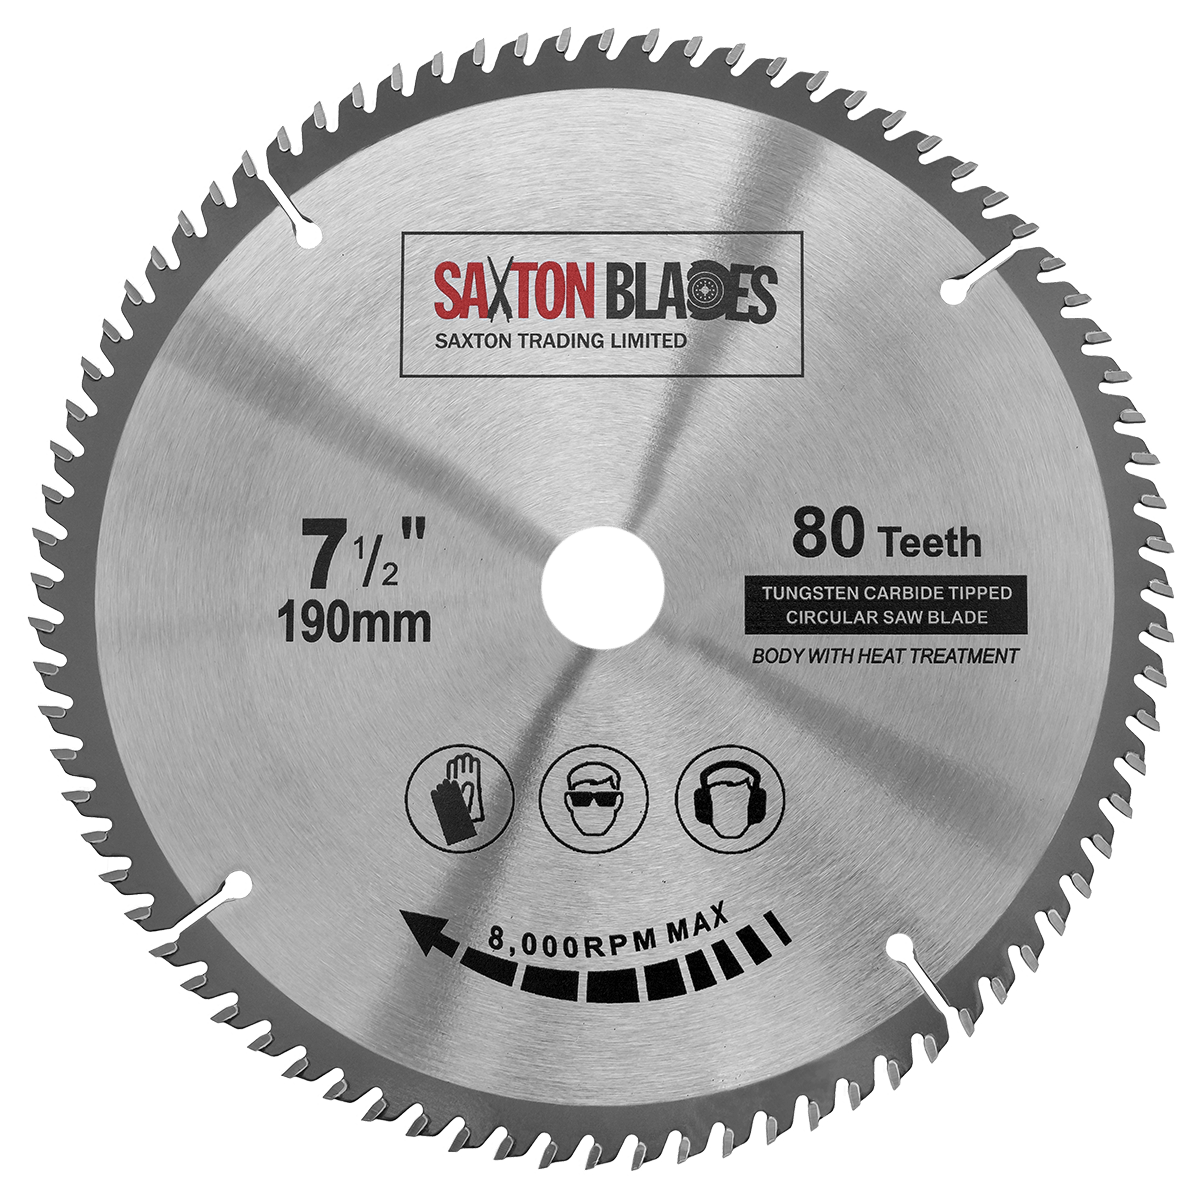
Fine-tooth blades cut slowly and smoothly. They are ideal for thin materials and visible edges. On thick timber, they clog easily, trap heat and burn. Coarse-tooth blades remove material faster, stay cooler and suit deeper cuts.
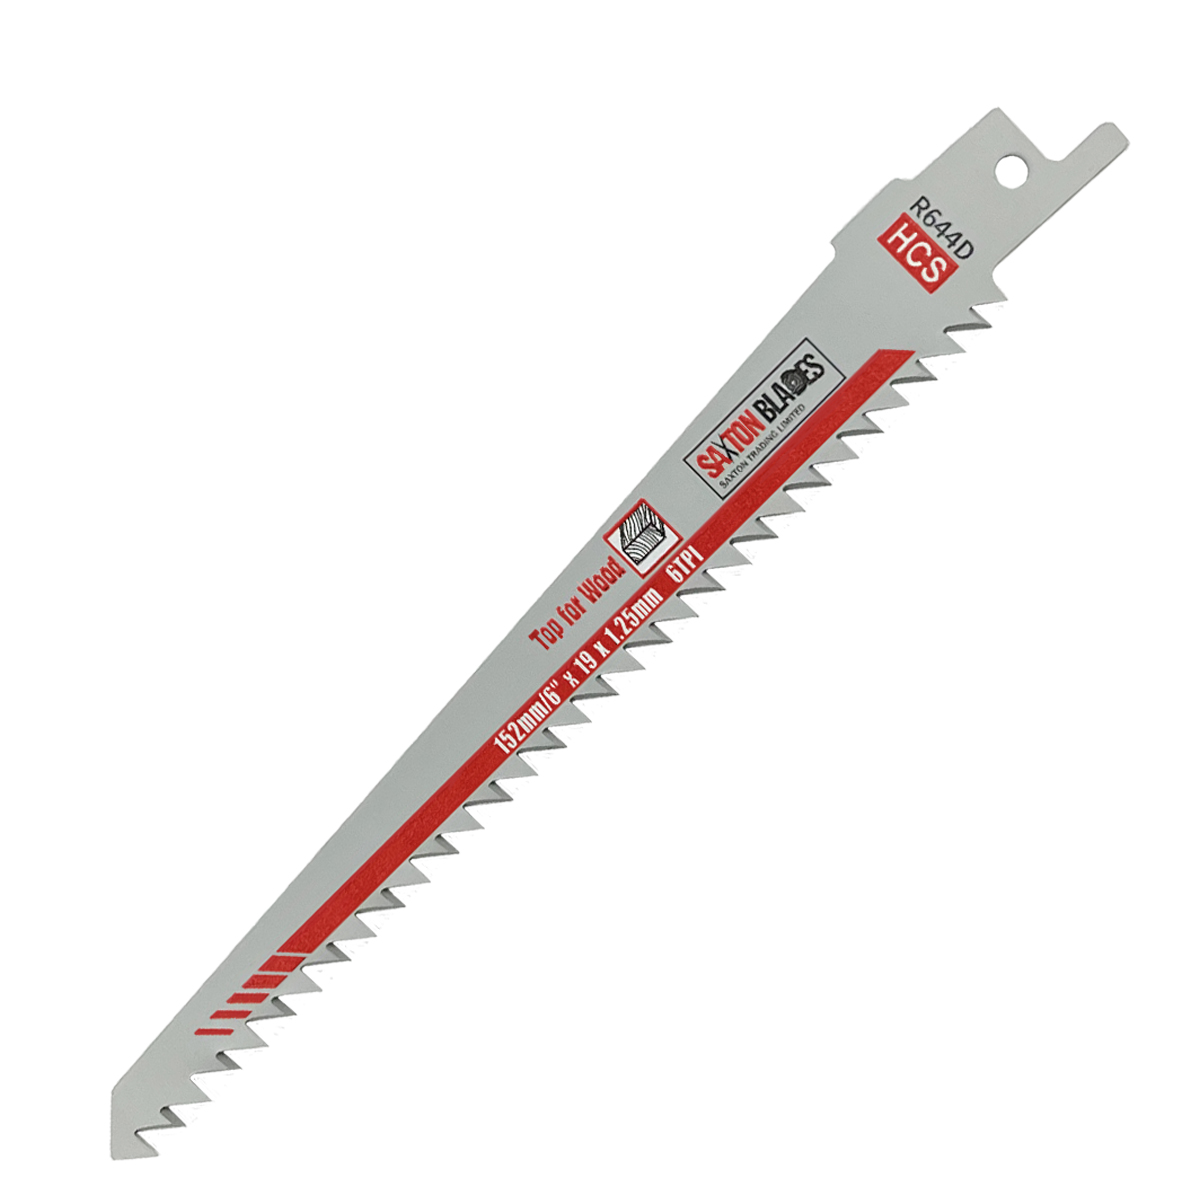
Cutting reclaimed wood or timber with embedded nails makes the problem worse. Standard wood blades dull quickly under these conditions. Specialist reciprocating saw blades designed for mixed materials reduce friction, cut faster and last longer.
Always match the blade to the material and thickness, not just the tool in your hand.
Feed Rate Problems: Too Slow or Too Fast
How quickly you push the saw matters more than many people realise.
Cut too slowly and the blade lingers in one spot. Heat builds. Burn marks follow. Cut too quickly and the blade flexes, rubs the sides of the cut and overheats anyway.
You are aiming for steady, controlled progress. The blade should do the work. You guide it. If smoke appears or the cut sounds laboured, ease off, let the blade clear sawdust and continue smoothly.
With jigsaws, especially, stopping mid-cut while the blade is still moving almost guarantees scorching. Smooth motion in, smooth motion out.
Incorrect Speed Settings Create Excess Heat
Variable speed settings are useful, but only when used correctly.
High speed increases friction. On hardwoods, this often leads to burning. Dropping the speed slightly reduces heat and produces a cleaner edge. Softer woods tolerate higher speeds, but even then, faster is not always better.
Multi-tools are particularly sensitive. Running them at full speed on wood often creates instant scorch marks. Lowering the speed and letting a sharp blade work makes a noticeable difference.
If in doubt, test on an offcut before committing to the final piece.
Blade Alignment and Tool Condition
Even the right blade can burn wood if it is not running straight. Bent blades, worn guide rollers or loose clamps cause the blade to rub against the sides of the cut.
On jigsaws, excessive vibration is a warning sign. Check blade seating and support rollers. On reciprocating saws, inspect blades for twists or bends before starting.
Poor alignment increases friction, heat and wear. Fixing it protects both your material and your tools.
Resin and Pitch Build Up on Blades
Softwoods leave behind resin and pitch that coats blade teeth over time. This sticky layer increases friction and reduces cutting efficiency, even on relatively new blades.
Regular cleaning with a resin remover or degreaser restores performance. If cleaning does not help, replacement is usually the better option. A dirty blade behaves like a dull one.
How to Prevent Saw Burn Going Forward
Most burn issues disappear when you focus on the basics:
- Choose the right blade for the material
- Replace blades at the first sign of resistance
- Match tool speed to wood type
- Maintain steady, controlled feed pressure
- Keep blades clean and properly aligned
Prevent Future DIY Issues
When wood burns, the instinct is often to slow down and push harder. That usually makes things worse. Stop instead. Change the blade, adjust the speed, reset the cut.
Clean cuts are almost always a setup issue, not a skill issue. Fix the cause, and the scorch marks disappear.