


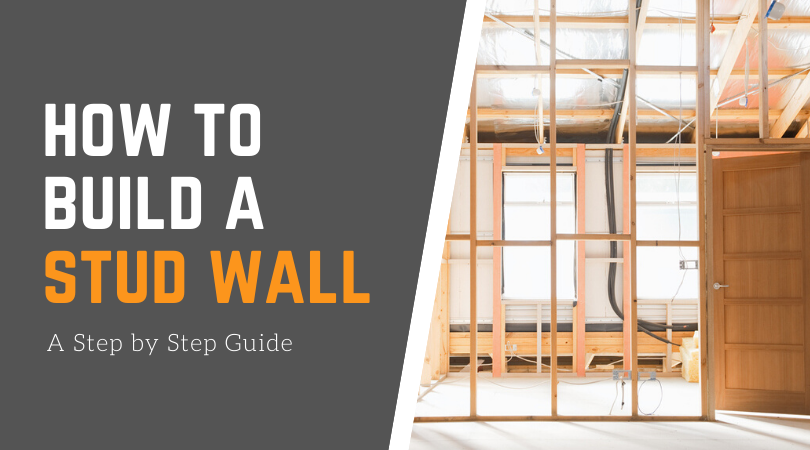
Step by Step Guide: How to Build a Stud Wall
A stud partition wall is quick and easy to build and a great, cost-effective way of breaking up a large room into smaller sections. You can use a partition wall such as this to create an office, en-suite or extra bedroom in your home. Stud walls are typically built with a timber frame and plasterboard covering. Because stud walls are vertical and slender, they use metal studs which are secured to the floor, wall and ceiling to create a secure structure. They are usually used in the interiors of a building and are more often non-load-bearing structures. With the right guide, these internal walls are a great DIY project for your home.
In this guide, we’ll walk you through each of the steps to building your own stud wall in your home including the equipment and materials you’ll need to put your partition wall together and secure it in place.
Difficulty rating: ★★☆☆☆ (some beginner’s DIY knowledge required)
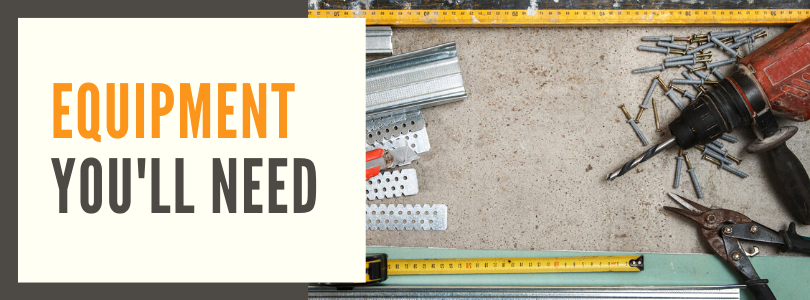
Equipment You Will Need:
- Hand saw
- Hammer
- Nail gun
- Spirit level
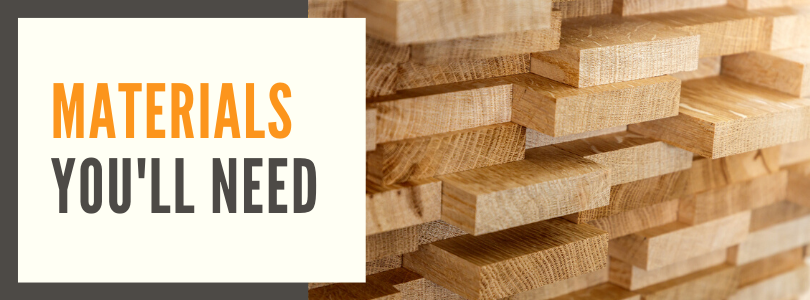
Materials You Will Need
- Plasterboard (12.5mm thick)
- Studwork timber
- Metal studs
- Nails
- Wood glue (optional)
- Plumb line
Choosing a Place for Your Wall
There are four main parts to your stud wall: the floor/sole plate, ceiling plate, vertical studs and horizontal braces. The first thing to do when planning your stud wall is to choose a place for it to go. Wherever you choose, you’ll need to make sure that the wall you’re doing to secure your stud wall against is safe to hammer or drill into. This means checking there aren’t any cables or pipes inside of the wall that you might unknowingly hit and disturb in the building process. You can use a digital pipe and cable detector to do this. Because stud walls aren’t load-bearing, you have quite a lot of flexibility in terms of where you build them.
Check the Building Regulations
After choosing the location and measuring your stud wall, you need to make sure that the wall is going to comply with the building regulations. Contact your building authority to make sure that your plans meet the current regulations of the building and also check that your stud wall isn’t going to change the building’s fire resistance, light or ventilation. If your stud wall passes these two tests then you can proceed with building.
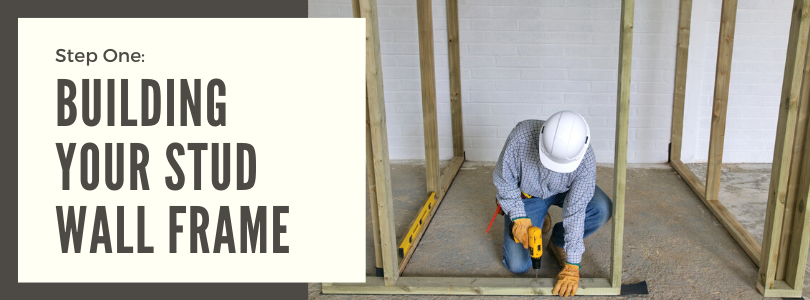
Step One: Building Your Stud Wall Frame
Floorplate
Once you have found where your wall is going to go, it’s time to take some measurements and cut your timber to size. The first thing to measure and cut is the floorplate or bottom plate. To do this, measure from the wall you’re going to fix your partition wall to outwards to where you want the partition wall to end. Your floor plate will need to fit between two walls or skirting. Then, cut one or two pieces of timber to measure, ensuring your timber is cut straight and fits the gap exactly. Secure these pieces of timber to the floor with nails at intervals of about 400mm using a nail gun or drill. This will be the base of your partition wall.
Ceiling plate
Now it’s time to fix the ceiling plate or head plate. Mark the position of where you want your partition wall to stand on the wall or skirting board. From the mark you’ve drawn, attach a piece of string and lead the string to the ceiling. Draw along this piece of string, using a spirit level to ensure the line is straight. Draw a small line at the ceiling point too, to mark where the top of your partition wall will go. You can use a plumb line to make sure your ceiling plate is directly above for floor plate before securing.
Hammer a nail into the ceiling as close to the wall junction as you can. Then measure and mark the opposite ceiling and using a pencil, draw a line between the two points to show where the ceiling plate will go. If you’re nailing into a plastered ceiling, you will need to identify the ceiling joists to secure your ceiling plate to. Cut your piece of timber to size and nail it into the ceiling to cover the line you’ve drawn.

Vertical studs
Measure along the two walls between your floor plate and ceiling plate, draw a line up along where you’ve measured and cut your wall studs to length. You can use a tenon saw to shape out a notch where your skirting boards are if necessary to ensure the vertical studs lie flat. Once doing this, fix your stud plates to the walls to join your ceiling and floor plates at each end. Drill your stud plates to the wall at intervals starting just above the skirting board.
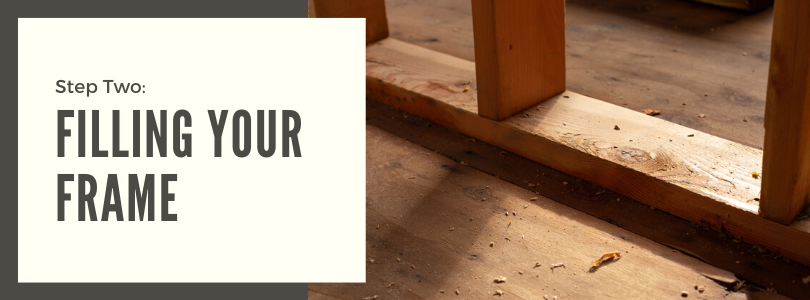
Step Two: Filling Your Frame
Now you need to measure and cut your vertical studs. Mark your floor plate at intervals with a pencil to show where your timber studs will go. Try and mark your intervals at around 400-600mm apart. This will make your wall sturdy and solid, and will also make it easier to install plasterboard later. If you’re going to add a doorway into your partition wall, make sure you remember to leave enough space for the door frame when adding in your vertical stud marks. Measure and cut your vertical studs and then secure the studs along the floor plate at the intervals you’ve marked. When cutting, ensure that your vertical studs are a tight and secure fit from your floor plate to the ceiling plate.
Now it’s time to measure and cut the noggins which are short lengths of timber that will be fixed between your vertical studs. These will help to reinforce your vertical studs, strengthening the final structure and preventing any shakiness. At the ceiling plate, measure the distance between your vertical studs and cut enough noggins at this length to add between the vertical studs at regular intervals.
Secure these to each side of your vertical studs with nails. You can attach your studs by screwing or nailing them to the structure, and you can also use wood glue for extra strength. Try and place them so your plasterboard can also be secured to them to add reinforcement to the plasterboard sheets where they join the wall.
If you need to make room for wiring or pipework within the wall, you can make some holes in either the vertical studs the noggins using a drill. Make sure to do this before adding the plasterboard in the next step.
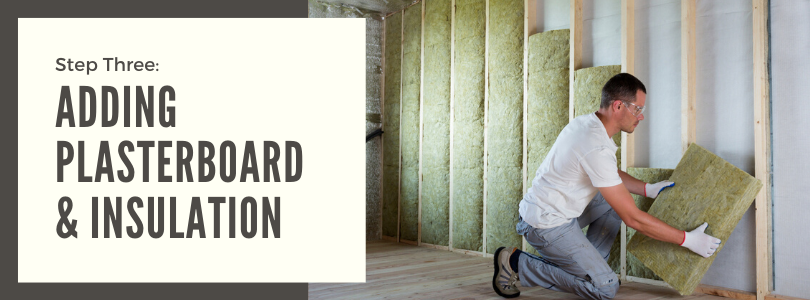
Step Three: Adding Plasterboard & Insulating Your Wall
Now that the framework of your stud wall is complete, it’s time to add the plasterboard or drywall, ideally using plasterboard of around 12.5mm-thick. Plasterboard can be heavy, so get someone to help you with this stage if you can. Fix your plasterboard (cut to length) to the stud wall frame, preferably horizontally, and with a drill and nails. Once one side of plasterboard is secured, you can add insulation to the other side of the wall (see next step), before attaching plasterboard to the other side too.
Once you have secured the plasterboard, add a coat of plaster over the plasterboard and now your walls are ready for decorating. You can either paint you new wall or add wallpaper depending on how you want it to look.
It is a good idea to add sound insulation between your two sheets of plasterboard for soundproofing and energy efficiency. The best insulation to use for your stud wall is insulation roll, insulation board or using insulated plasterboard for building your wall.
Shop Affordable DIY Tools
Save on DIY projects with affordable tools & get inspired with handy tips on our blog. Tackle any cutting job with our high-quality blades at low prices.
Stud Wall FAQs
What is a stud wall?
A stud wall is a partitioning wall made from a stud (timber) frame with plasterboard nailed over the top. They are usually used in the interiors of a building and are more often non-load-bearing structures.
How do I know if I have a stud wall?
Stud walls are normally the internal walls of a building (the walls used to divide up a room). If your wall is hollow, then it is most likely built with a stud structure of either wood or steel. You can poke a series of small holes horizontally across the surface to check the wall is hollow. Alternatively, you can knock on the wall to check the wall emits a hollow sound.
What is the purpose of a wall stud?
Wall studs are what fill the frame of your wall to provide support to the structure. Once they have been fixed to your wall frame, they create separate spaces which can be used to hide the wiring of plugs and switches or for insulation, before covering the wall with a plasterboard layer.
How do you start a stud wall?
The first step in building a stud wall is to construct the floor plate of your wall frame. Take the measurements of your floor plate and cut to size. Then, secure this to the floor with nails in the position where you want your stud wall to stand. This will provide the base of your wall and from here you can construct the rest of your frame.
How much does a stud wall cost UK?
Constructing a stud wall will usually cost between £750-£1,000, although you can cut costs by building the wall yourself. Your main expenditure will be on timber and plasterboard. You can expect to pay around £2 per metre for 4” by 2” stud wall timber, whilst plasterboard will usually cost £3-5 per m2.
How do you build a stud wall?
Stud walls are typically built with a timber frame and plasterboard covering. They use metal studs which are secured to the floor, wall and ceiling to create a secure and slender structure.
Are stud walls ever load-bearing?
Stud walls are most often non-load-bearing structures, especially if the wall in question runs parallel to the floor joists above. However, some stud walls are semi-load bearing and used to help support light or short joists.
How thick is a stud wall?
Timber stud walls are usually just over 5 inches in thickness. This includes the combined thickness of your studs (either 70 or 100mm), two plasterboard sheets (each 12.5mm in thickness) and the skim plaster finishes.