

Impress your guests with your chopping board DIY skills!
For this guide, we have put together some tips on how to safely construct your own rectangular DIY chopping board. You can fabricate a chopping board into many different shapes and sizes, so we have left the sizes to you and what you think you will need out of it in your kitchen.
Wooden chopping boards add a distinctive and rustic look to any kitchen space and providing that they are cleaned and maintained effectively, you can get years of use out of them.
When you develop your woodworking skills, it is possible to make larger chopping boards or even wooden chopping boards with handles to really impress your guests!
The Best Woodworking Tools You Will Need For Your Wood DIY Chopping Board
For this project, you will need a few basic materials to create your very own custom chopping board. Here’s what you’ll need:
- The pieces of wood of your choice (we recommend hardwoods like maple or oak).
- Sandpaper in a variety of grits (80, 150, and 220 are recommended). You could use an electric sander to achieve a smoother finish on the surface of the board.
- Food-grade mineral oil.
- Measuring tape.
- Safety glasses.
What Woodworking Saws and Blades are Best to Use?
Using the tools correctly is the first step in any project. This will help you avoid any risks and create a better result! It is also important to follow the correct practices with your woodworking tools, such as saw and blade maintenance and health and safety when woodworking.
Handsaw
A handsaw is great for making straight cuts. It is also useful for cutting precise angles and curves and is ideal for smaller wood DIY projects.
Jigsaw
If you would like your DIY chopping board to have a handle or a border, a jigsaw may be a good option for you. A jigsaw is useful for cutting joints and different shapes.
Table Saw
Table saws are an ideal tool for wood DIY projects like chopping boards. With the help of a table saw, you can easily cut your wood to the desired shape and size. You can use a miter saw gauge to make precise angled cuts with the table saw, or you can use an adjustable fence to make straight cuts.
Additional Tips Before You Start
- Choose a hardwood that is close-grained and durable. Close-grained hardwoods are less likely to absorb bacteria and moisture (we recommend hardwoods like maple or oak).
- Make sure that your DIY cutting board is thick enough to withstand heavy use. A good rule of thumb is to make your cutting board at least 1 inch thick; between 1-2 inches is the ideal thickness.
- Food-grade mineral oil or other finish of your choice to protect it and make it more durable.
Step-by-Step Guide to Making Your DIY Chopping Board
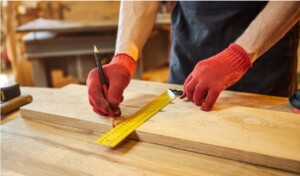
Step 1: Measure and Cut the Board
You may want to carry out this work on a workbench or your own cutting board with clamps to protect your units and prevent accidents.
To begin, measure out your desired chopping board size and mark it on the wood. You can use a ruler or measuring tape for this step. Using a saw, cut along the lines you marked to get the desired size. Take your time and be sure to make clean cuts; this will ensure a smooth surface for the board.
Step 2: Sand and Smoothen The Board
Once you’ve cut the board to size, it’s time to sand it down. Start with medium-grit (80) sandpaper and work your way up to fine-grit (220). This will make sure your board has a smooth surface. Remember to always wear safety glasses when sanding wood and ensure that all sides of the board are sanded appropriately.
Step 3: Apply a Finish
Once the board is sanded, it’s time to apply the finish. We recommend using food-safe mineral oil for this step, as it won’t affect the taste of food. Apply the oil generously and let it soak in for a few minutes before wiping off any excess with a clean cloth.
As your chopping board will be in contact with food, it is important that you use a food-grade standard oil to reduce harmful leftover food bacteria. You will need to reapply mineral oil to your chopping board every few months to keep it protected.
Step 4: Use Your Board!
Congratulations on your newfound chopping board DIY skills! Now all that’s left to do is enjoy it—get out there and put your newfound cutting board skills to good use!
How to Care For Your DIY Wooden Chopping Board
Caring for your wooden chopping board is essential to ensuring its longevity and great performance for years to come. Here are some tips on how to properly care for your DIY chopping board:
- Sharpen your knives regularly. A blunt knife can damage your board.
- Sand your board periodically. To remove any deep cuts or scratches, occasionally use fine-grit sandpaper to maintain the quality of your wooden chopping board.
- Oil your board regularly. Applying oil safeguards your board against moisture and bacteria getting into the wood. To apply the oil, just gently rub it onto the board’s surface using a clean cloth, and leave on the oil for a few hours before wiping it off with a clean cloth.
- Avoid using harsh chemical cleaners on your board. These can damage the wooden cutting board and make it more susceptible to bacteria.
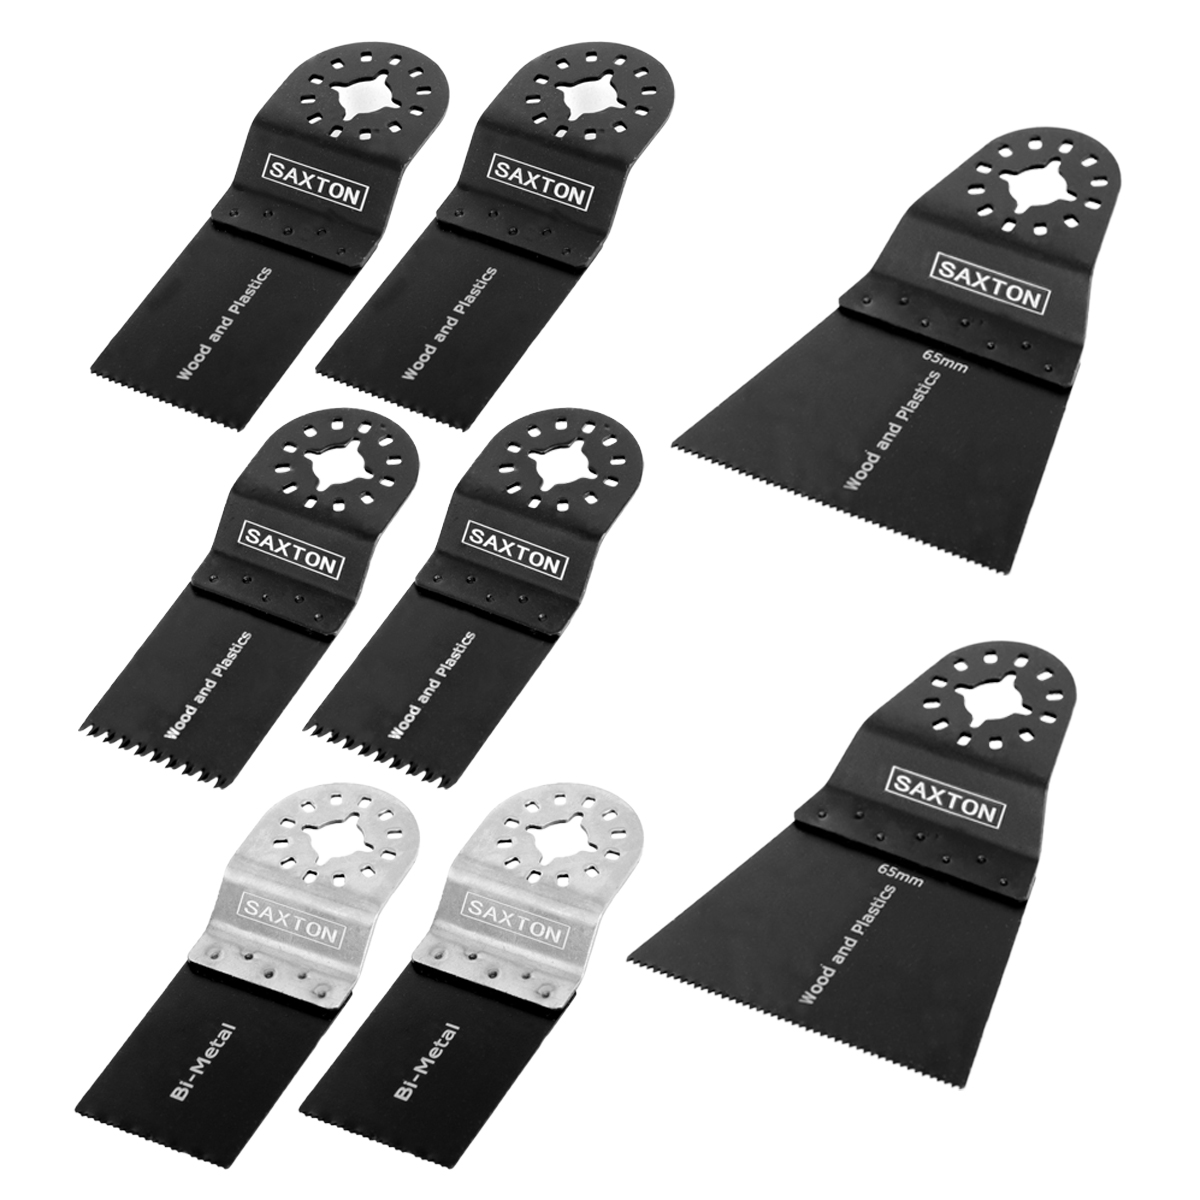
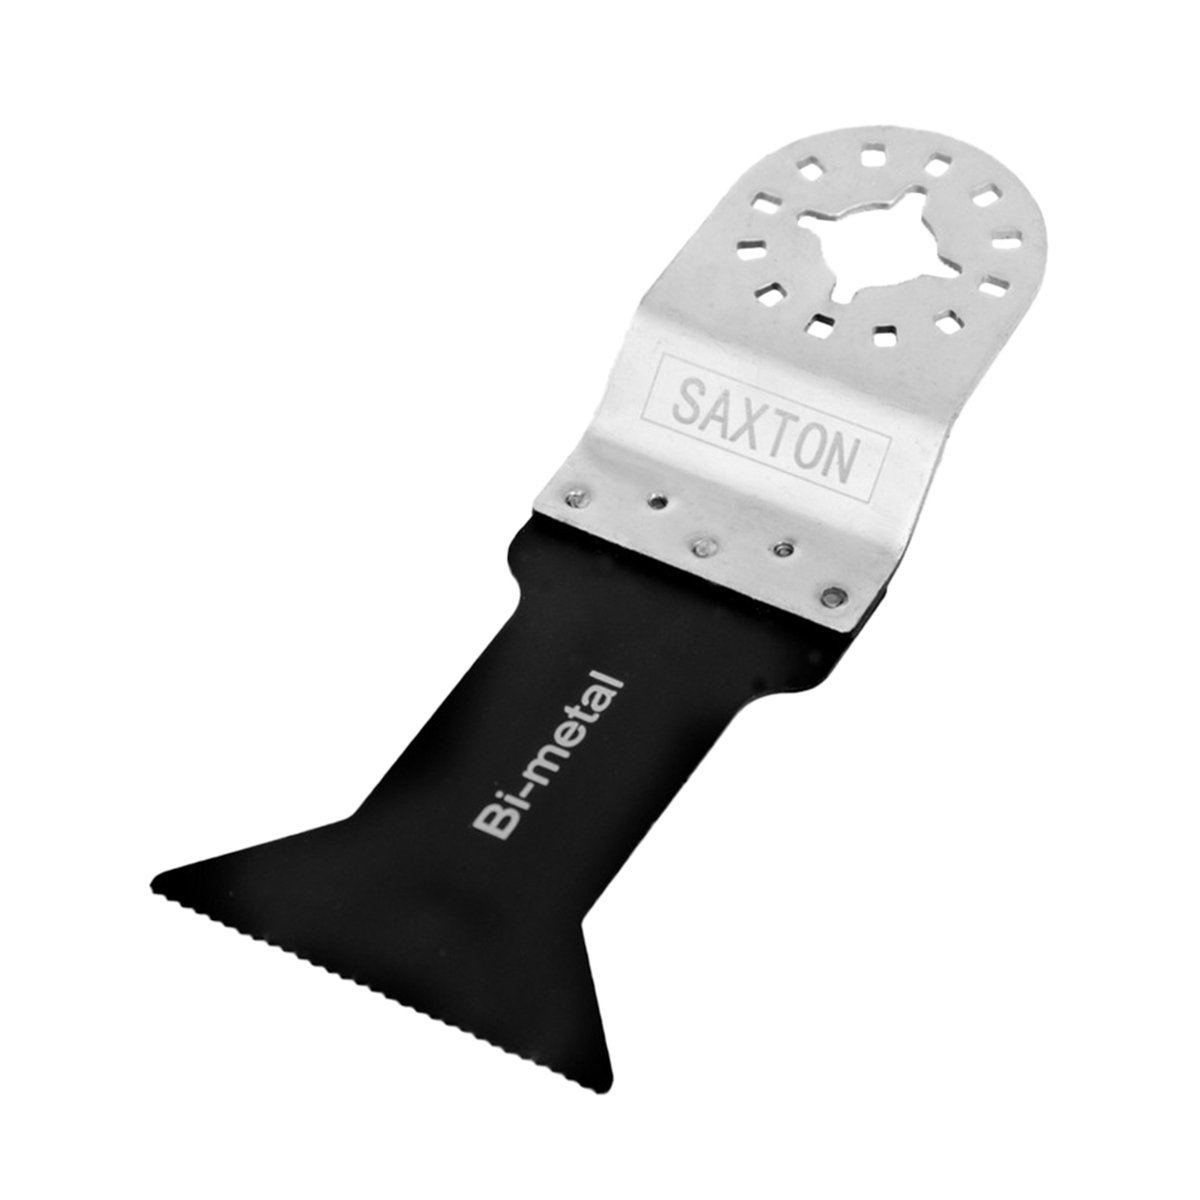
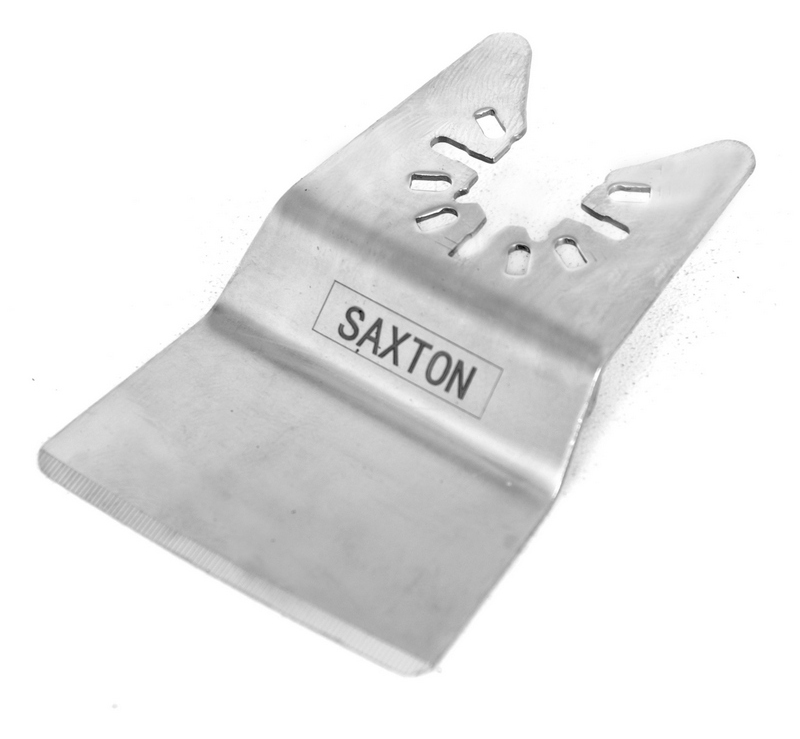
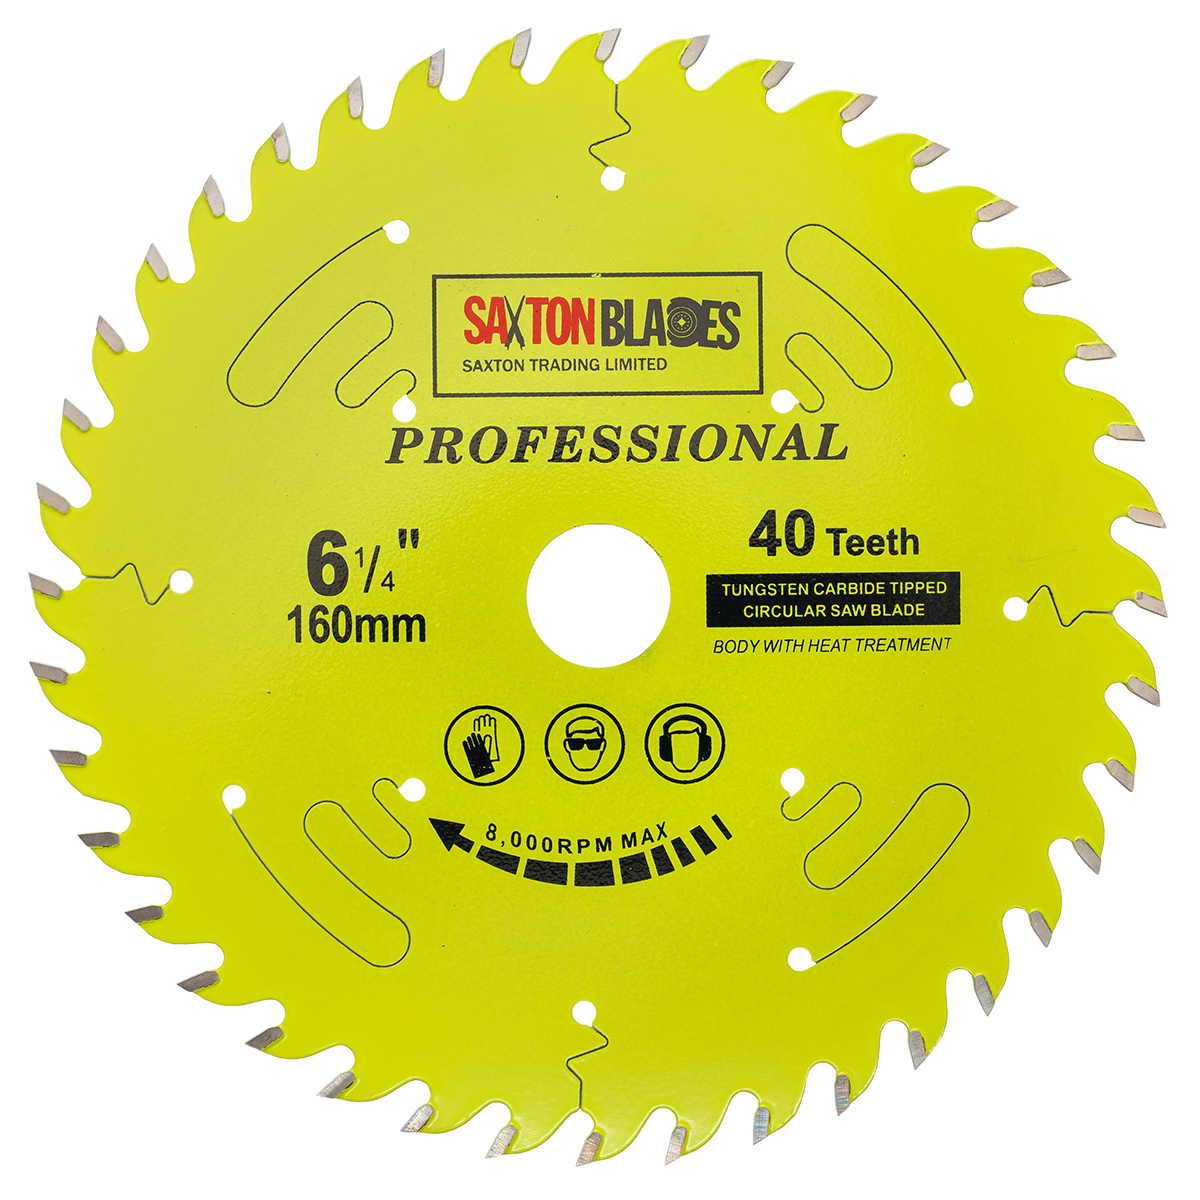
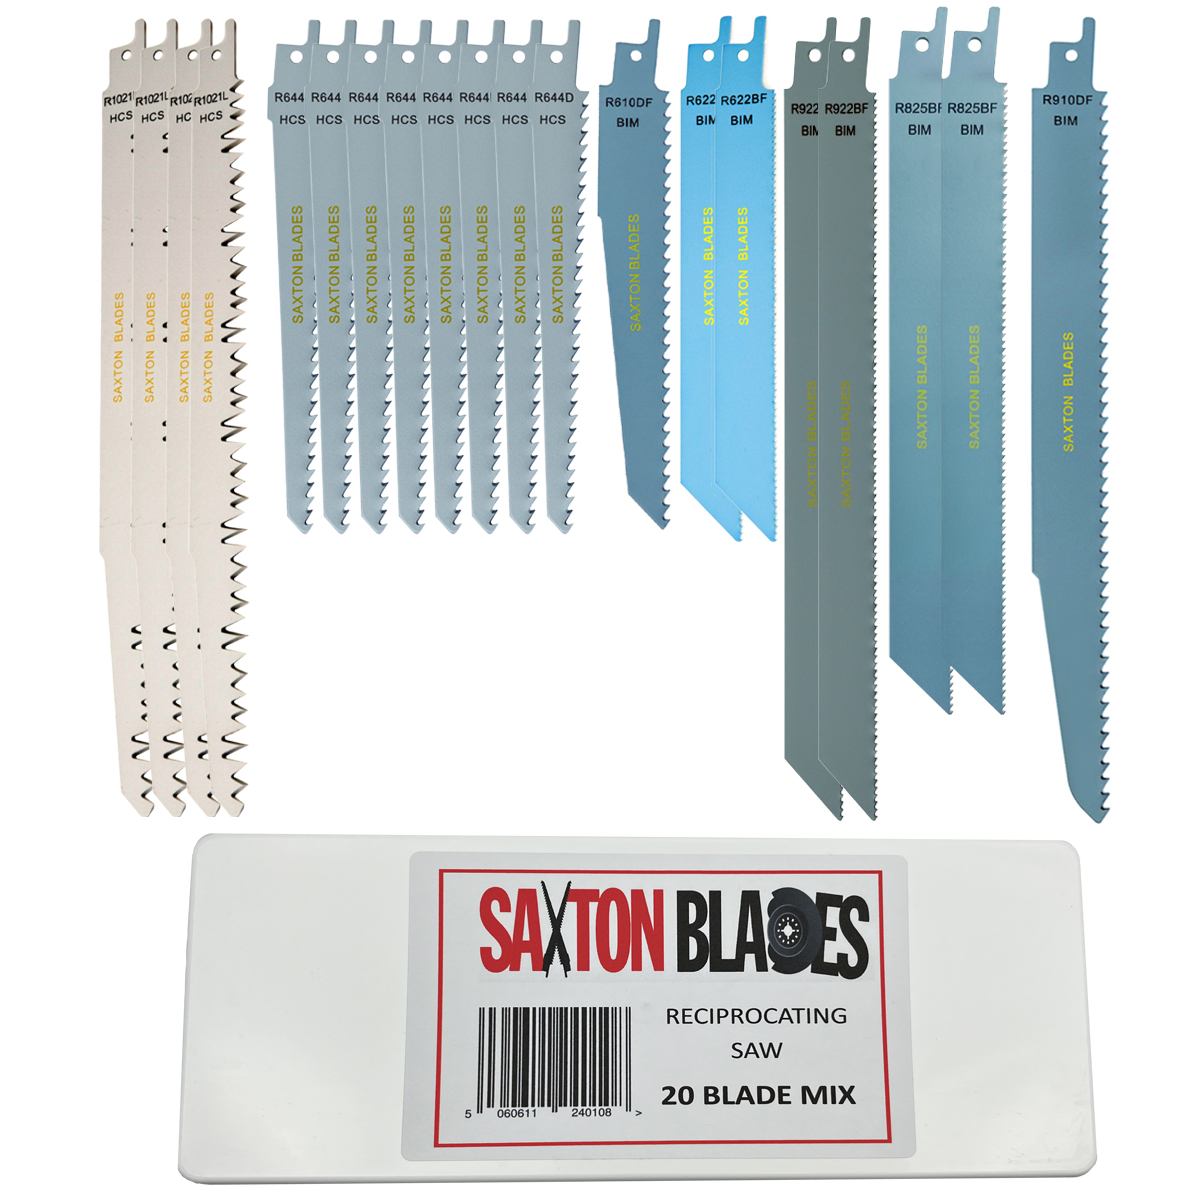
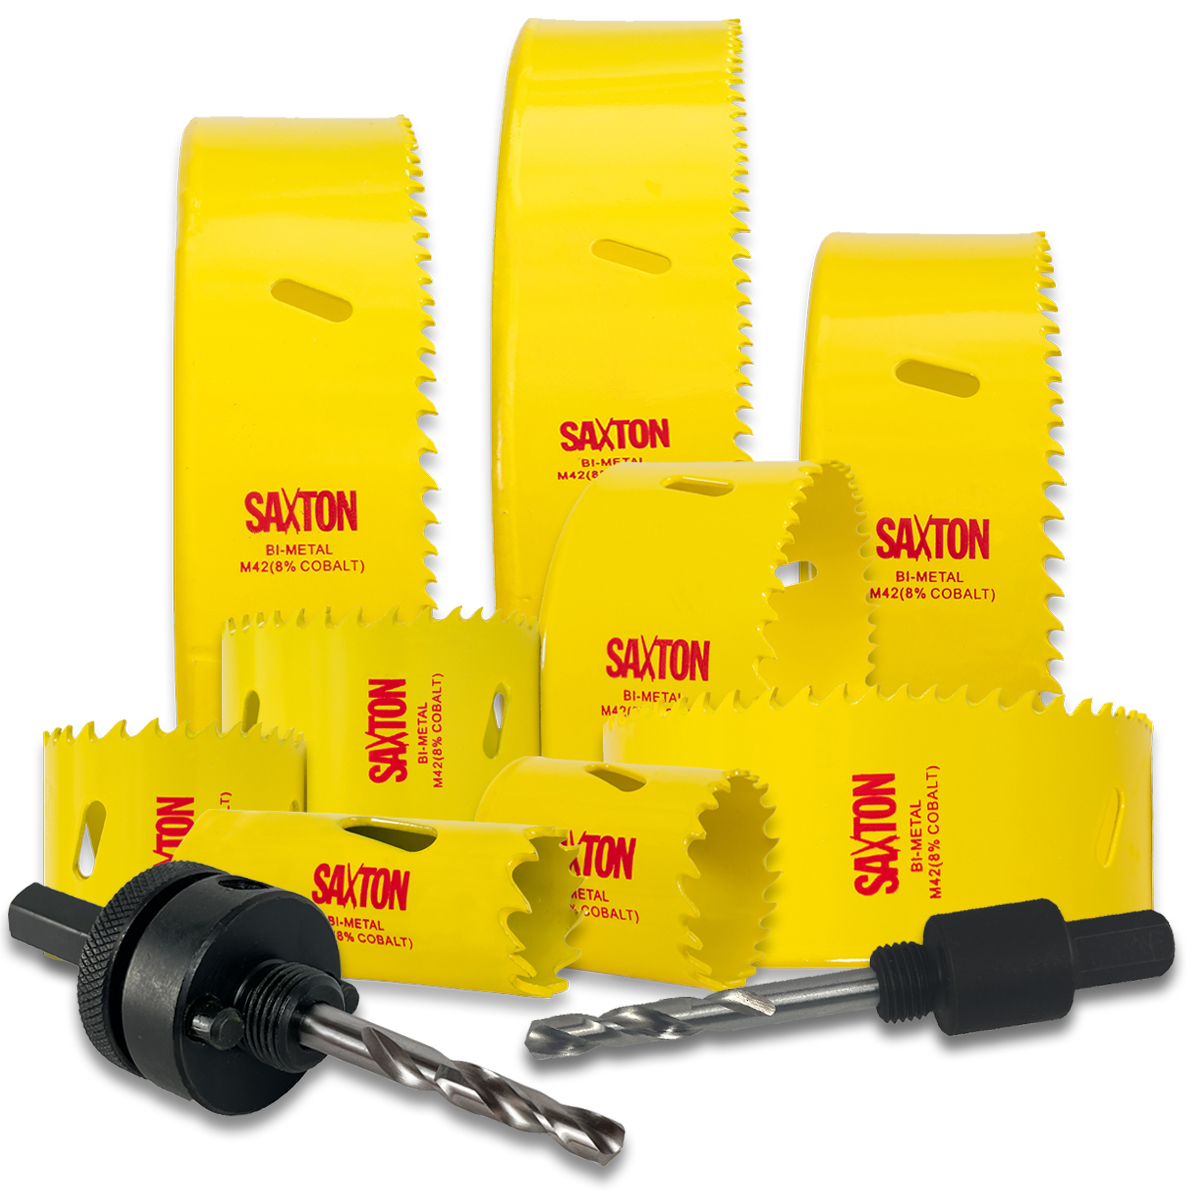
Why Choose Saxton Blades for Your Woodworking Projects?
We know that when you are working with wood, you need the highest quality equipment. This is why we provide a wide variety of blades that are made to last and perform well, so you can use them for various woodworking projects time and time again.
We understand that when working with wood, the quality of your equipment matters significantly. We take pride in offering extremely high-quality blades designed for longevity and exceptional performance, ensuring they remain reliable assets for a wide range of woodworking projects.