


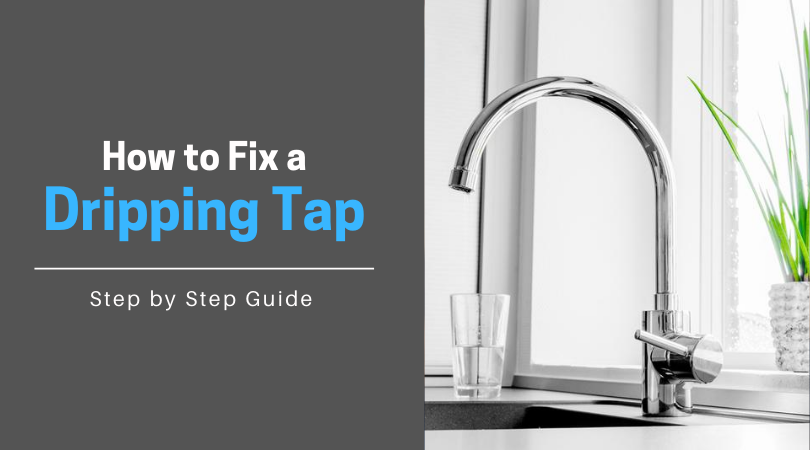
How to Fix a Dripping Tap
Not only is a dripping tap annoying, but it can waste a lot of water which will quickly rack up huge water bill! If you currently have a leaky tap in your house, don’t worry. Luckily, fixing a leaking tap is a simple skill that anyone can learn and very rarely requires buying a whole new tap. Some simple DIY is all it takes and it will be much cheaper than calling a plumber out too! In this step by step guide, we will show you how to identify where the leak is coming from, the tools you’ll need and how to fix it. All of the tools you’ll need can be found in any local hardware store.
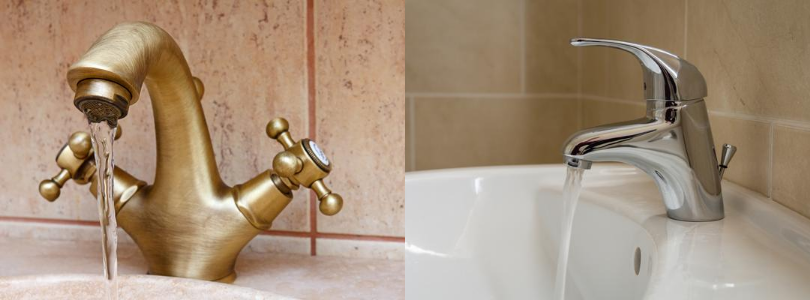
Traditional Taps and Monobloc Taps
If your tap won’t stop dripping, it’s most likely that you will need to replace the rubber washer or the ceramic cartridge inside of the tap. There are two types of taps, traditional taps and monobloc lever taps. Traditional taps use a valve device with a rubber seal whilst modern taps with monobloc levers use a ceramic disc – it is this part of your tap that will most likely need replacing to fix the drip! Both of these come in different sizes, so you’ll want to make sure you buy the correct size for your tap before making the repair.
To figure out what type of tap yours is, you just need to turn it to full power – if it rotates a quarter of half a turn to get to full power, then it’s likely to be a monobloc tap. If it rotates further than this, then it is likely to be a traditional tap.
If you have a traditional tap, then another reason that it might be leaking is due to a worn O-ring. If you replace the rubber washer and there is still a leak then check the O-ring for any signs of wear.
What You Will Need:
- Adjustable spanner
- Slot or cross head screwdriver
- Pliers
- Rubber washer, replacement cartridge or O-ring
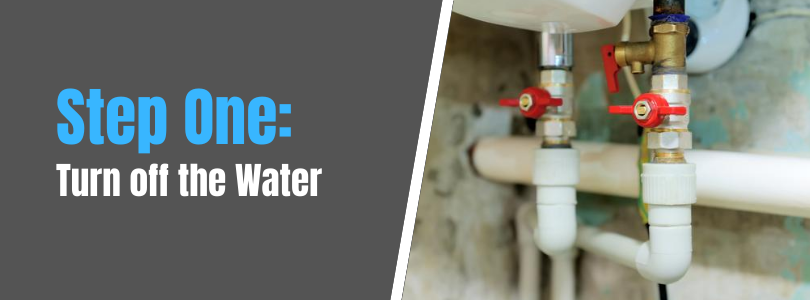
Step One: Turn off the Water
Before you get to fix the tap, you need to turn off your water supply either at the stopcock or isolation valve (this is usually found on the pipes underneath the sink). After doing this, then run the tap until no water is coming through to release any that is still in the pipe.
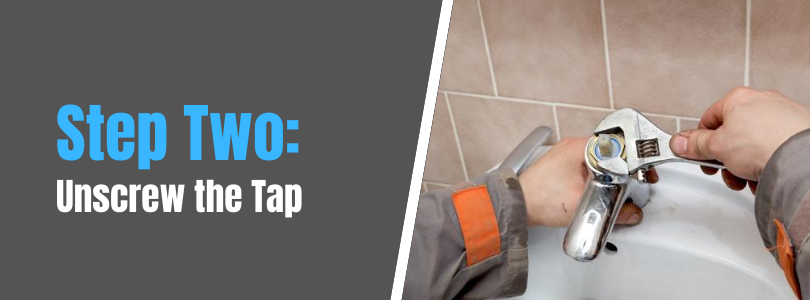
Step Two: Unscrew the Tap
You now need to find the screw that holds that tap together so that you can get inside the tap to make the repairs. This screw will usually be hiding underneath the decorative cap on the top of the tap handle. You can usually unscrew these caps by hand or loosen them with a flat-head screwdriver. Make sure to put the plug into your sink at this step to make sure that none of the parts of your tap falls down the plughole whilst unscrewing the top.
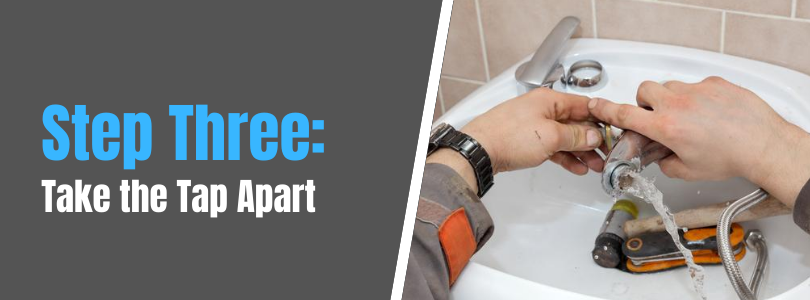
Step Three: Take the Tap Apart
Once you’ve removed the screw, you can take the tap apart. First remove the tap head, which should be easy to unscrew from the tap. There might be a metal cover or metal shroud around the neck of the tap which you can also remove which will reveal the tap valve. Lay all of the pieces out beside the sink.
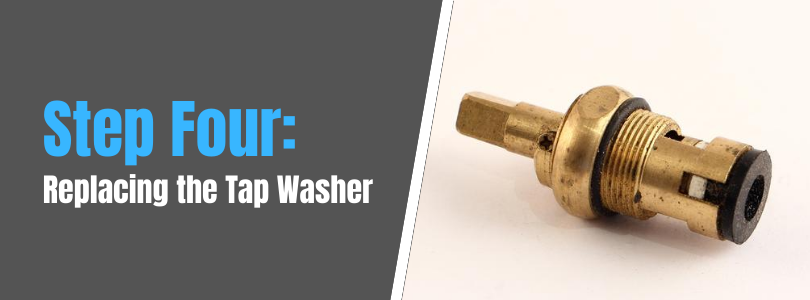
Step Four: Replacing the Tap Washer
*The next few steps will depend on which part of the tap you need to replace
The washer is underneath the tap compression valve, which is a device that controls the water flow. To replace the tap washer we first need to remove this valve. You’ll be able to see the valve after removing the metal shroud. Using an adjustable spanner, you can unscrew the tap valve and remove. There might be a nut holding the washer in place if so, unscrew this using an adjustable spanner. You can then slide the old washer off the vale and replace with the new washer.
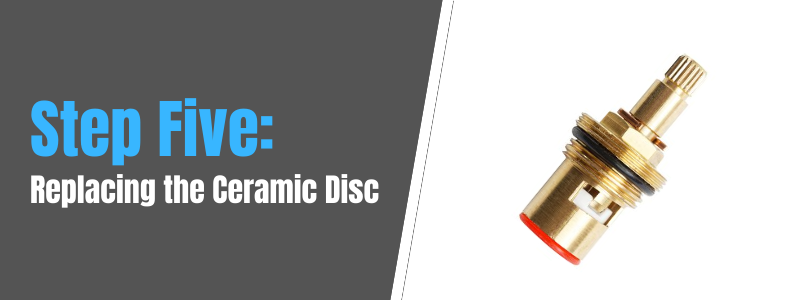
Step Five: Replacing the Ceramic Disc
The ceramic disk is underneath the tap valve, which you can loosen and then remove using an adjustable spanner. Check the ceramic disc attached to the valve for grime or wear and replace if you need to. Secure the valve and handle cap back into position within the tap.

Step Six: Replacing the O-Ring
If you’re replacing the valve o-ring, you first need to remove the valve using an adjustable spanner. Remove the old o-ring from the valve using a screwdriver or you can snip it off using a pair of scissors. Roll the replacement o-ring before resecuring the valve.
To replace the spout o-ring, the process is slightly different. First, loosen the nut that holds the tap to the sink (you can find this underneath the sink). Then, use a screwdriver to remove the grub screw and lift out the spout of the tap. The rubber o-ring will be at the base of the spout. Use a screwdriver or scissors to remove the old o-ring and replace with the new one. Replace the spout, retighten the grub screw and the nut underneath the sink.
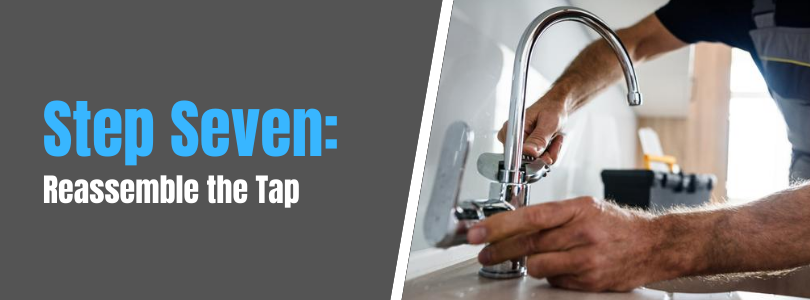
Step Seven: Reassemble the Tap
After you have replaced the faulty part, reassemble the tap in the same way that you took it apart. Turn the isolation valve under the sink back on and test the tap for leaks.