


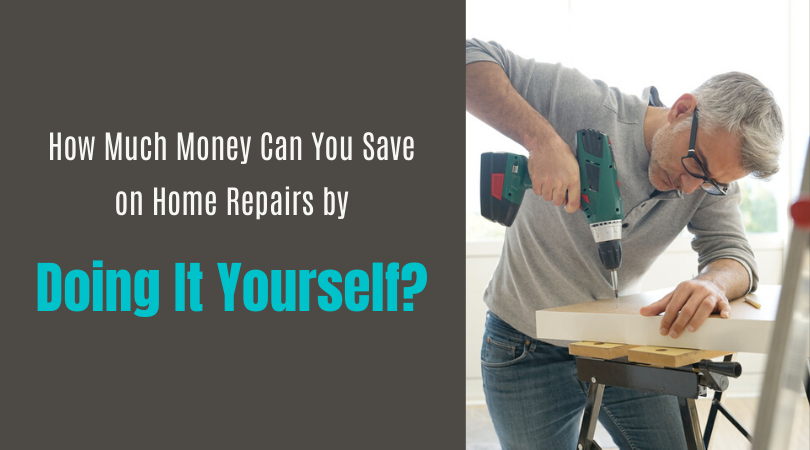
How Much Money Can You Save on Home Repairs by Doing it Yourself?
Household maintenance can be a massive chore and also very costly, especially when things unexpectedly break down and need to be professionally fixed or replaced. On average, home owners in the UK spend £1670 on unplanned home repairs. What if you could save this money each year with a few simple tools and DIY tips? With this money in the bank, you could extend your house, redo your kitchen or even buy a new car!
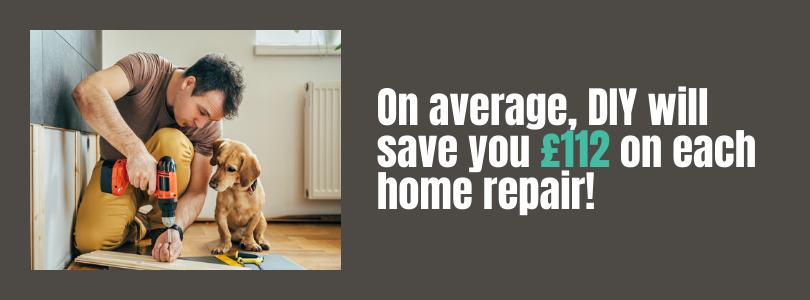
At Saxton Blades, we have done some research into which household repairs are the most commonly experienced by internet-users and have calculated the costs of calling out a professional and how much it would cost to do yourself in comparison. The difference in the figures might shock you!
To try and help you save some money next time something breaks down in your house, we’ve also put together a short DIY guide. This includes the tools you should always keep to hand and some instructions on how to solve the top 5 most searched home repairs by yourself. Read on to find out more.
Contents:
- The Cost of Home Repairs (Table)
- What DIY Tools Should Every Household Have?
- Basic Home Repairs: How to Unblock a Toilet?
- Basic Home Repairs: How to Fix a Dripping Tap?
- Basic Home Repairs: How to Fix a Hole in the Wall?
The Cost of Home Repairs
Professional Help VS. Do It Yourself
| Search Term | Search Volume | Average Cost of Professional Repair | DIY Cost | Money Saved | |
| 1 | How to Unblock a Toilet | 6K | £60 – 80 | FREE | £70 |
| 2 | How to Unblock a Sink | 4.6K | £100 | FREE | £100 |
| 3 | How to Fix a Dripping Tap | 2.5K | £60 – 150 | £1.50 – 10 | £99.25 |
| 4 | How to Unblock a Drain | 1.2K | £100 | FREE | £100 |
| 5 | How to Fix Toilet Flush Button | 600 | £95 | £15 | £80 |
| 6 | How to Fix a Broken Window Handle | 500 | £25 | FREE | £25 |
| 7 | How to Fix a Hole in the Wall | 500 | £75 – 125 | £34.50 – 44.50 | £60.50 |
| 8 | How to Fix a Toilet Seat | 450 | £40 | FREE | £40 |
| 9 | How to Fix a Leaking Radiator | 400 | £100 | 50p – £15 | £92.25 |
| 10 | How to Fix Squeaky Floorboards Under Carpet | 400 | £200 – 250 | £35 | £190 |
| 11 | How to Fix Skirting Board | 400 | £203 – 342 | £87 | £185.50 |
| 12 | How to Fix Blinds | 300 | £60 – 115 | £5.50 | £82 |
| 13 | How to Fix Squeaky Stairs | 300 | £200 – 250 | £27.50 | £197.50 |
| 14 | How to Repair Cracks in a Plasterboard Ceiling | 300 | £150 – 200 | £52 | £123 |
| 15 | How to Fix a Leaky Pipe | 250 | £160 – 310 | £2.50 – £4 | £231.75 |
Sources:
Homeadviceguide.com, trustedtraders.which.co.uk, job-prices.co.uk, fantastichandyman.co.uk, locksmiths.co.uk, priceyourjob.co.uk, bidvine.com, diy.com, screwfix.com
Methodology:
To calculate how much it would cost to DIY each of these common household maintenance issues, we added up the average cost of the materials required to complete each of the tasks. In this calculation however, we did not include any of the items mentioned in the essential toolbox list in the below section.*
To calculate the average money saved by completing home repairs through DIY, we calculated the difference between the two prices for both DIY and calling out a professional. For prices that were a range, we calculated the average number between the highest and lowest figure in the range and used this figure in the calculation.
Warning:
When doing DIY, you should also remember that if the problem is bigger than you anticipated, then calling out a professional might be inevitable. For bigger jobs such as a leaking pipe, the work you do might be more of a temporary repair and you might need a professional to provide a permanent fix.
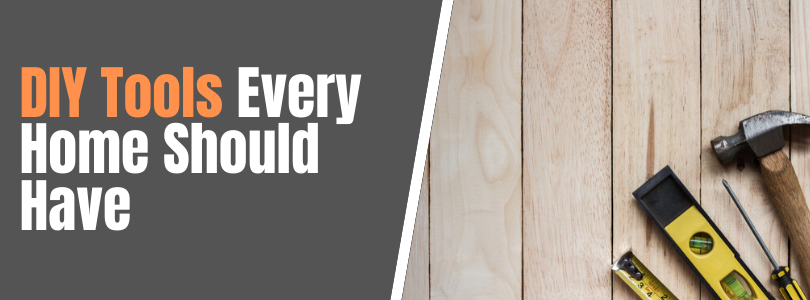
What DIY Tools Should Every Household Have?
There are some tools that you should keep in your house at all times that will equip you for a myriad of household maintenance emergencies if and when they should arise.
Here’s the tools you’ll need to fix common household maintenance:
- Adjustable spanner
- Plunger
- Slot or cross head screwdriver
- Angle grinder handsaw
- Plastering trowel
- Drill
- Drill bits
- Hammer
- Flat headed screwdriver
- Pipe/ wire detector
- Safety goggles
How to Do Some Basic Home Repairs
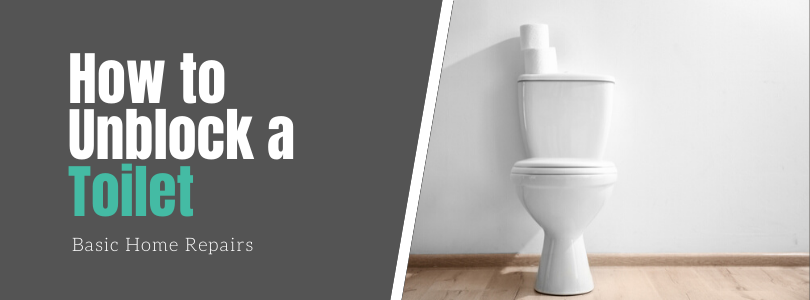
1. How to Unblock a Toilet
The easiest way to unblock a toilet is by using a plunger, however if this doesn’t work, you can try and dislodge the blockage using hot water.
- Using a plunger, cover the outlet from the toilet bowl so that no air or water can get through.
- Push downwards with the plunger and then upwards. Be careful when doing this to ensure that you don’t push the blockage further into the toilet.
- Increase the force until the water starts to recede into the outlet. If you need to, add more water before continuing with this motion until the suction and compression has dislodged the blockage.
- If a plunger doesn’t work, try adding hot water. Before doing this, the water level in the toilet bowl needs to be relatively low. If you need to, remove some of the water from the bowl before proceeding.
- Turn the water off at the valve, to prevent the cistern from refilling. Wearing gloves, remove as much of the water as you can from the toilet bowl and dispose of.
- Pour some washing up liquid into the toilet bowl (no more than half a cup) and wait for 5-10 minutes.
- Then, pour 2-3 litres of hot (not quite boiling) water into the toilet bowl and try to pour the water rapidly to create pressure. Leave this for a few minutes to see if the water level in the bowl falls.
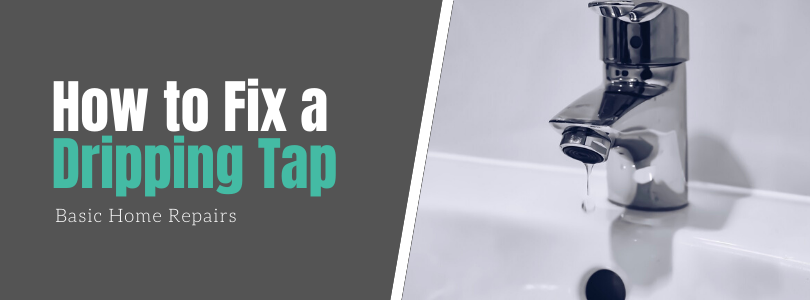
2. How to Fix a Dripping Tap
If your tap won’t stop dripping, it’s most likely that you will need to replace the washer inside of the tap. The washer is the part which creates a watertight seal to prevent water flowing out of the tao when it’s switched off.
Materials That Might Be Required:
- Replacement washer
How to Fix a Dripping Tap:
- Turn off your water either at the stopcock or isolation valve. Then run the tap until no water is coming through.
- You now need to find the screw that holds that tap together, which will usually be hiding underneath the decorative cap on the top of the handle. You can usually unscrew these by hand or loosen them with a flat-head screwdriver.
- Once you’ve removed the screw, you can take the tap apart. Remove the headgear assembly, which should be easy to unscrew from the tap. You will find the washer inside of the jumper part of your tap. If necessary, you can unscrew the nut holding the washer in place using an adjustable spanner and remove the washer.
- Insert a new washer into the jumper, and reassemble the tap in the same way that you took it apart. Turn the isolation valve under the sink back on and test the tap for leaks.

How to Fix a Hole in the Wall
Materials Required:
Medium sized hole: Plasterboard square (about 2 inches bigger than the hole in the wall), drywall saw, bucket of ready-mixed plaster
Bigger holes: timber firring strips, joint tape
Fixing medium size holes:
- Cut a piece of drywall that’s about 2 inches bigger than the hole you need to cover.
- Draw a line with a pencil about 1 inch from each of the 4 sides of your drywall square. Remove the plasterboard from the four sides, but leave the paper backing overhanging your plasterboard square.
- Place your plasterboard square against the wall to cover the hole and draw around the square with a pencil.
- Using a drywall saw, cut out the area that you’ve marked with a pencil.
- Apply plaster to the back of the paper and press into place to cover the square that you’ve cut into the wall.
- Using a plastering trowel, cover the plasterboard square with a couple of coats of plaster.
Fixing large holes:
- Cut a piece of drywall slightly larger than the hole you’re trying to cover up.
- Place the drywall against the wall so it covers the hole you’re covering up and draw around it with a pencil. Then, cut along the lines using a drywall saw.
- Hold two timber firring strips inside of the hole and secure them to each side of the hole using screws and a drill. Each firring stripe should still be slightly visible as you’ll be attaching your plasterboard to these in the next step.
- Insert your plasterboard square into the space and secure to the firring strips with nails. Apply joint tape over the plasterboard for extra security, and then cover over the plasterboard and tape with a few layers of plaster.