


Shelves make a great addition to every room in your home. They are ideal for creating much needed storage space and are a stylish place to display treasured photos and memories.
Have you been avoiding hanging your mounted shelves because you are not sure where to start?
This step by step guide will tell you everything you need to know about putting up shelves, from what equipment you need to how to hang shelves professionally.
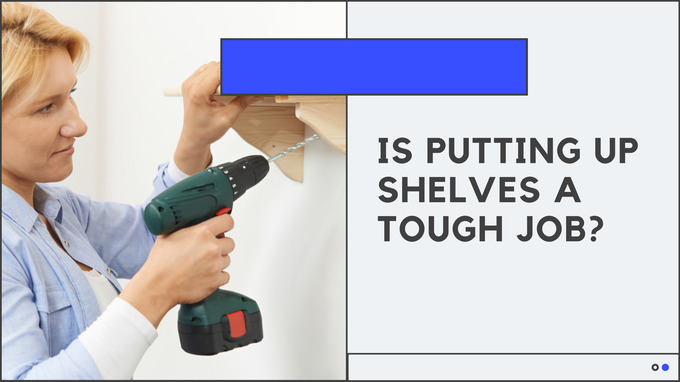
Is putting up shelves a tough job?
Even inexperienced DIYers should find hanging shelves at home an easy and stress-free task, especially if you follow our advice.
All you need are a few simple tools and a quick visit to your hardware store and you will be ready to get started on your project.
To make the job easy, shelves usually come pre-cut in many popular styles. Some shelves might even include the brackets and screws needed. If the accessories are included then we advise that you check that the screws are suitable for your wall type before starting.
This is usually a one-person job that can be completed within an hour. Follow our guide and handy tips for help all the way through, from start to finish.

What do I need?
Before starting your project, make sure you have all your tools ready. To help you get started, here is a list of all the materials and tools you will need to fit your shelves.
Materials checklist
- Shelf – Pre-cut or handmade
- Shelf Standards and Brackets – See our advice below for help choosing the right style bracket.
- Screws – They need to be the appropriate type and length for your project.
- Wall Plugs
Tools checklist
- Pencil
- Tape Measure
- Pipe/Cable/Stud Detector
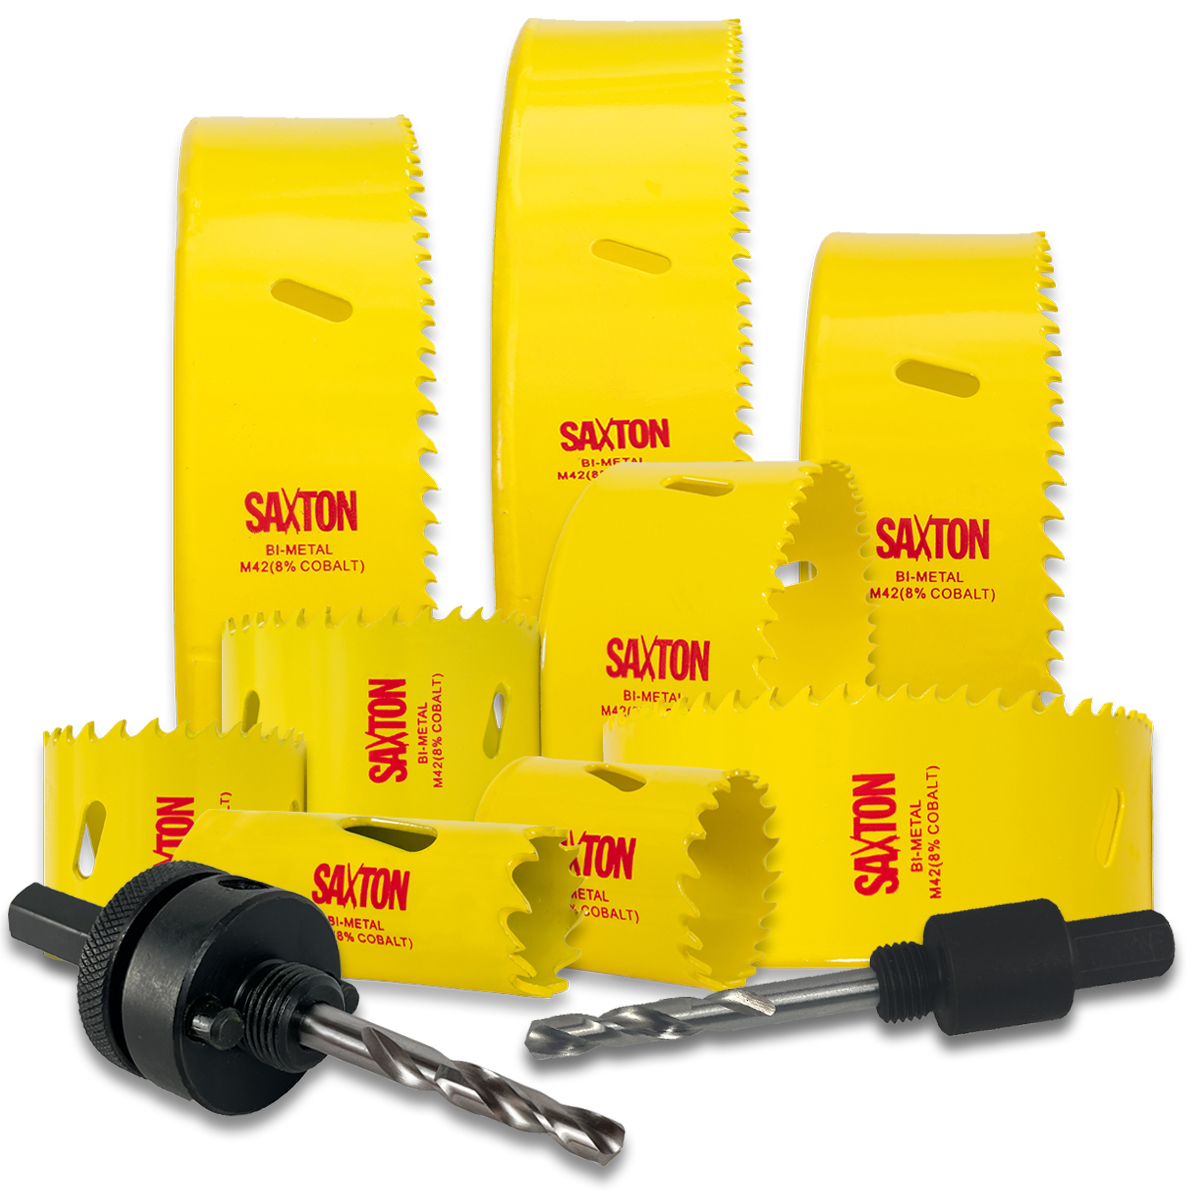
- Drill – Hammer drill or drill driver depending on the type of wall you will be drilling into.
- Drill bits – These need to be appropriate for the wall type you will be drilling into. For example, a brick wall will require a masonry drill bit.
- A straightedge
- A spirit level or Self-Levelling Laser
- Step Ladder
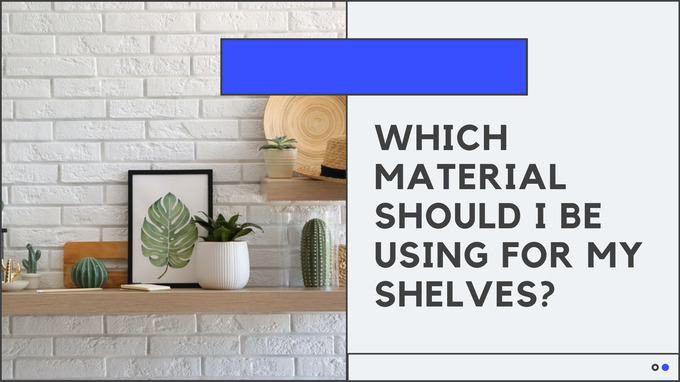
Which material should I be using for my shelves?
Shelves come in many different styles, providing you with plenty of design options. When choosing the most appropriate material for shelving there are several factors to consider:
- How much weight will my shelves need to support? – Certain materials are stronger than others.
- Which room will the shelf be hung in? – Is a decorative finish important and does it match the decor in your home?
- Is price important? – Certain types of shelves can be more expensive.
To help you decide, we have discussed below the most popular materials shelves can be made from.
Hardwood
Most hardwood shelves are made from oak and have an attractive finish that is perfect for displaying a precious item. Many people choose to leave the finish natural to show off the beautiful grain detail.
It is one of the more expensive options for wooden shelving but comes in a wide range of sizes and thicknesses, making it suitable for use throughout your home.
Softwood
A softwood shelf is one of the most popular shelving materials, due to its price and versatility. Usually made from pine, this versatile shelf can be finished in many different ways including, painting, staining or varnishing.
There are many different sizes of pre-cut softwood shelves to choose from, all at a reasonable price. If you need an affordable way to create more space in your home, then a softwood shelf is a great option.
Glass
Most frequently, glass shelves are found in bathrooms, due to their resistance to water damage, but are also a very stylish option that can be used throughout your home.
Glass shelves are not the strongest, even the toughened glass options cannot hold heavy loads. Make sure you check the maximum weight limit for your shelf and ensure you do not overload it. However, glass shelves can be an attractive addition to many rooms and have the bonus of being easy to clean.
Metal
If you are looking for strong shelves that are practical and don’t mind compromising on style, then metal shelves make a great option. Because they don’t make the most attractive shelving, you will commonly find metal shelves in garages, sheds, and workshops, as they are hard-wearing and functional for every workspace.
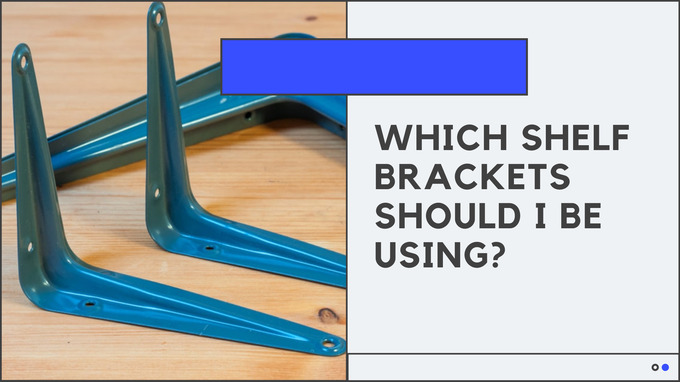
Which shelf brackets should I be using?
Before you can start to hang your shelves, you need to choose the correct brackets to support your shelf. This will depend on whether you have decided to use a fixed or floating shelf in your home.
Utility Bracket
You might already be familiar with this type of bracket, as this is your common L-shaped metal bracket or wooden right-angled bracket, used with most fixed shelves.
This type of bracket is popular because it’s strong and has multiple fixing points that allow you to safely secure the brackets to many types of wall.
Floating Shelf Bracket
A floating shelf requires a special type of bracket to ensure that the shelf is safely attached to the wall without the bracket being visible.
This type of wall-mounted bracket works by using two small metal rods which attach to pre-cut holes in the back of the floating shelf to secure it.
Due to the restricted support these brackets provide, this type of shelf can only hold reduced loads. They do make perfect display shelves for your home and are the ideal place for your precious pictures.
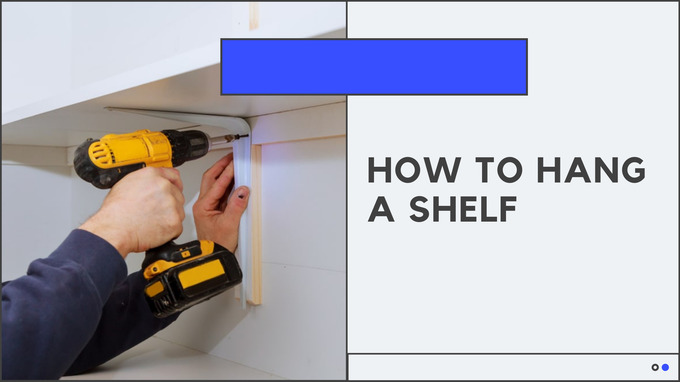
How to hang a shelf
With a 1 out of 5 difficulty rating, follow our step by step guide below to get perfect results every time you fit any shelves.
Step 1
Safety first
Using your pipe and cable detector, check that the wall is free from hidden pipes and cables.
If you are hanging your shelves onto a stud partition wall then use your stud detector to locate the studs and noggins. Ideally, you want your screws to sit here to ensure a strong fitting. Mark the positioning of the studs with pencil or painter tape.
The studs are the vertical wooden timbers that make up a stud partition wall and the noggins are the horizontal timbers. These are the strongest areas for you to attach your brackets to the wall.
Top Tip
If you do not have a stud detector then tap the wall with your hand to hear a difference between the hollow areas of the wall and the dull sound of the wooden timbers.
Step 2
Decide what position you want your shelf
Hold the shelf against the wall at the height you would like to hang your shelf. Mark a line along the bottom of the shelf, lightly in pencil, the place you want the brackets to be positioned.
Top Tip
To make sure that your shelf is level, use a spirit level or self-levelling laser.
Step 3
Mark the position of the screw holes for each bracket
Position the brackets against the wall and use your spirit level to ensure they are straight. Once you are happy your brackets are in the correct place, you can mark the location of the screw holes in pencil on the wall. The easiest way to do this is to draw a dot from inside the screw holes of each bracket.
For floating shelves, you will need to mark the position of the mounted bracket. Bear in mind that the placement of this bracket will determine the placement of the shelf.
Top Tip
Brackets have a longer arm, which should sit against the wall. The shorter length is the part that the shelf rests on.
Step 4
Drill the holes to secure the screws
Using your pencil marks as a guide, drill a screw into the centre of each pencil mark on the wall to a depth of approximately 1 inch. Then remove each screw. This will create a pilot hole to ensure your shelf brackets are fitted perfectly.
Top Tip
Drill all pilot holes before moving on to the next stage.
Step 5
Attach the brackets to your wall
Using your pilot holes, align your bracket to the wall and secure it with your screws. Repeat, until all brackets have been attached securely.
Top Tip
To avoid damaging your wall, make sure you do not over tighten the screws.
Step 6
Attach your shelf to the brackets
Place your shelf on top of your brackets and check it is level. If the level is out, you need to readjust your brackets to get the perfect finish.
Once you are happy with the position of your shelf, some shelves will need to be secured to the brackets using screws.
The easiest way is to mark the position of each screw hole on the bottom of the shelf. Remove the shelf from the brackets and drill pilot holes into the centre of each mark. Now you can secure the shelf to the brackets.
Top Tip
When drilling your pilot holes, make sure you do not go through to the other side of the shelf.

How do you attach a shelf to the wall?
The method used to install mounted shelves will depend on the type of wall you want to secure them to.
For partitioned walls, you should aim to attach the shelves to the studs that make up the strongest part of the wall. This will give you a secure attachment.
If you want to hang shelves on a masonry wall, you will need to use wall plugs as anchors, to ensure the screws go through the plaster and into the brickwork. You will need to use a hammer drill for this type of wall.
What is the best way to hang floating shelves?
Floating shelves do not use the traditional style brackets that you are familiar with for mounted shelves. Instead, they are secured to your walls using a hidden bracket and two small metal rods that attach to the pre-cut section on the back of the shelf.
The benefit of floating shelves is that they provide an attractive finish to your home as you cannot see any part of the bracket.
Can you hang a shelf on drywall?
For partitioned walls, if it is not possible to attach your shelves to the studs then they can be attached securely to the hollow drywall.
The process is similar to installing shelves on other types of walls, but you will also need to use toggle bolts as anchors to provide a secure hold for the screws. Make sure your toggle bolts are suitable for the weight of the shelf you need to hang.