

Plasterboard is a versatile material that has many uses and is used all kinds of projects from large construction tasks to everyday DIY. Most commonly, plasterboard is used for making interior walls and ceilings. Being able to cut plasterboard (also known as “drywall”) safely is an essential DIY skill. The fact that many people don’t know how to do this stops them from wanting to use drywall in the first place. Luckily, plasterboard is an easy material to cut and only requires basic tools – with the right instructions, you can learn to cut out plasterboard in no time! Below, we have outlined all the tools you will need for the job as well as easy to follow, step-by-step instructions on how to cut plasterboard sheet.
Tools You Will Need to Cut and Fix Plasterboard
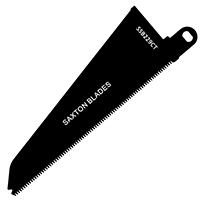
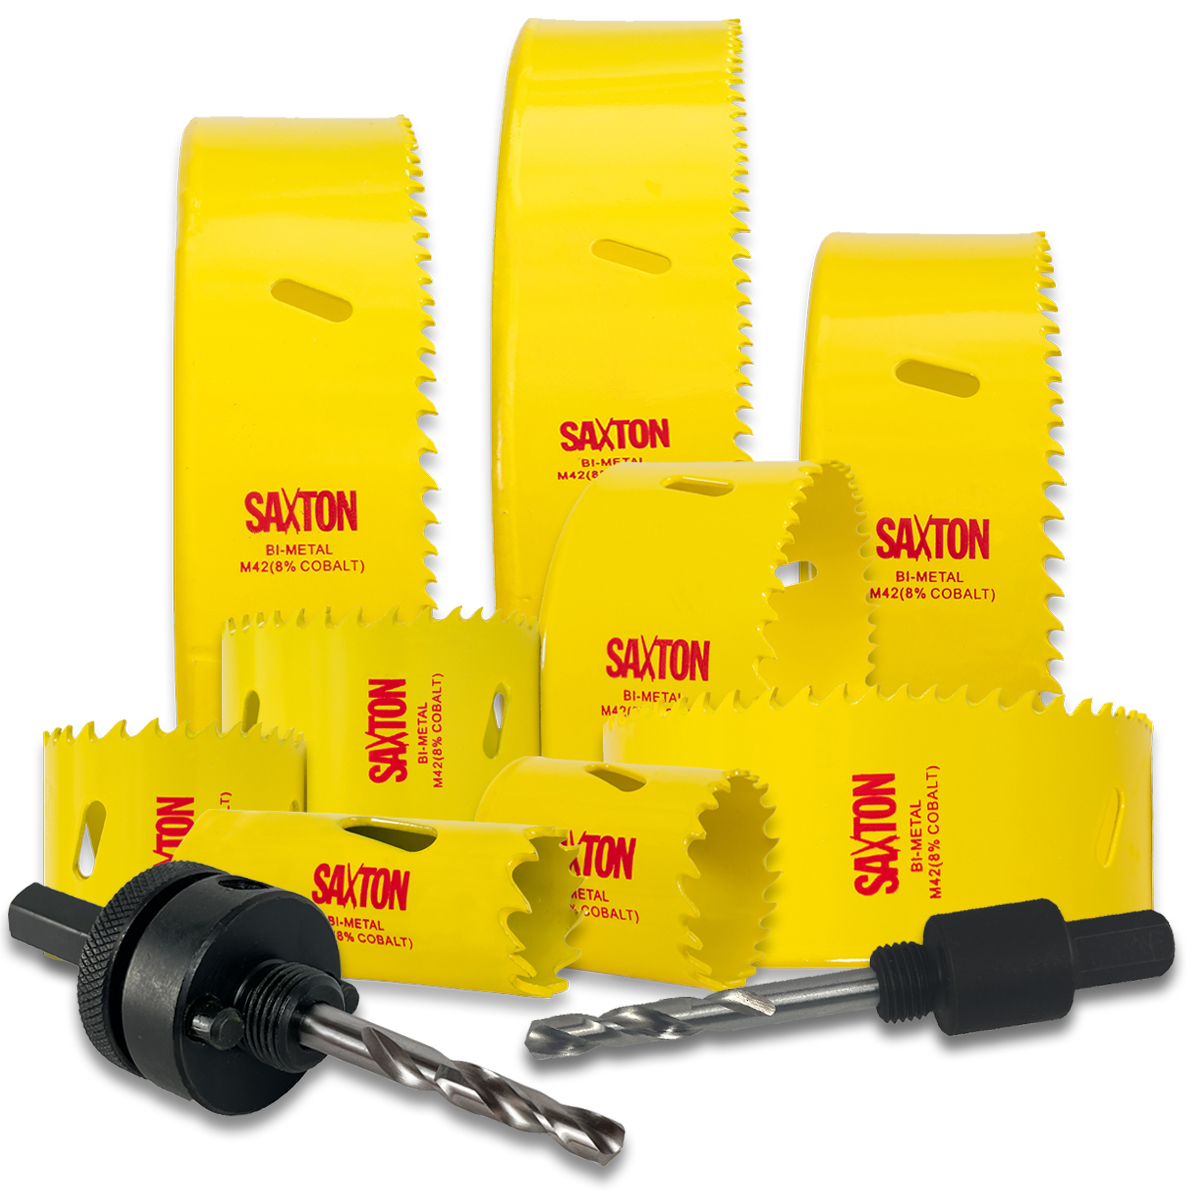
- Handsaw – to cut plasterboard you can use any ordinary handsaw, however, to get the cleanest cut a saw with fine teeth is deal. You can also use a plasterboard saw or a wallboard saw.
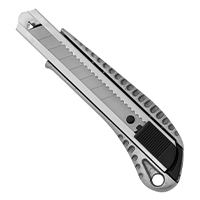
- Stanley knife or utility knife and spare blades
- Rasp
- Plasterboard hammer
- Spirit level
- Tape measure
- Pencil
How to Cut Plasterboard in a Straight Line
Plasterboard is strong and highly fire-resistant sheets that are made up of a gypsum core encased in heavy-duty lining paper. To cut through your plasterboard, you will need to cut through the gypsum core and two layers of lining paper.
- First, measure the cut you need to make and mark this on the plasterboard using a pencil.
- Now you’ll want to ensure that you have a straight line by taking your spirit level and laying the straight edge securing along the pencil line. Along the top of the spirit level, score a line with a knife.
- Using your Stanley knife, make a cut of around 3mm along the cut line.
- Now, stand the plasterboard on its side and bend it away from the cut. The board should split neatly along the line as you fold it.
- At the crease still connecting your board, use your Stanley knife to sever the sheet at the back of the plasterboard holding the board together. The two sides will separate easily. You can neaten the edges of the plasterboard using a rasp.
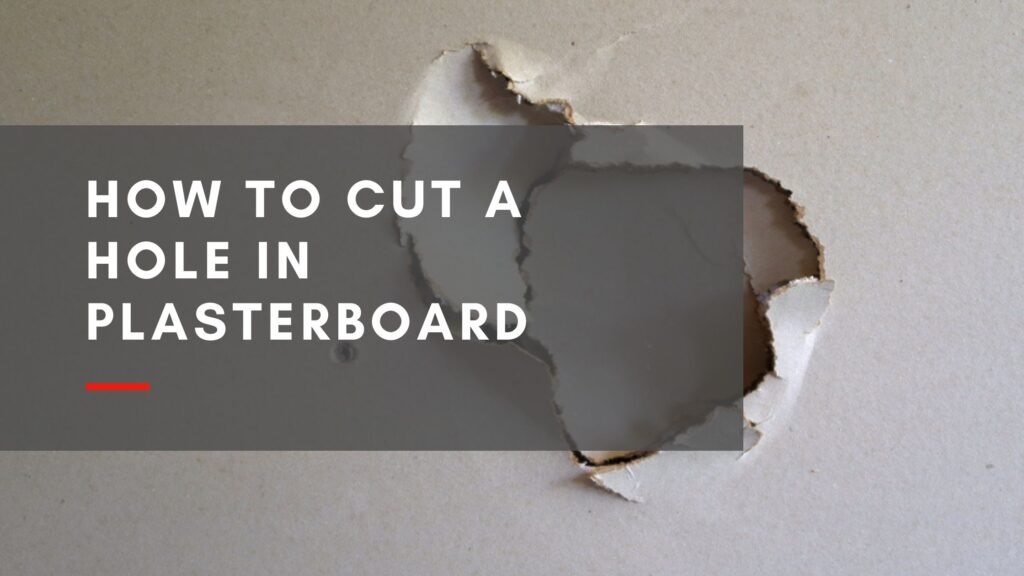
How to Cut a Hole in Plasterboard
Sawing into plasterboard is the best way to create a hole or opening in a piece of plasterboard. To do this, you will need a wallboard saw and a plasterboard hammer.
- First, as accurately as you can, measure the cut that you need to make.
- Use a pencil to mark to the cut.
- Using a plasterboard hammer, hammer a hole that is 50mm inside of the cut lines to create a gap that you can saw from.
- Insert your saw into the gap you’ve created with your hammer and start to cut along the lines that you have made to create a hole.
How to Fix Plasterboard
Now that you have cut your plasterboard to the desired shape, you can fix your plasterboard to create a plasterboard wall or ceiling. Plasterboard can either be screwed, nailed or stuck with adhesive to the timber joists or studs inside of stud walls or ceilings.

Fixing Plasterboard with Nails
Nails are traditionally the most popular way of fixing plasterboard. If you do decide to use nails to fix your plasterboard, be careful not to hammer too hard or far as it could compromise the strength of the plasterboard.
For this you will need:
- Galvanised nails
- Drill
- Pencil
- To fix plasterboard with nails, use galvanised nails as these protect from rusting.
- Mark on the plasterboard where the timber framework is. Try to keep a gap of around 100-200mm between nails and at least 12mm away from the edge of the board.
- Once you have marked where each of your screws will go, slowly drill the screws into the plasterboard, making sure to hold the plasterboard steady whilst doing do (maybe have someone else help you do this).
Fixing Plasterboard with Screws
To fix plasterboard with screws, make sure to use drywall screws as they provide a stronger hold than traditional nails.
For this you will need:
- Plasterboard screws
- Drill or auto-feed screwdriver
- Pencil
- Mark on your plasterboard with a pencil where your timber framework is on the side of the board so you know where to secure the plasterboard screws.
- Make sure to keep a gap of 100-200mm between screws across the timber framework and that the screws are positioned within 12mm of the side of the plasterboard.
- Using either a drill or an auto-feed screwdriver, slowly drill the screws into your plasterboard.
- Stop drilling when the head of the screw is just under the surface of the drywall lining paper.
Fixing Plasterboard Using Adhesive
You can fix plasterboard with adhesive by using a dot and dab plasterboard technique, also known as direct bonding.
For this you will need:
- Your pre-cut plasterboards
- Adhesive (either skim plaster or plasterboard adhesive)
- PVA
- Spreader or hand roller
- Prepare the wall by painting a coat of PVA mixed with water onto the surface and allow this to dry completely before proceeding.
- Mix the adhesive according to the manufacturer’s instructions. Mix until the texture of the adhesive is thick and creamy. If it is too runny, add more adhesive. If it is too stiff, add more water.
- Now it’s time to add the adhesive to the wall. Apply a generous ‘dabs’ of plasterboard adhesive onto the wall, and keep these spaced every 20-30cm in dots.
- Line up the plasterboard with the desired space on the wall. Use a spirit level to ensure it’s straight before proceeding to the next step.
- Now it’s time to add your pre-cut plasterboards to the wall. Make sure to get the first board right as this will dictate where the rest of the boards line up.
- Tap and press the board firmly into position so that it is secured tightly to the wall by the adhesive.
- Continue with this process, applying the rest of the boards. Make sure to leave a gap between the floor and the boards for reducing the risk of rising damp – this gap will be covered by a skirting board.
FAQs
Is plasterboard easy to cut?
Plasterboard is a very easy material to cut as long as you have the right materials for the job. The quickest and easiest way to cut plasterboard is using a sharp Stanley knife.
- First, mark the line with a pencil
- Lay a spirit level along the line and score with the Stanley knife.
- Bend the plasterboard firmly the opposite way and it should come cleanly apart.
What is the best tool to cut drywall?
The best and simplest tool for cutting drywall is a sharp Stanley knife. To cut drywall, mark the line you want to cut with a pencil. Lay a spirit level along the line and score with a Stanley knife. Apply pressure to one side of the board and it will snap cleanly away.
What side of plasterboard do you score?
When cutting plasterboard, you should score a line with a sharp Stanley knife on the face side of the board (the side without a backing sheet).
What is the fastest way to cut plasterboard?
The fastest and easier way to cut plasterboard is using a Stanley knife. Simply draw a line where you want to cut with a pencil, using a spirit level to ensure the line is straight. Score the line with a sharp Stanley knife. Stand the plasterboard on its side and bend it away from the cut. The board should split neatly along the line as you fold it.
Is it ok to paint directly onto plasterboard?
Yes, you can paint directly onto plasterboard but it’s important to ensure that the surface is completely smooth before doing so. To ensure that you achieve a great finish, fill in any imperfections or gaps using a good joint filler and paper jointing tape. You might struggle to get the plasterboard joint smooth, so this area might need sanding before you re-apply filler for a perfect finish.
What is the best filler for plasterboard?
To get the best finish on your plasterboard, it’s important that you choose the right filler for your project. For filling in small to medium-sized holes or cracks in plasterboard, an all-purpose filler is your best choice. Use it to fill in cracks and imperfections in the plasterboard surface once it is dry.
Do I need to PVA plasterboard before painting?
No, most professionals recommend that you do not use PVA to seal your plasterboard before painting. Applying PVA to your plasterboard can cause issues later on because the paint will sit on top of the PVA and is likely to peel and chip away. Instead, to seal plasterboard, you should use a mist coat of white watered-down emulsion.
Do you need to seal plasterboard before painting?
Yes, you should definitely make sure that you seal your plasterboard before painting the surface because plasterboard is extremely porous. You can seal your plasterboard with a mist coat, which is watered down matt emulsion paint. Create your mist coat and apply it to the entire plasterboard surface in two coats. Allow the first coat to dry fully before applying the second.
What do you seal plasterboard with?
Plasterboard is sealed using a mist coat, which is essentially watered down matt emulsion paint. To make a mist coat, mix three parts emulsion with one part water. Once you’ve created your mist coat, apply it to the entire plasterboard surface in two coats. Allow the first coat to dry fully before applying the second.