


We all dread spending a fortune on costly products and materials to carry out the simplest jobs at home, but what if there was a way to save money on DIY projects to make your home look stylish and new? With Saxton Blades, we can guide you on how to make some easy DIY wood projects. DIY projects can not only help you save a lot of money but also make your home look amazing! From making garden edging to creating wonderful planters, here are some simple, home DIY woodworking projects that will help elevate and modernise your home, no matter what experience with woodworking you have.
Have a look at the following DIY woodworking ideas below!
Essential Woodworking Tools
Before you start, it would be a good idea to have a look at some essential woodworking tools, safety guidance, and equipment.
You need to be careful when you work with wood, so you should buy good tools and safety equipment to keep you safe.
Good tools for woodworking will also last for a long time, so you can trust them to help you conduct simple projects for cosmetic improvements with wood later!
The Best Types of Woodworking Saws
- Handsaws
You can use a handsaw for small jobs with wood. You should use a blade that is not dull for the best results.
Estimated cost: £10
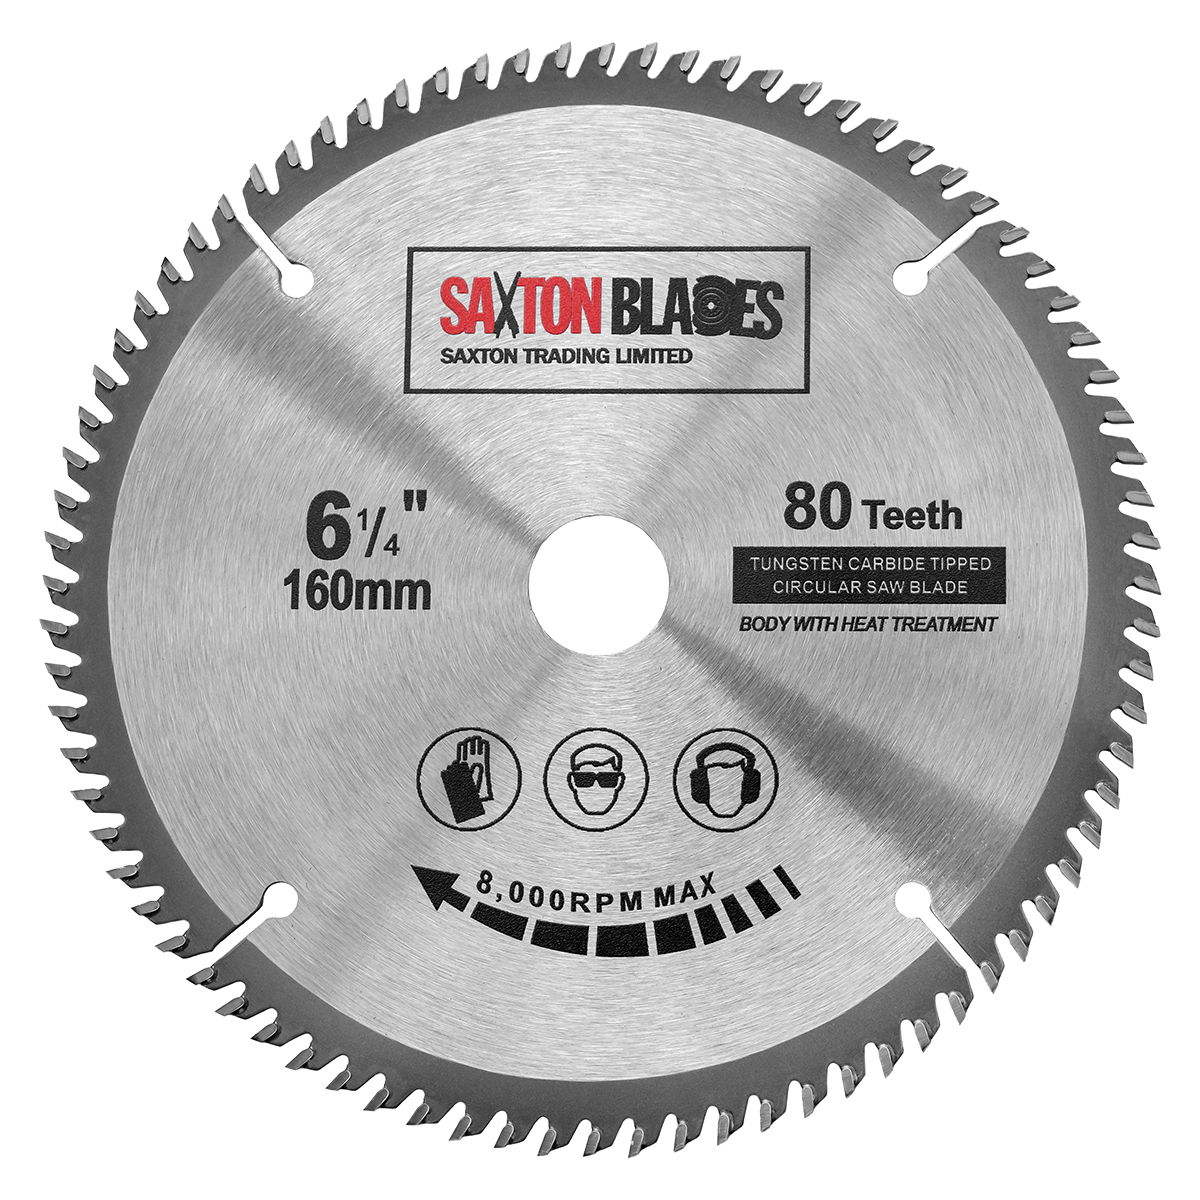
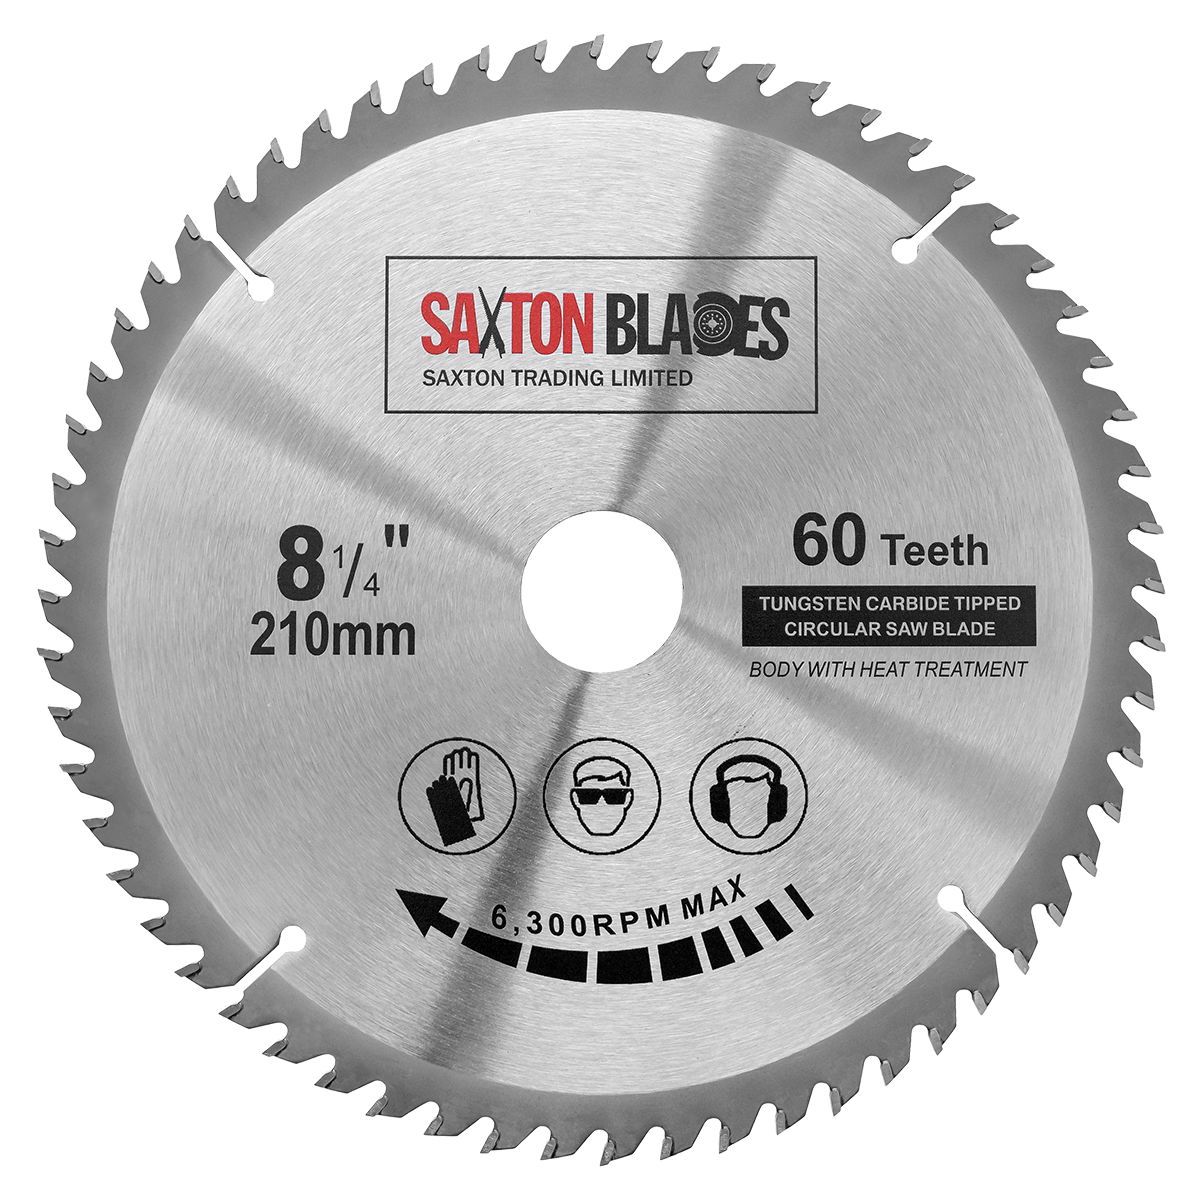
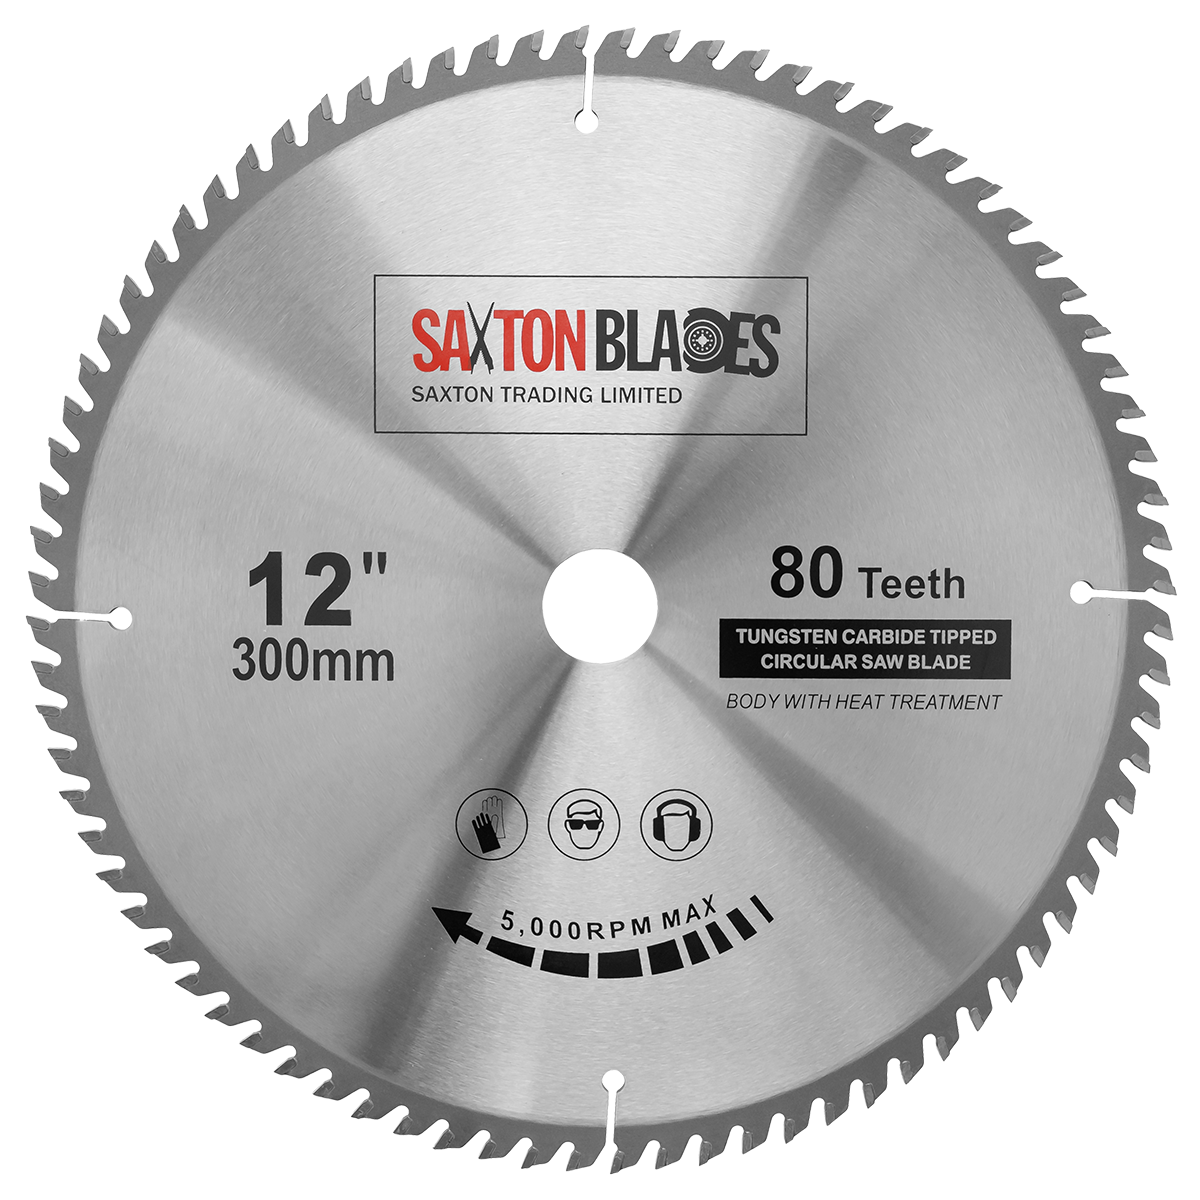
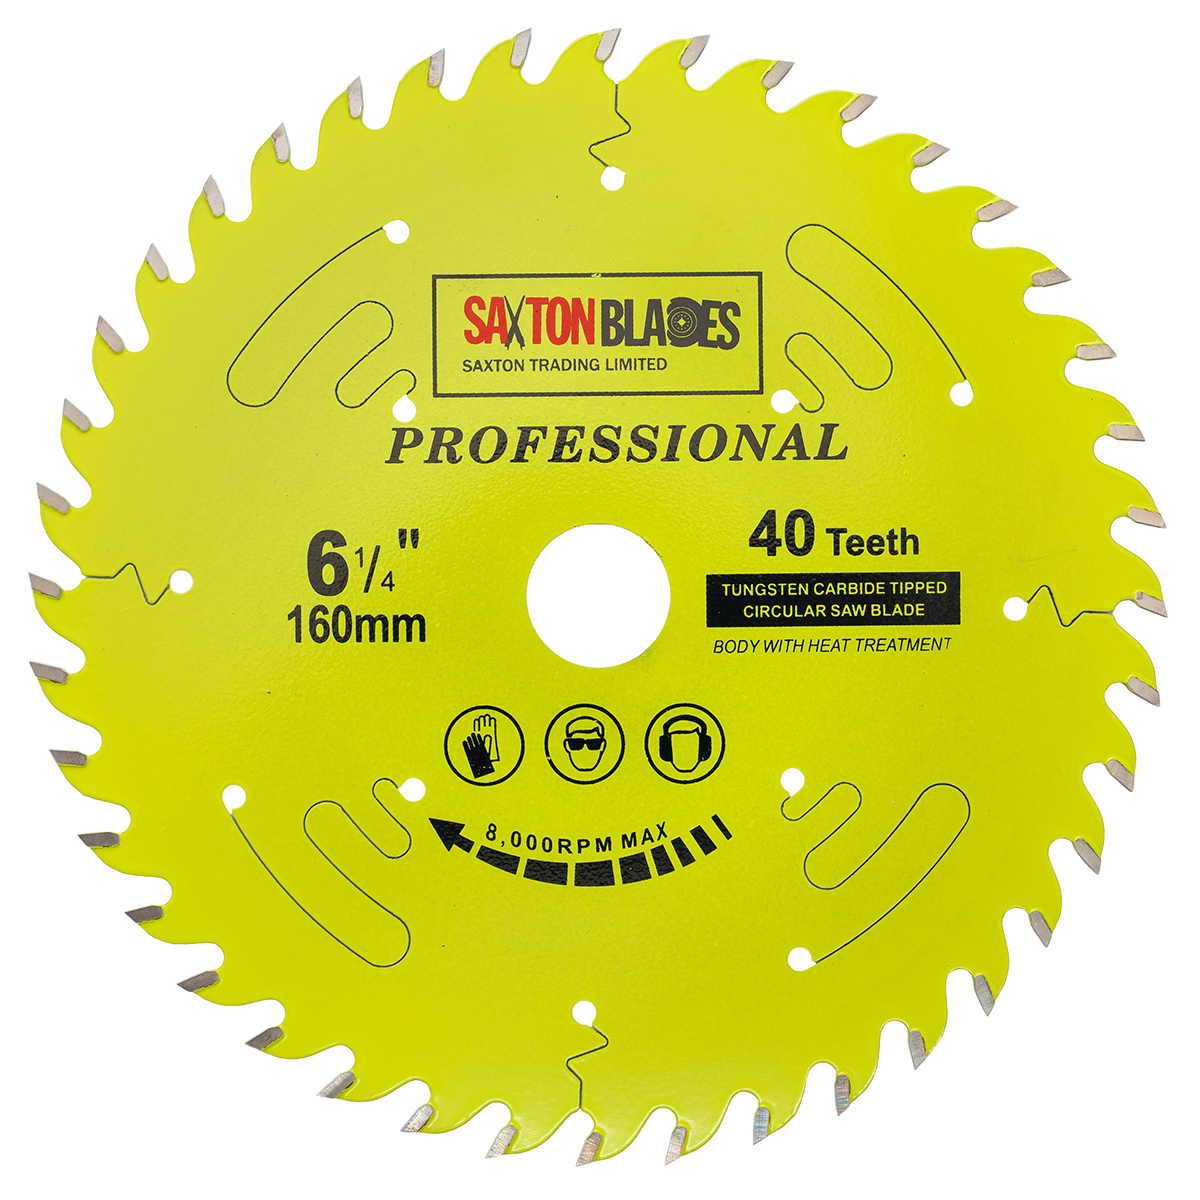
- Circular saw
A circular saw is a tool that you hold in your hand and use to cut wood. You can pick different circular saw blades for different kinds of cuts.
Estimated cost: £50
- Jigsaw
Jigsaws are useful hand tools as they produce precise cuts that vary in shape and size in an up-and-down motion. Jigsaw blades are also replaceable.
Estimated cost: £40
- Table saw
You can cut wood at different angles with a table saw. Good for longer cuts along the grain and ripping.
Estimated cost: £250
- Compound mitre saw
If you want to cut wood at angles, you should buy a compound mitre saw. This tool can make different kinds of cuts, like a mitre cut or a bevelled cut. This is good for any wood project.
Estimated cost: £100
- Bandsaw
If your project requires a lot of curvy cuts into wood, a bandsaw is the best tool for you, even if it is particularly heavy-duty material that you are working with. A bandsaw has a continuously looped band of teeth and is also good for cutting irregular shapes.
Estimated cost: £150
DIY Wood Projects
1. DIY Wood Stain
You can make DIY wood stains at home using several everyday products. However, if you are staining wood for outdoor DIY projects, you may want to opt for an off-the-shelf product to protect your wood better against the elements.
- Coffee: You can use coffee to stain wood by making a strong cup of coffee and applying it to the wood with a brush or a cloth.
- Vinegar and metal objects: You can make wood change colour by using vinegar and metal things, like steel wool or rusty nails. The wood will look different depending on what kind of vinegar and metal you use.
2. DIY Wood Garden Edging
DIY wood garden edging is a great way to create a unique and stylish look for your outdoor space.
- Firstly, you need to measure the area where you wish to add edging so that you can make sure your wood is the perfect size for the space.
2. Mark the area with a pencil, and then use a handsaw or jigsaw to cut out the pieces of wood. Finally, attach them together using screws and nails, and then place your DIY garden wood edging in position around your garden to complete your project.
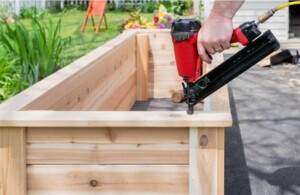
3. DIY Garden Planters
What you need:
- Circular saw or jigsaw
- Power drill
- Screws and nails
- Start by measuring the area where you wish to place your planter boxes and then cut out the pieces of wood using a circular saw. You can purchase wood or you could even use pallet wood.
- Drill holes in the pieces of wood, then insert screws and nails to connect them together. Measure and cut additional pieces of wood for the sides, bottom, and top of the planters. Nail these pieces into place.
- Sand down any rough edges to give your planters a smooth finish. Add a coat of outdoor paint or stain to protect your planter from the elements if you wish.
- Finally, add soil and plants to your DIY garden planters to complete the project!
4. DIY Wood Flooring
DIY wood flooring is a great way to spruce up your home. This project will give your home a new and improved look without breaking the bank.
- Firstly, measure the floor space you want to cover with wood flooring and purchase enough material to cover it. Make sure you allow for extra material in case of any mistakes or additional cutting needs.
- You will need to choose the right flooring type and materials for your project, depending on where the wood flooring is going to be laid. Make sure that you buy quality flooring to ensure that it lasts longer and looks better.
- Lay out a template of your wood flooring in the room you are redoing before beginning the job, as this will help you keep track of where the different pieces go.
- You need to make the flooring fit the room and then put it on the floor, starting from the corner that is farthest away and moving towards the door. You need to use a hammer and nails to make sure the flooring stays in place.
- After installing your DIY wood flooring, smooth out any rough edges with a sander. You can also add some colour or finish to your wood flooring if you like.
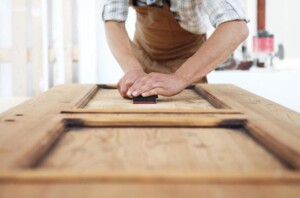
5. DIY Wood Headboard
A headboard is a great way to add character to your bedroom and makes the perfect statement piece for the room.
- Start by measuring the wall where you want to hang the headboard, and then cut out the pieces of wood for the headboard. You can use a jigsaw or a circular saw to make sure that your cuts are accurate.
- Sand down the edges of each wood piece, and then drill pilot holes in the pieces to attach them together.
- Attach the pieces together using screws and nails, making sure that they all line up correctly so that you have a nice, straight headboard.
- Finally, you can paint or stain your DIY wooden headboard to match the rest of your bedroom décor and hang it up on the wall!
6. DIY Wood Shelf Brackets
DIY wood shelf brackets are easy to make! You only need a few pieces of wood, some screws and nails, and your drill to make your own custom brackets.
- Start by measuring the area you want to use for your shelf. Ensure you get the right amount of wood so your shelf is the correct size.
- Cut out the wood with a jigsaw or circular saw and then sand down the edges.
- Drill pilot holes in the pieces of wood and then attach them together with screws and nails.
- You can then finish off your shelf brackets by painting or staining them to match the rest of your décor.
- Lastly, secure your DIY wood shelf brackets to the wall and add your display shelves!
DIY projects can be a great way to elevate your home and garden with minimal cost and effort. With these five simple DIY wood projects, you can take your home to the next level. From wood flooring and headboards to planters and shelf brackets, you will be able to make the most of your space with a woodworking saw, and just a few tools and materials. You can practise your woodworking skills, work towards more challenging projects, or make thoughtful gifts.
Happy woodworking!