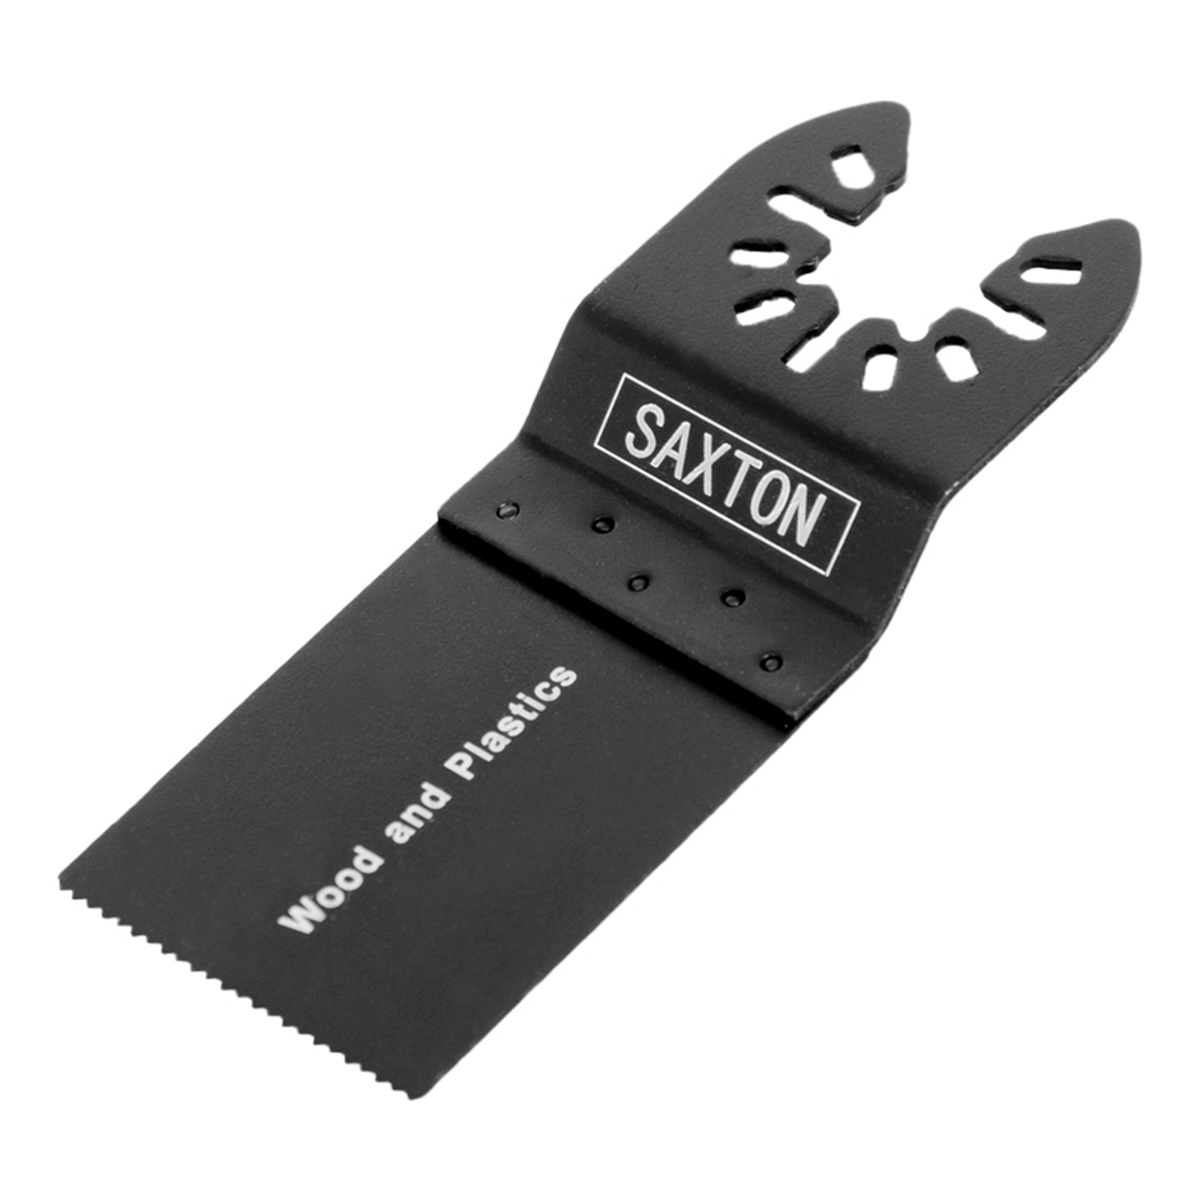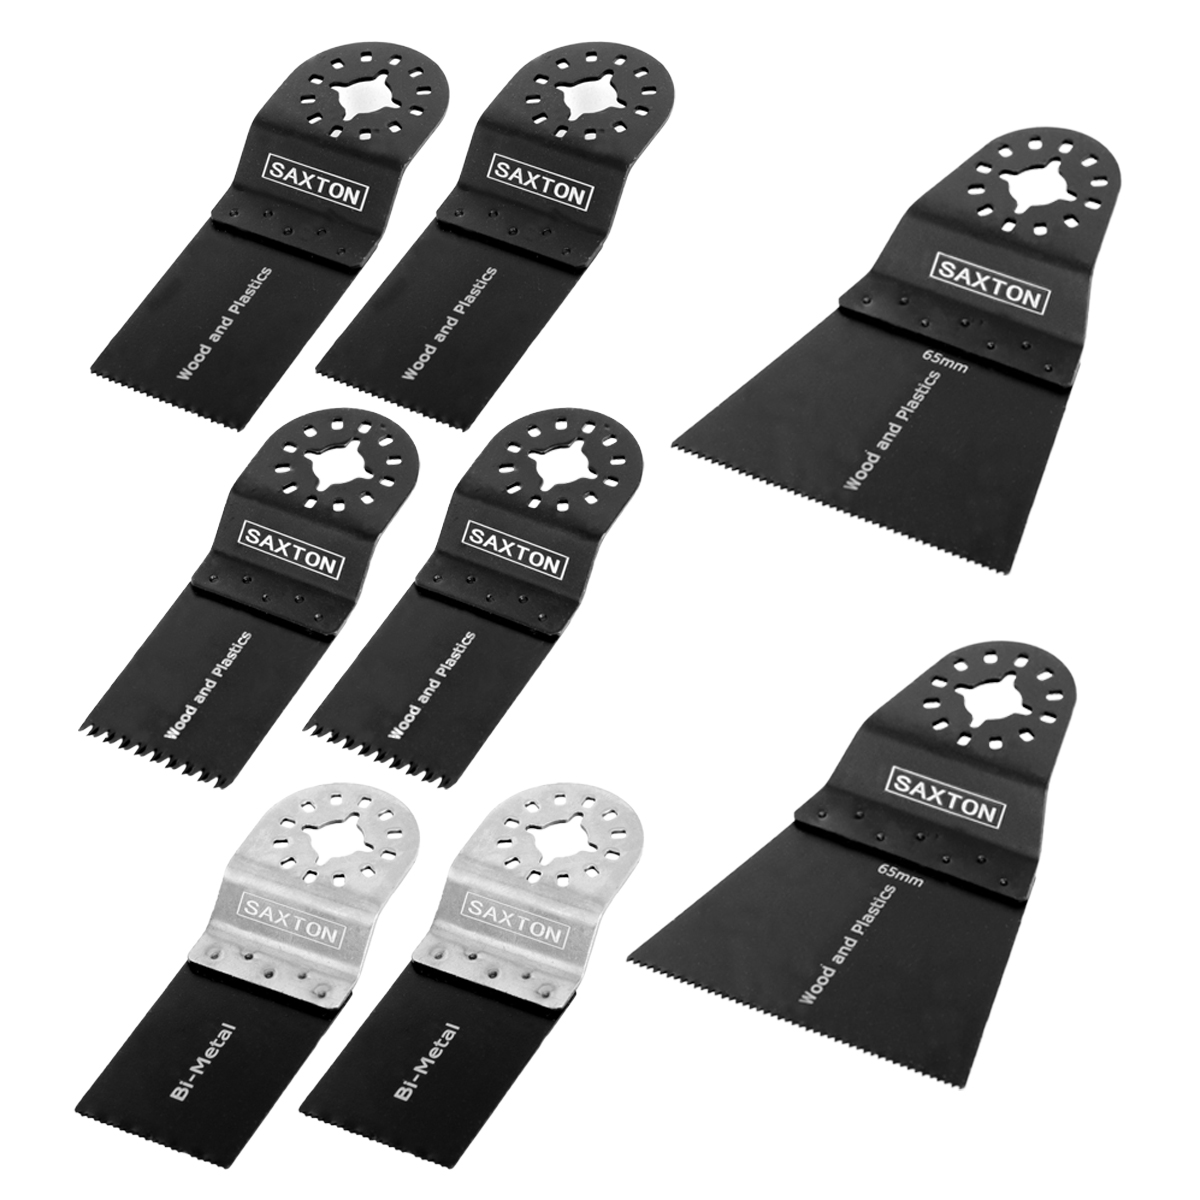
Carrying on with our how-to mini-series, our company owner, Glenn Peskett, is going to walk you through a simple DIY step-by-step guide to filling in chips and repair cracks that can appear in your plaster walls.
Over time your walls will be subjected to general wear and tear, and you may notice cracks and chips in the plaster when you come to redecorate a room. Small cracks often occur in older properties due to minor settlement in the foundations, while larger chips and holes in the wall are typically caused by general wear and tear such as moving furniture around.
However, the good news is that these chips and cracks are very simple to fix! All you need is the right tools and a handy step-by-step guide for beginners to follow on how to fix cracks and chips in walls…
WHAT YOU’LL NEED
- Filling paste
- Joint compound or resin
- Filling knife/plaster trowel
- Curved tool for scraping i.e. old knife or screwdriver
- Cleaning cloths
- Cotton cover to protect flooring and furniture
1. CREATE A GOOD BASE FOR THE FILLER
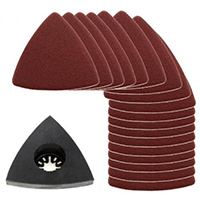
If there are still any loose bits of plaster in the chip be sure to remove them and sand down the area with sandpaper so that the filler has a smooth base, free from debris & loose material.
You may also find it beneficial to widen hairline cracks, and remove bits of plaster at intervals along longer cracks as this will help the filler to hold properly once applied.

2. CLEAN THE AREA TO REMOVE DUST
Use a damp towel to clean away any dust or loose plaster before applying the filler.
A cotton towel is preferable as it will absorb the dirt and dust effectively.

3. FILL IN THE CRACKS
Use your filler knife or plaster trowel to apply the filling paste. You should be aiming to fill the gaps; don’t worry about overlapping the existing plaster, you’ll smooth it down later on.
Allow this first layer or filler to dry, then go back and check for any spaces, applying another layer of filler if necessary.

4. APPLY JOINT COMPOUND OR RESIN
Leave your filler to dry and set overnight, and apply a joint compound or resin to the surface of the area that you filled.
Spread it so that it goes just over the edges of the filled area; allow it to dry and apply a second coat if needed.
Resin or compound products are flexible and designed to prevent the wall cracks from reopening in the future.

5. SAND AND SMOOTH THE AREA
Use a light sandpaper to evenly sand the filled area down so that it sits flush with the wall.
Wipe away and dust with a damp cloth, then prime and paint the repaired area as required.
Finish the job by clearing away the sheets that have been protecting your flooring and furniture, and giving the area a vacuum to clear up any residual dust.
Are there any how-to guides you’d like to see us feature over the coming weeks and months? Let us know on our Twitter page!

